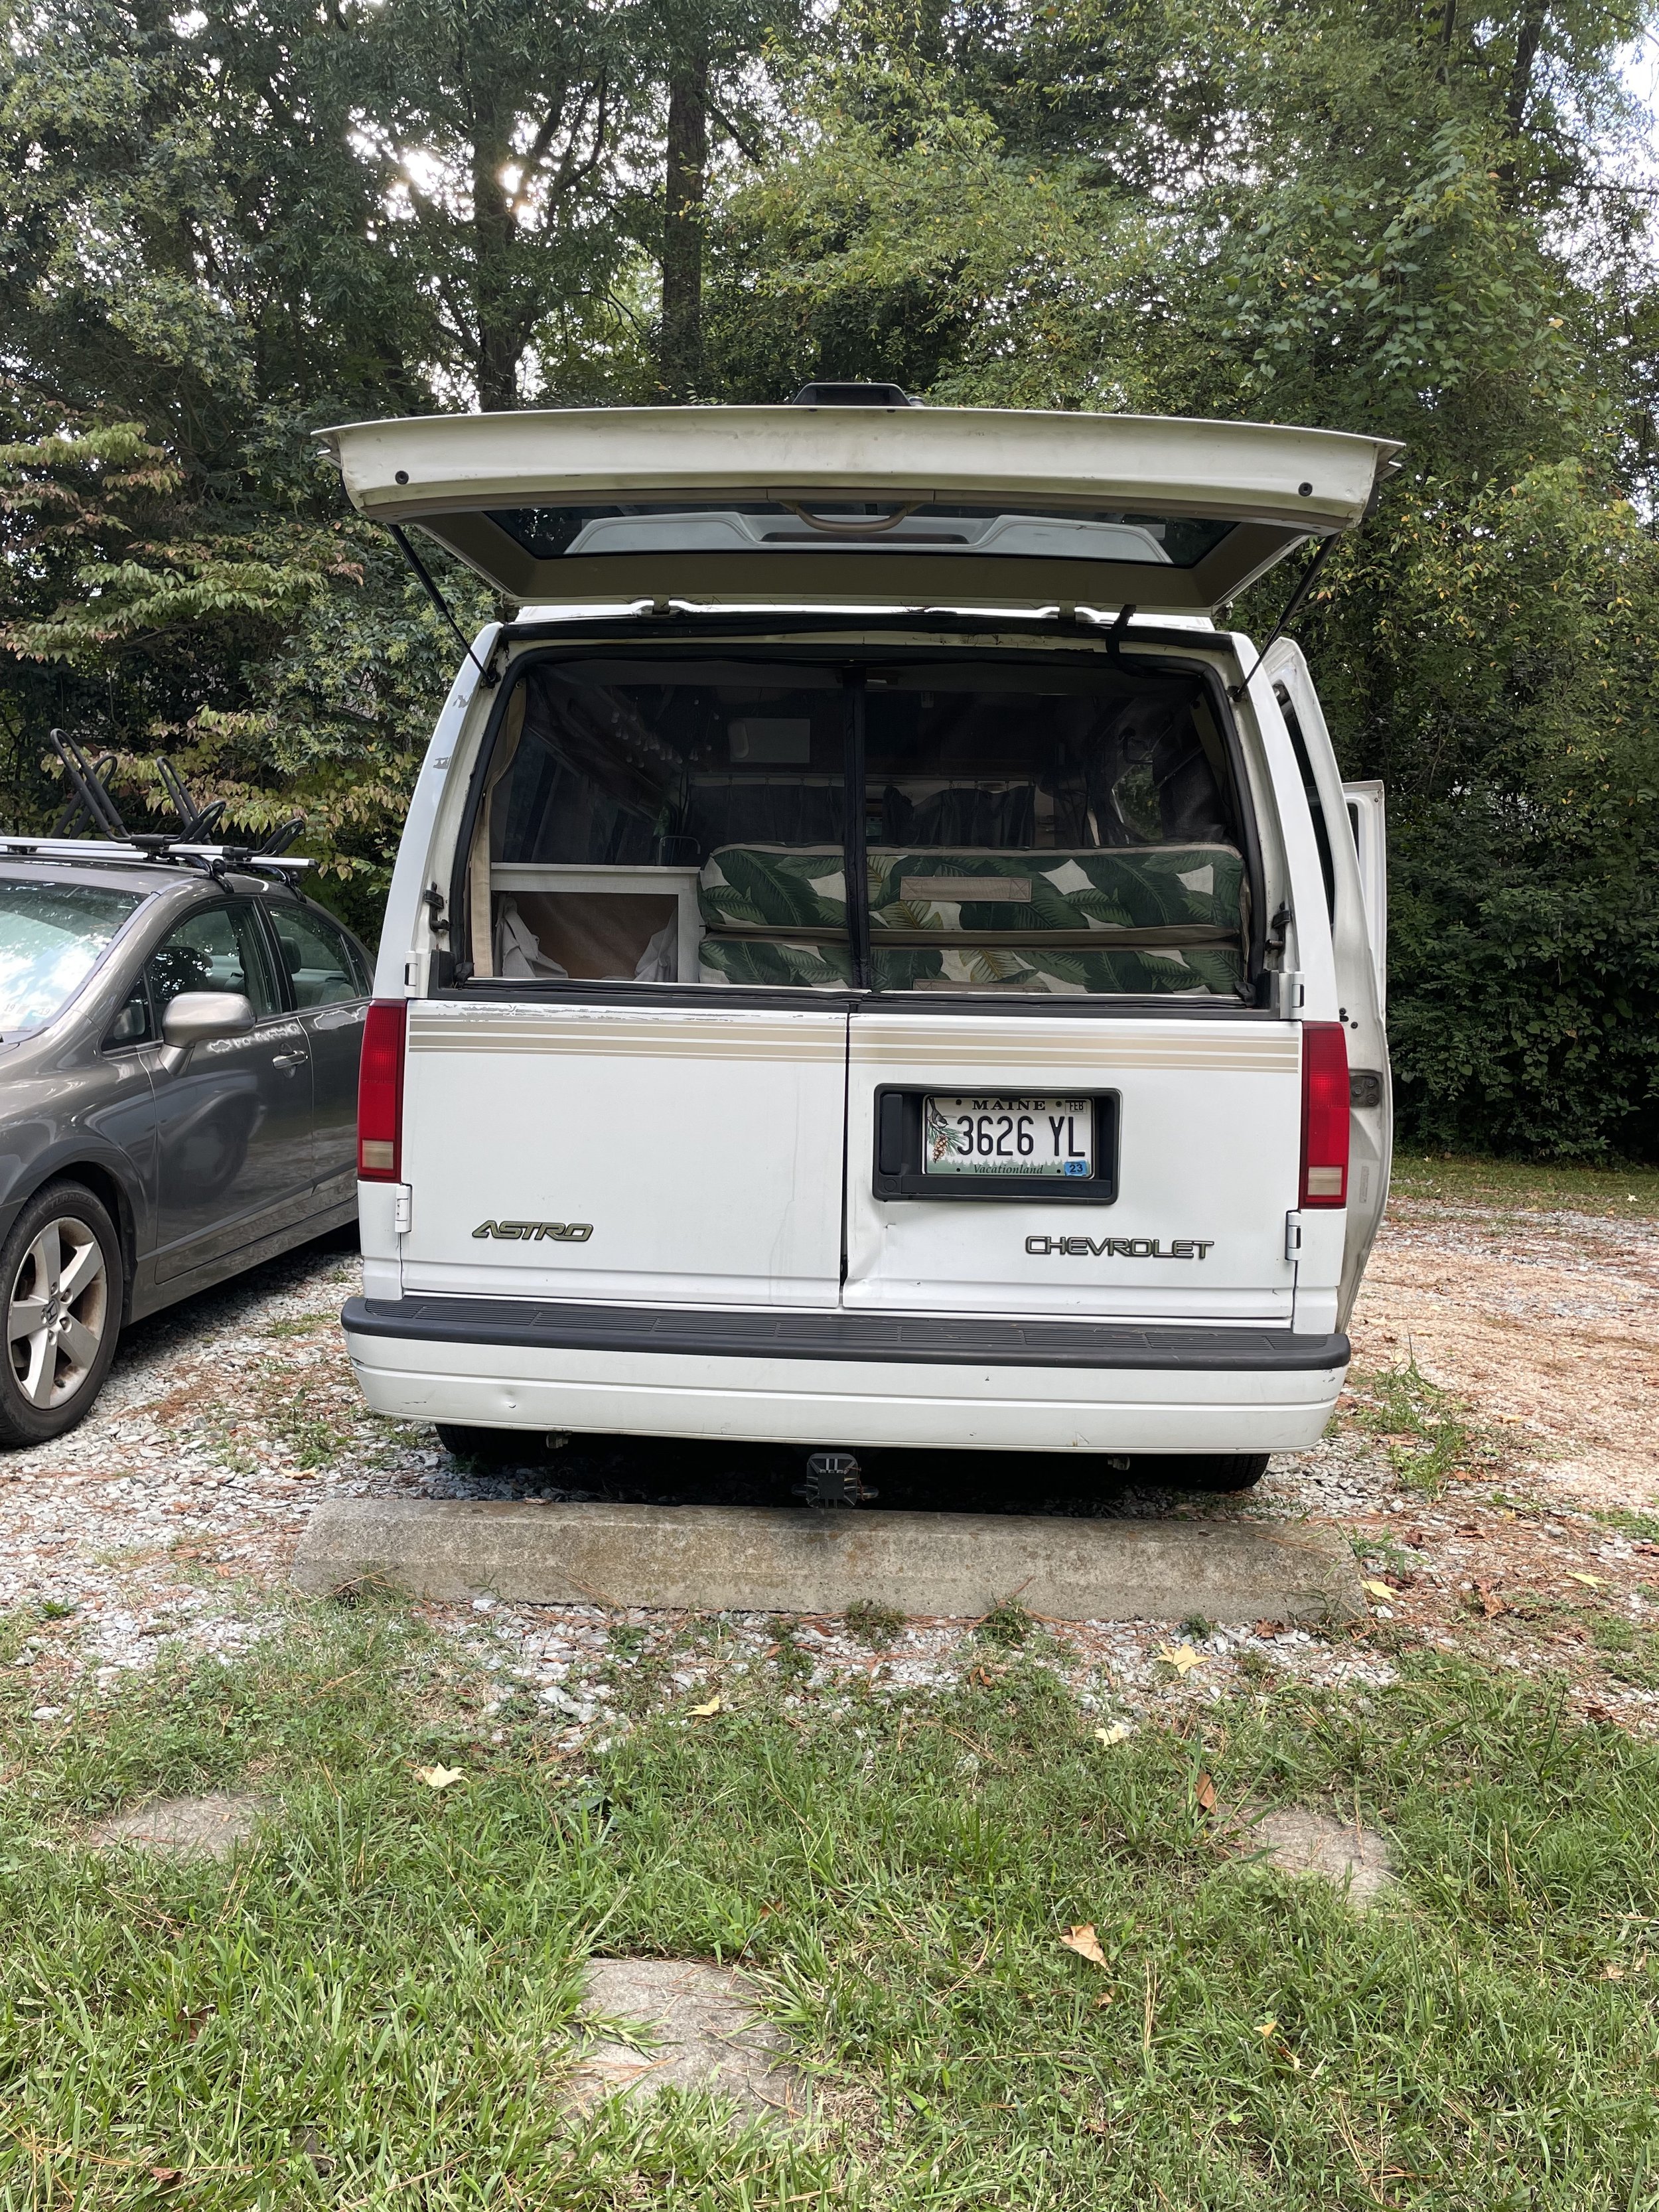
FOR SALE: 1999 Chevy Astro Camper Van
Hi there!
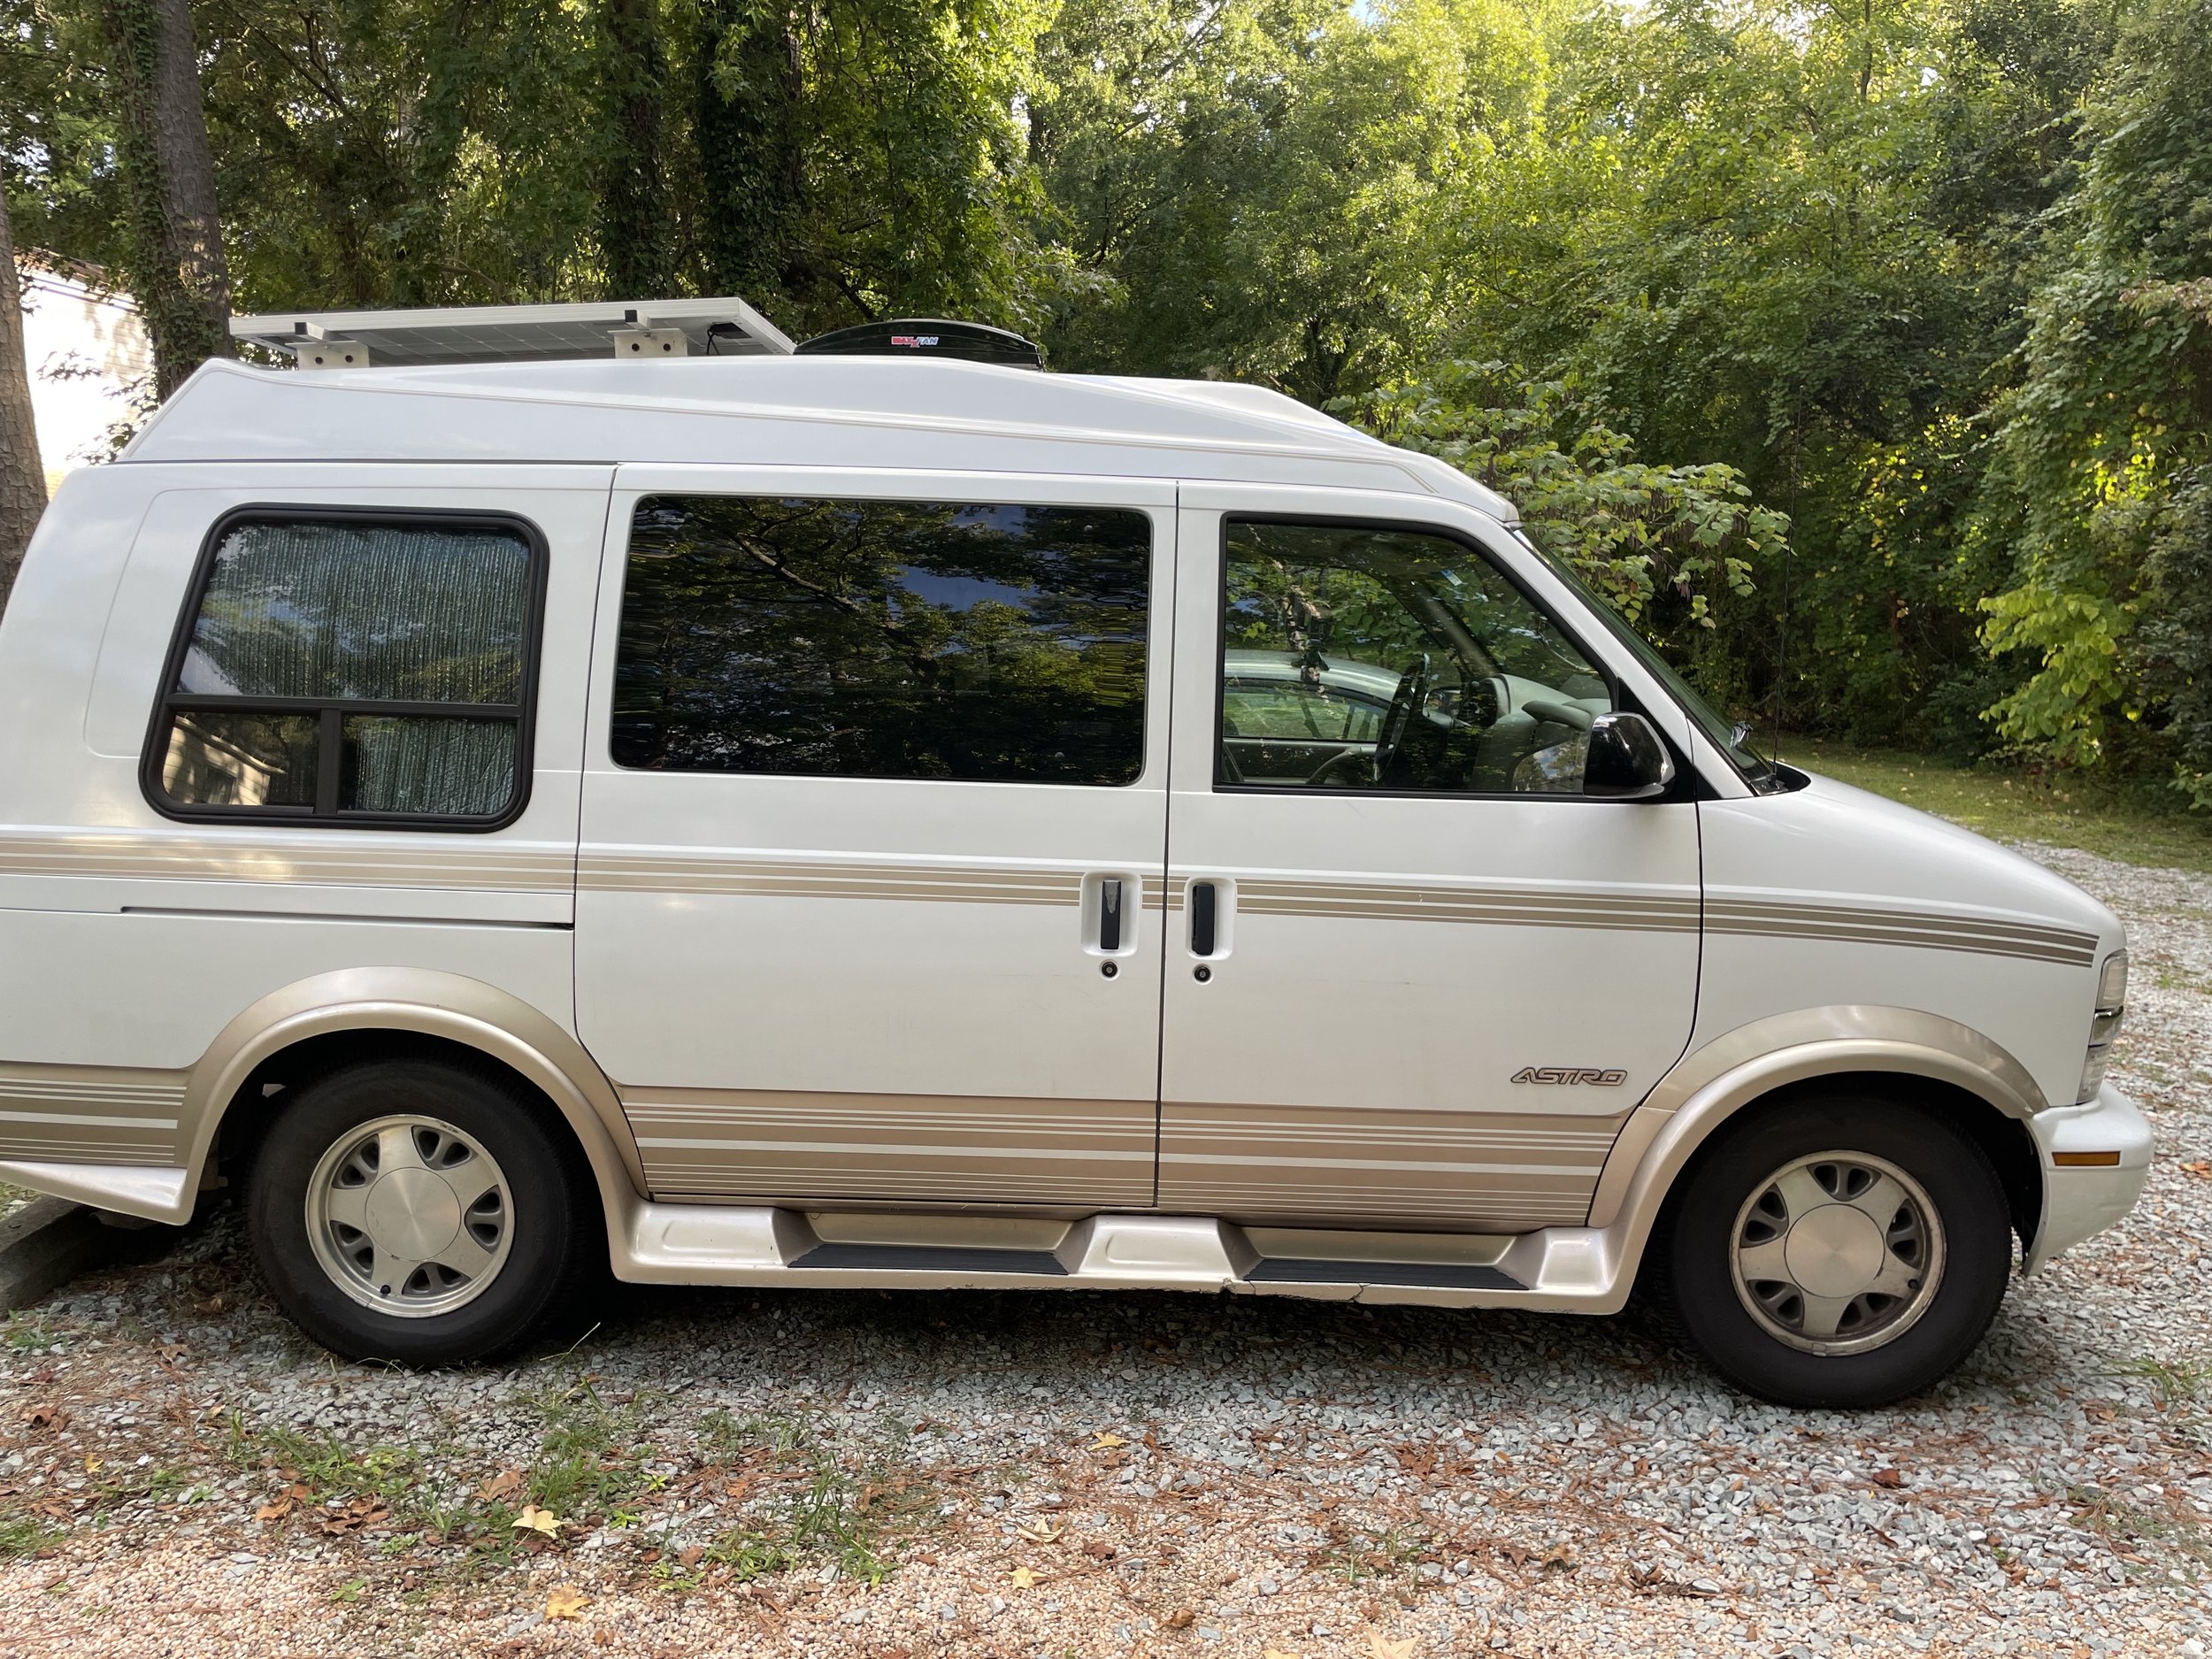
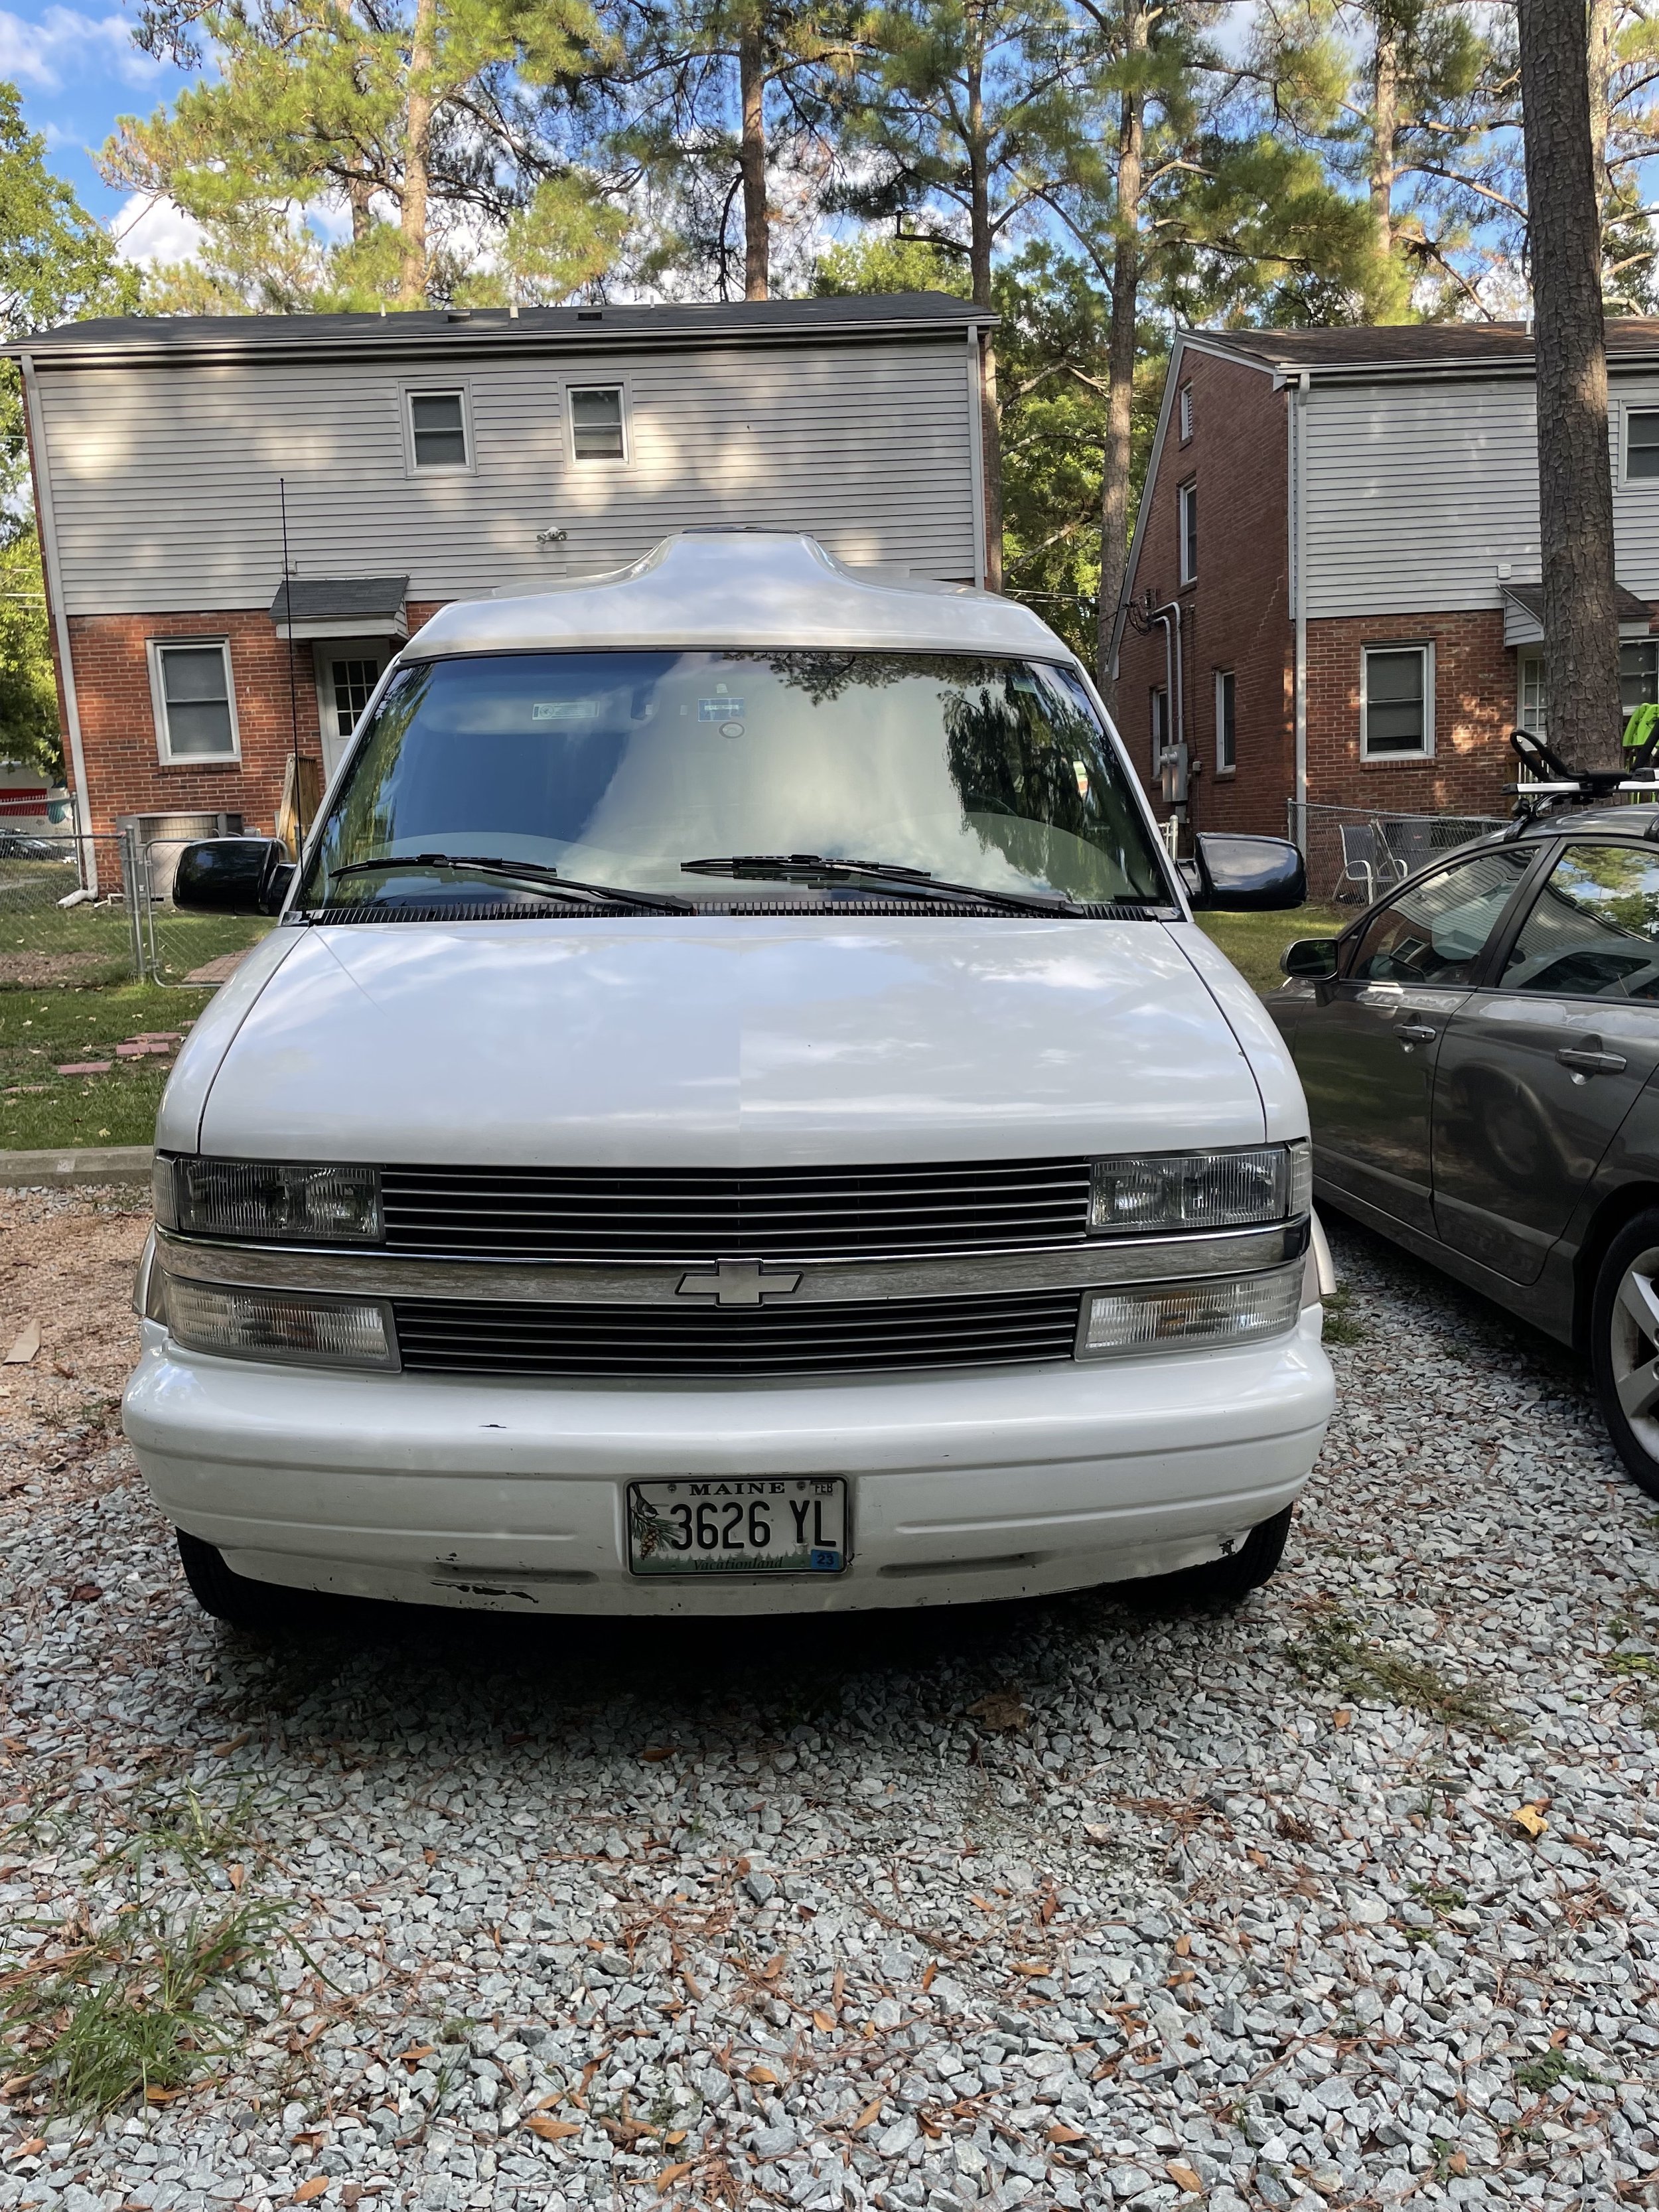
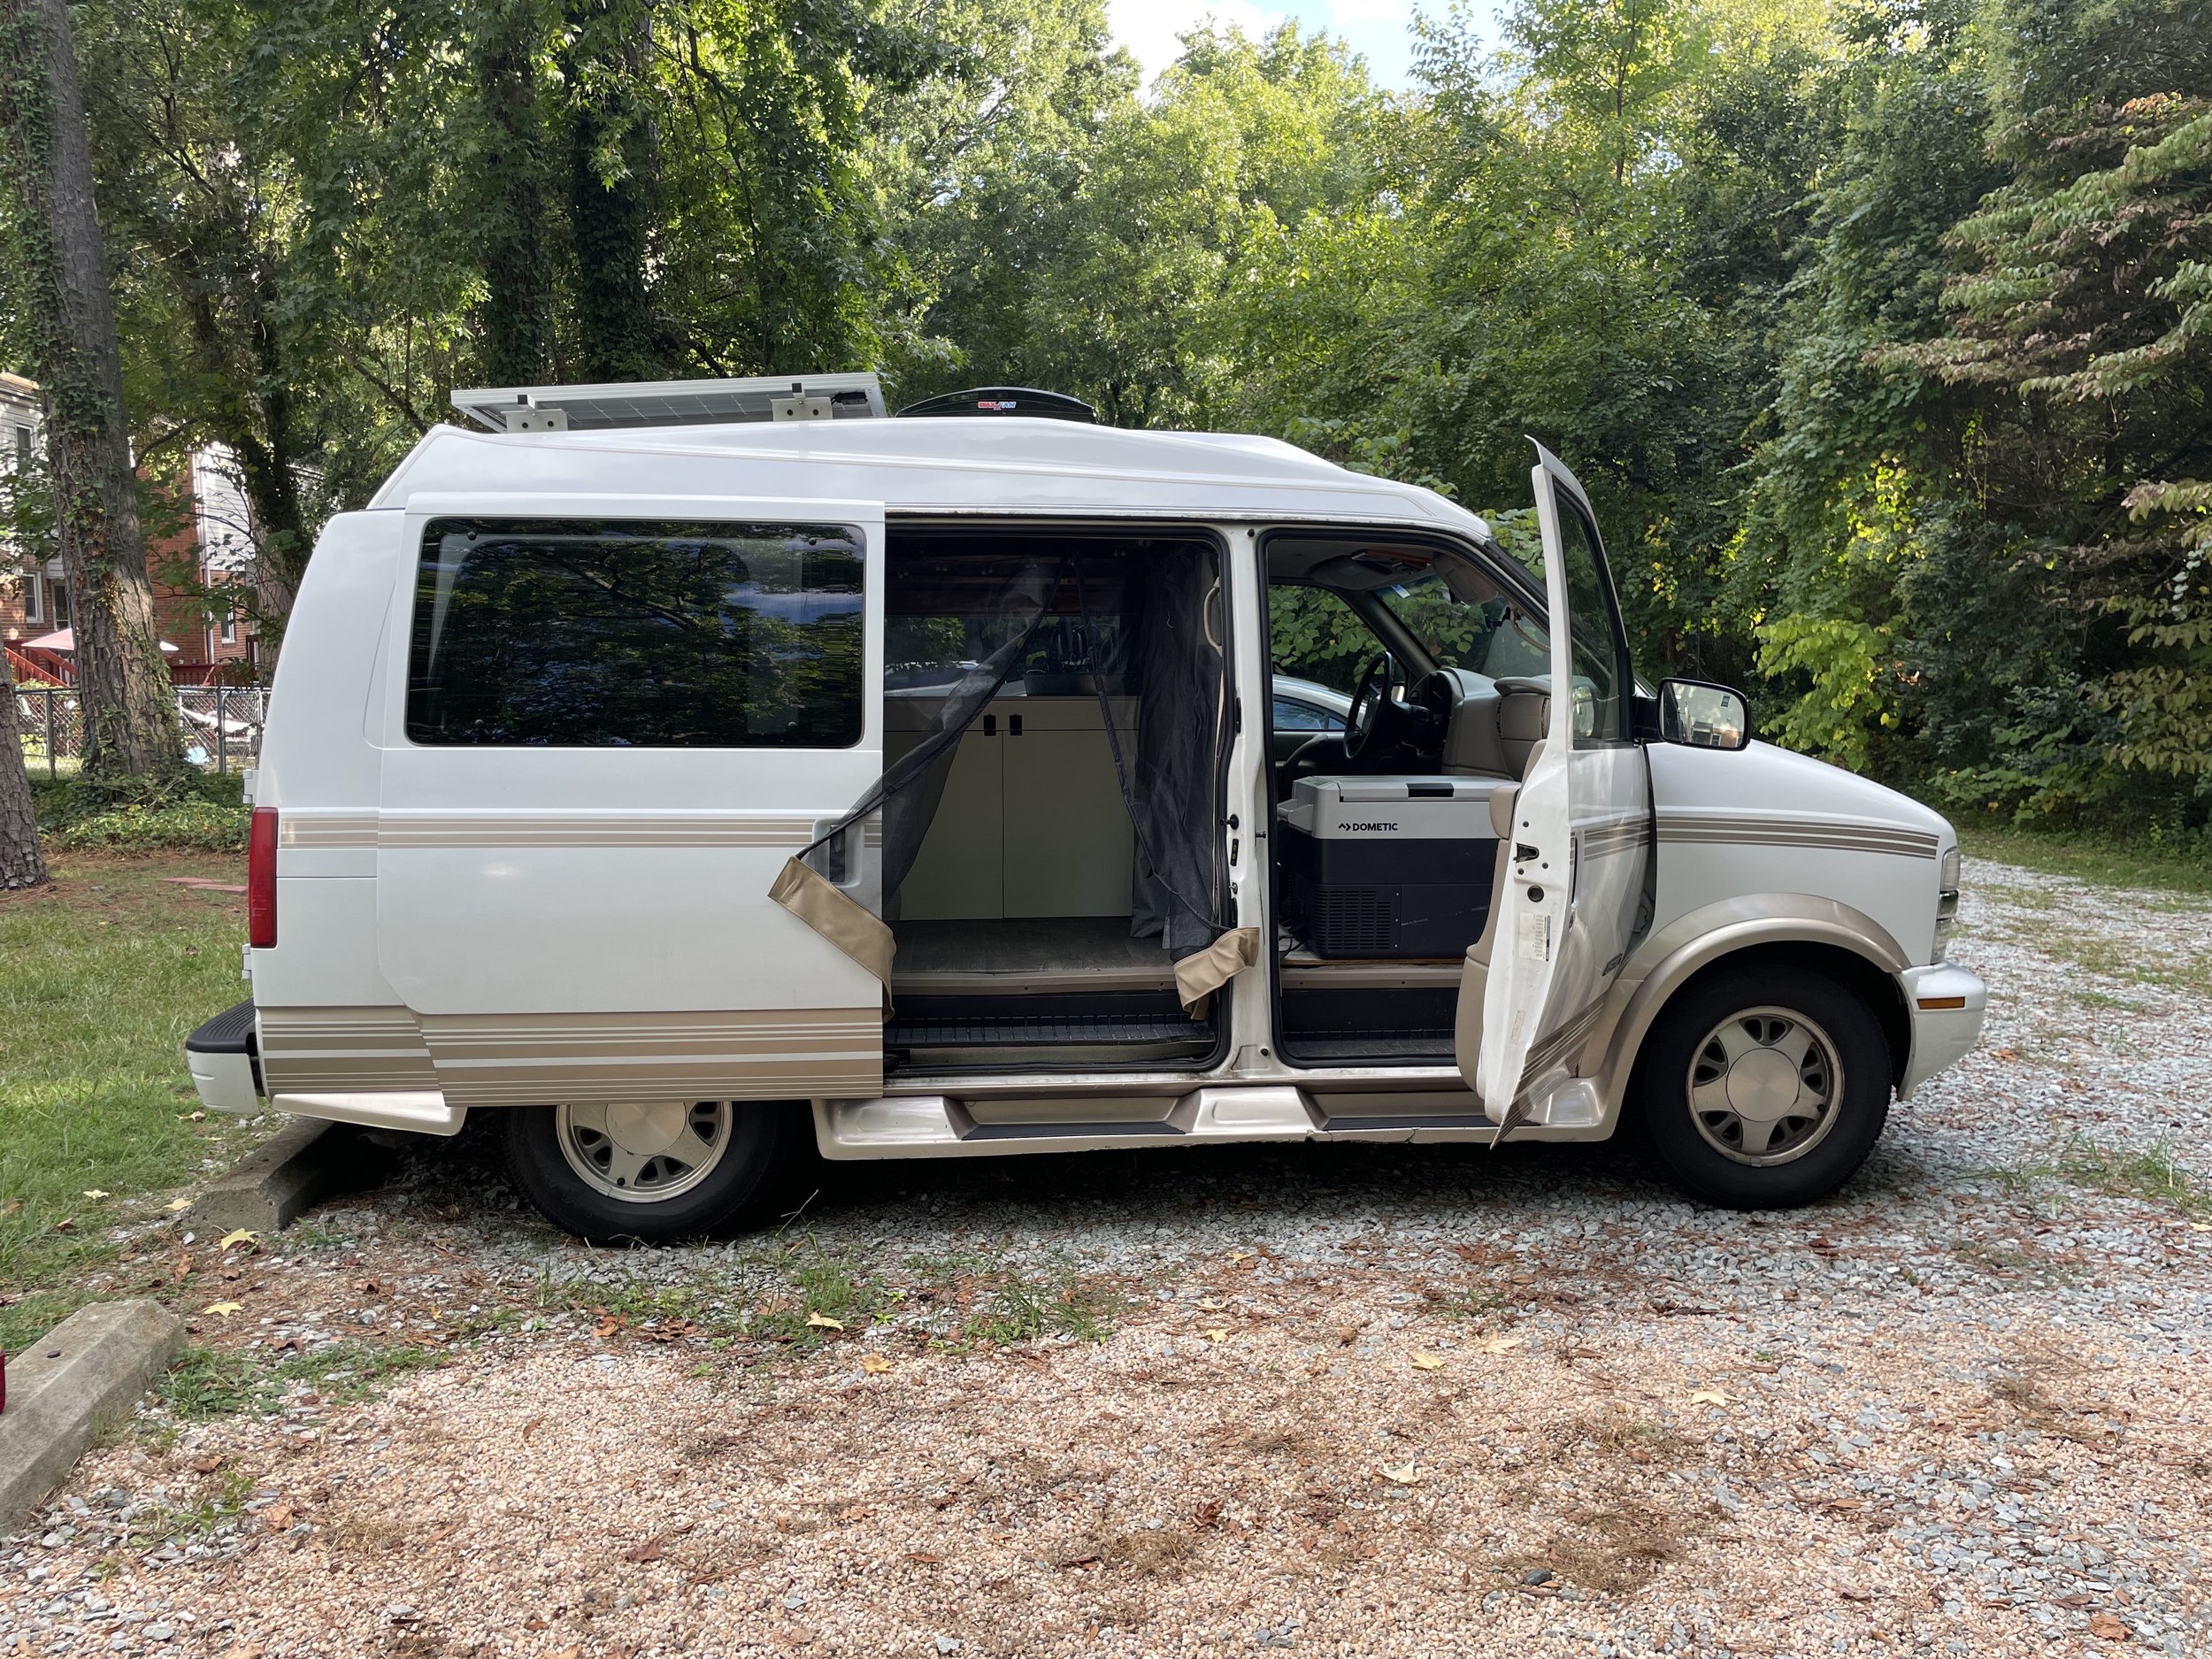
Meet Marge! My 1999 Chevy Astro Van! She’s a factory conversion van with a DIY camper build.
Price: $5,000 FIRM.*
*This price DOES NOT include the Jackery, or fridge. But these items can be included at an additional cost.
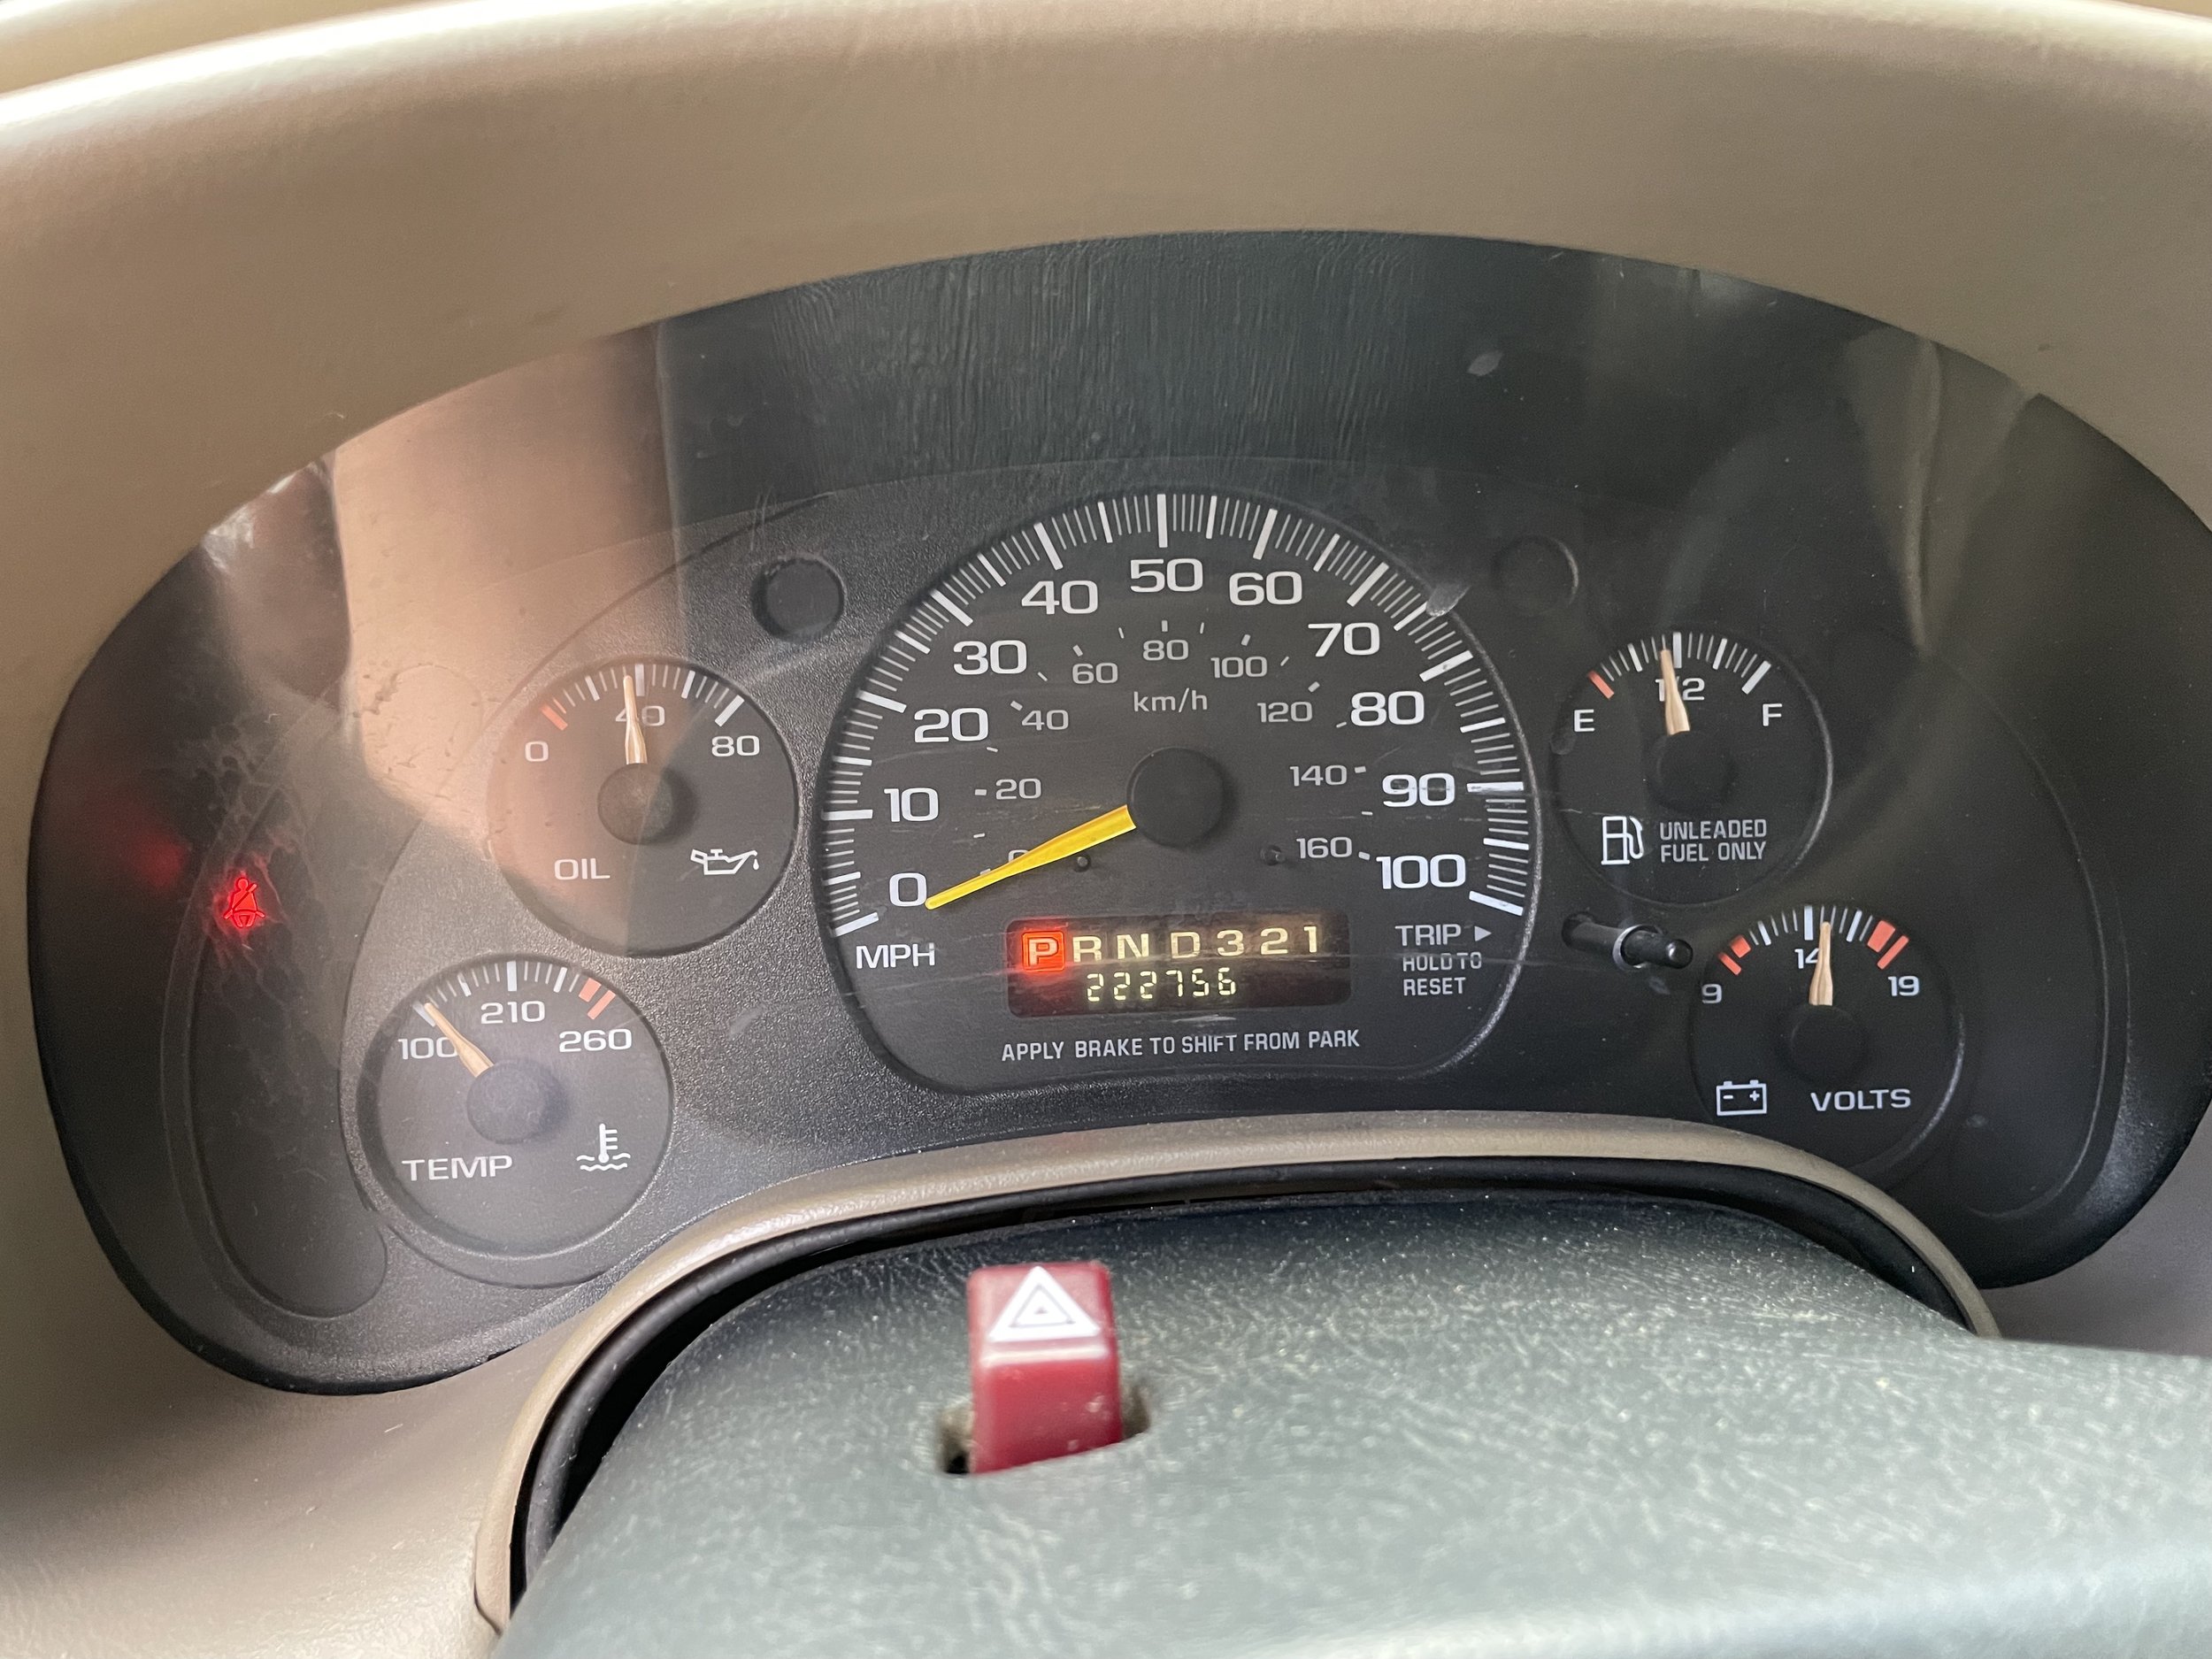
The van is rust-free (it’s from NC, just registered in Maine because my family lives there), has new tires, and a clean title.
In this post, you’ll find all of her features and more photos than I could include in the Facebook ad. If you have any questions, feel free to email me at rachelhmeltzer@gmail.com.
If you’d like to look at the van, you can schedule a time to see it here or just shoot me an email.
Exterior
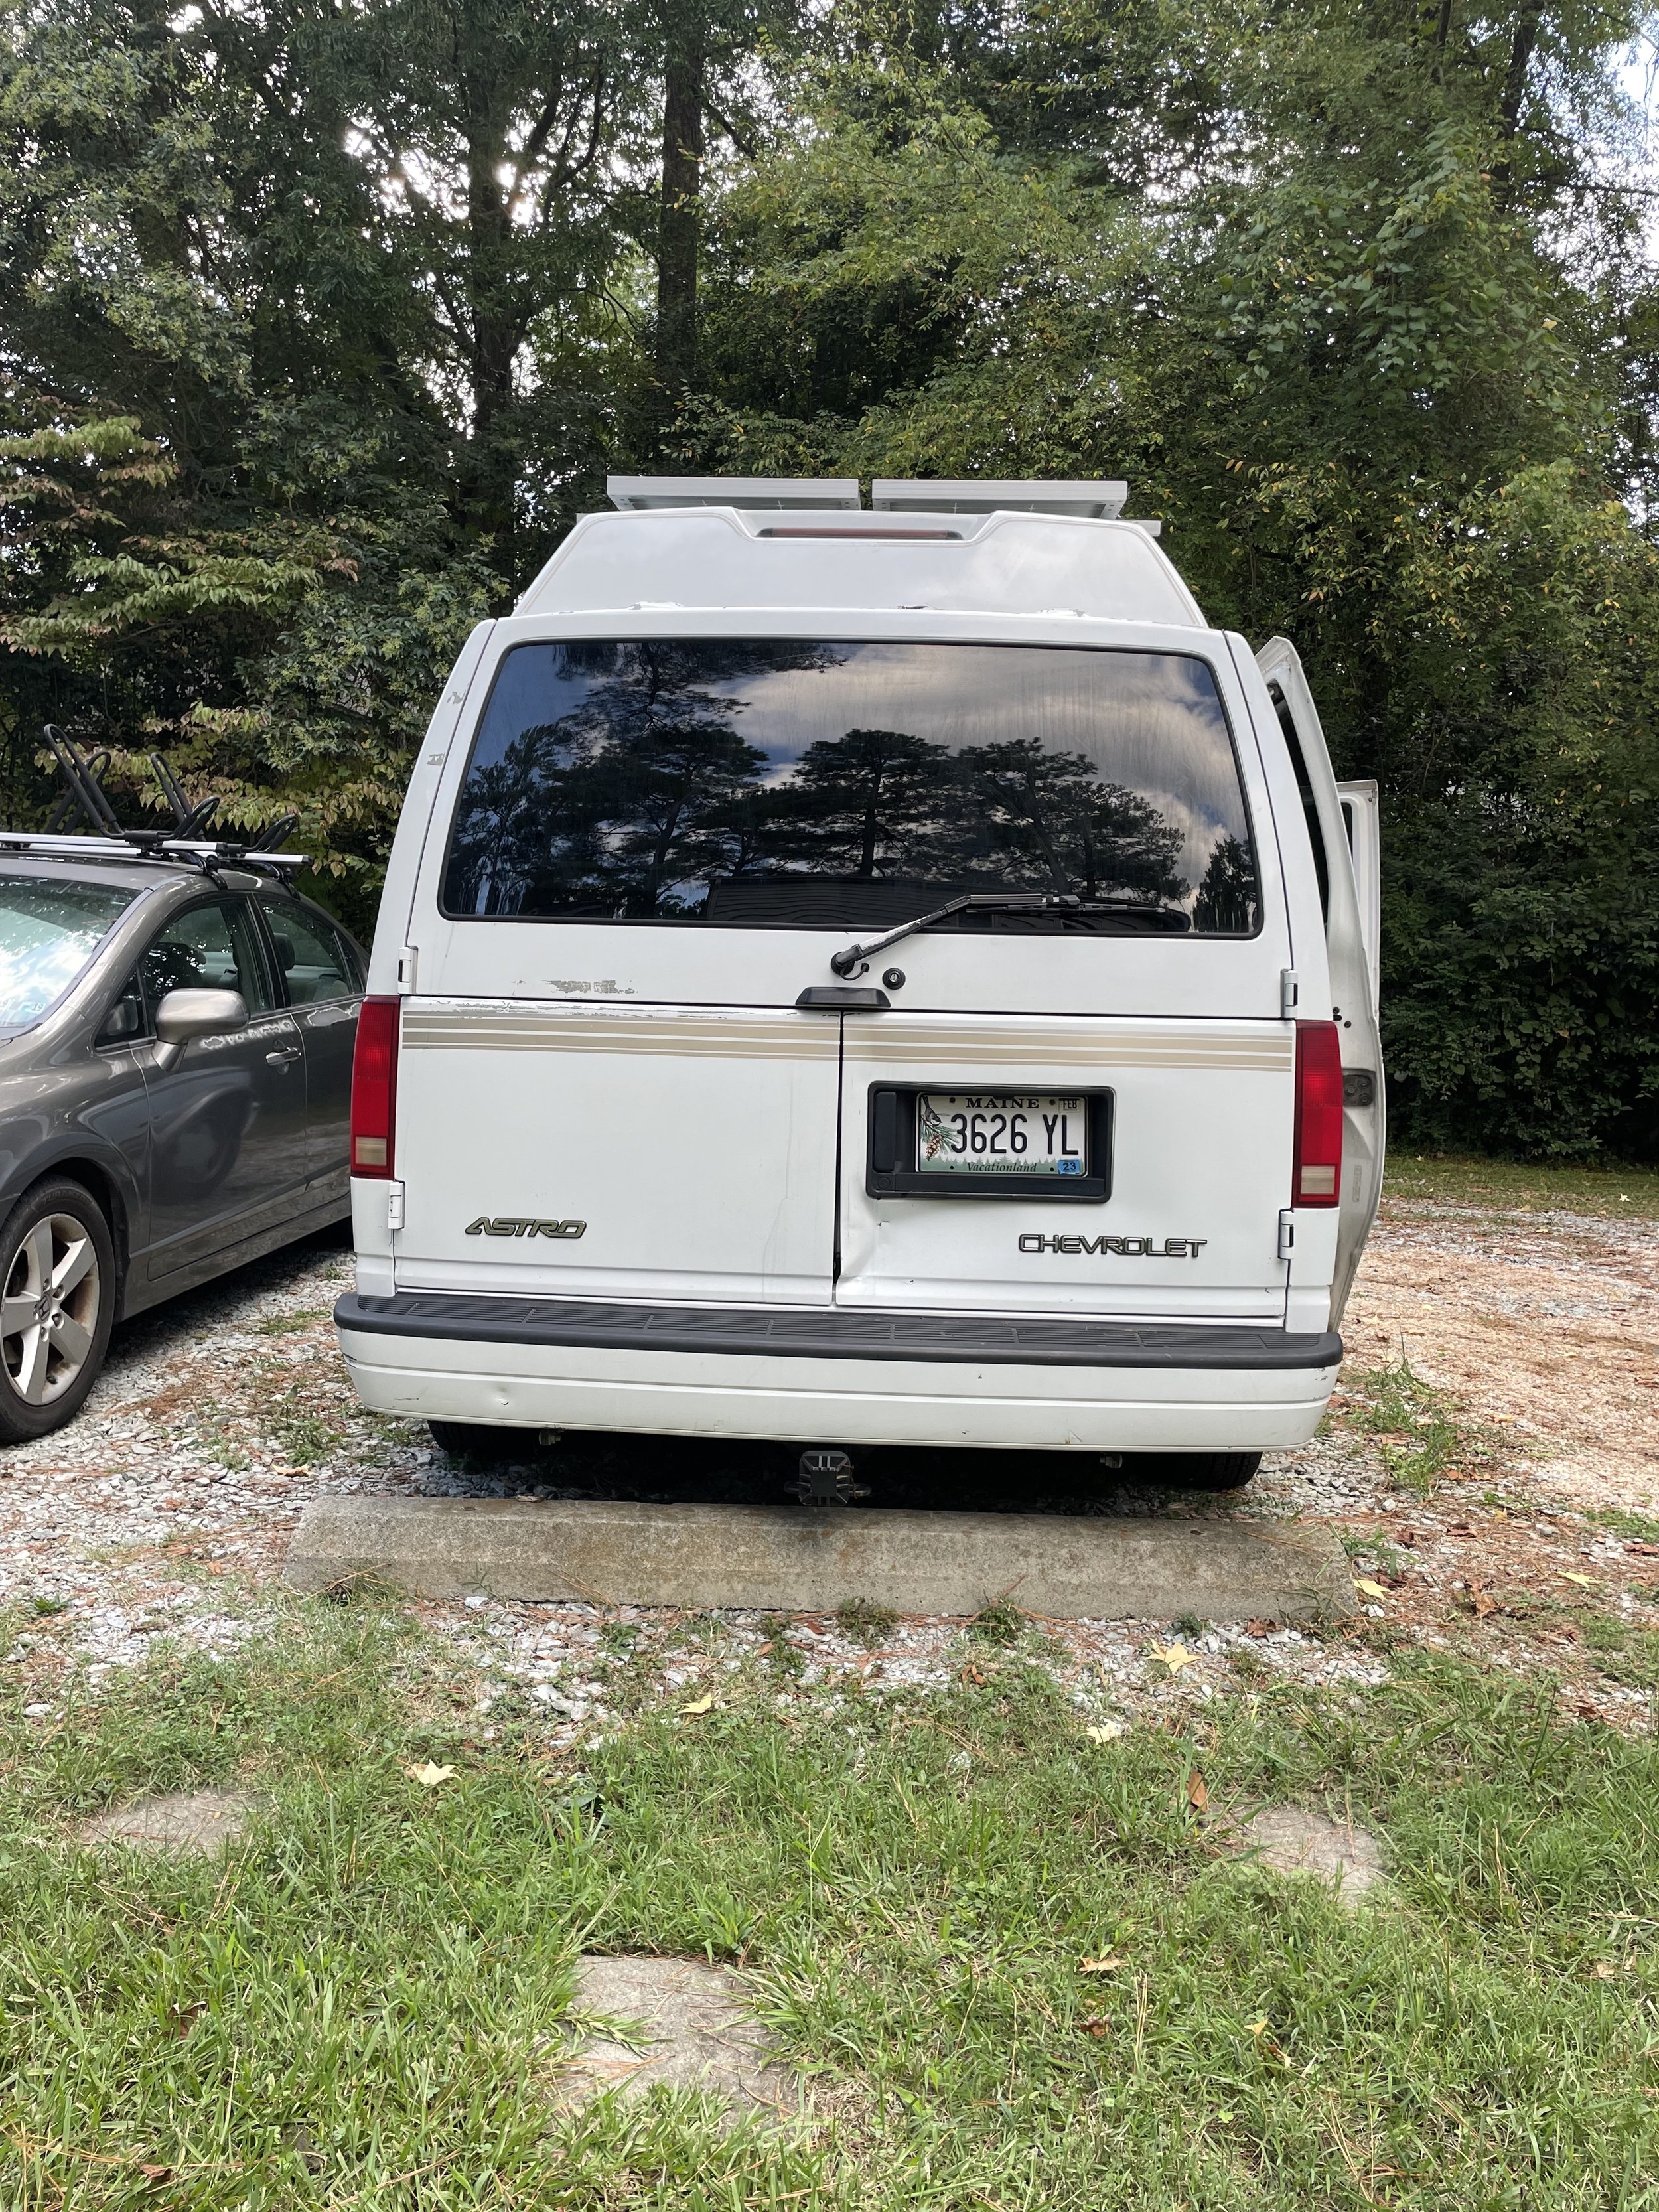
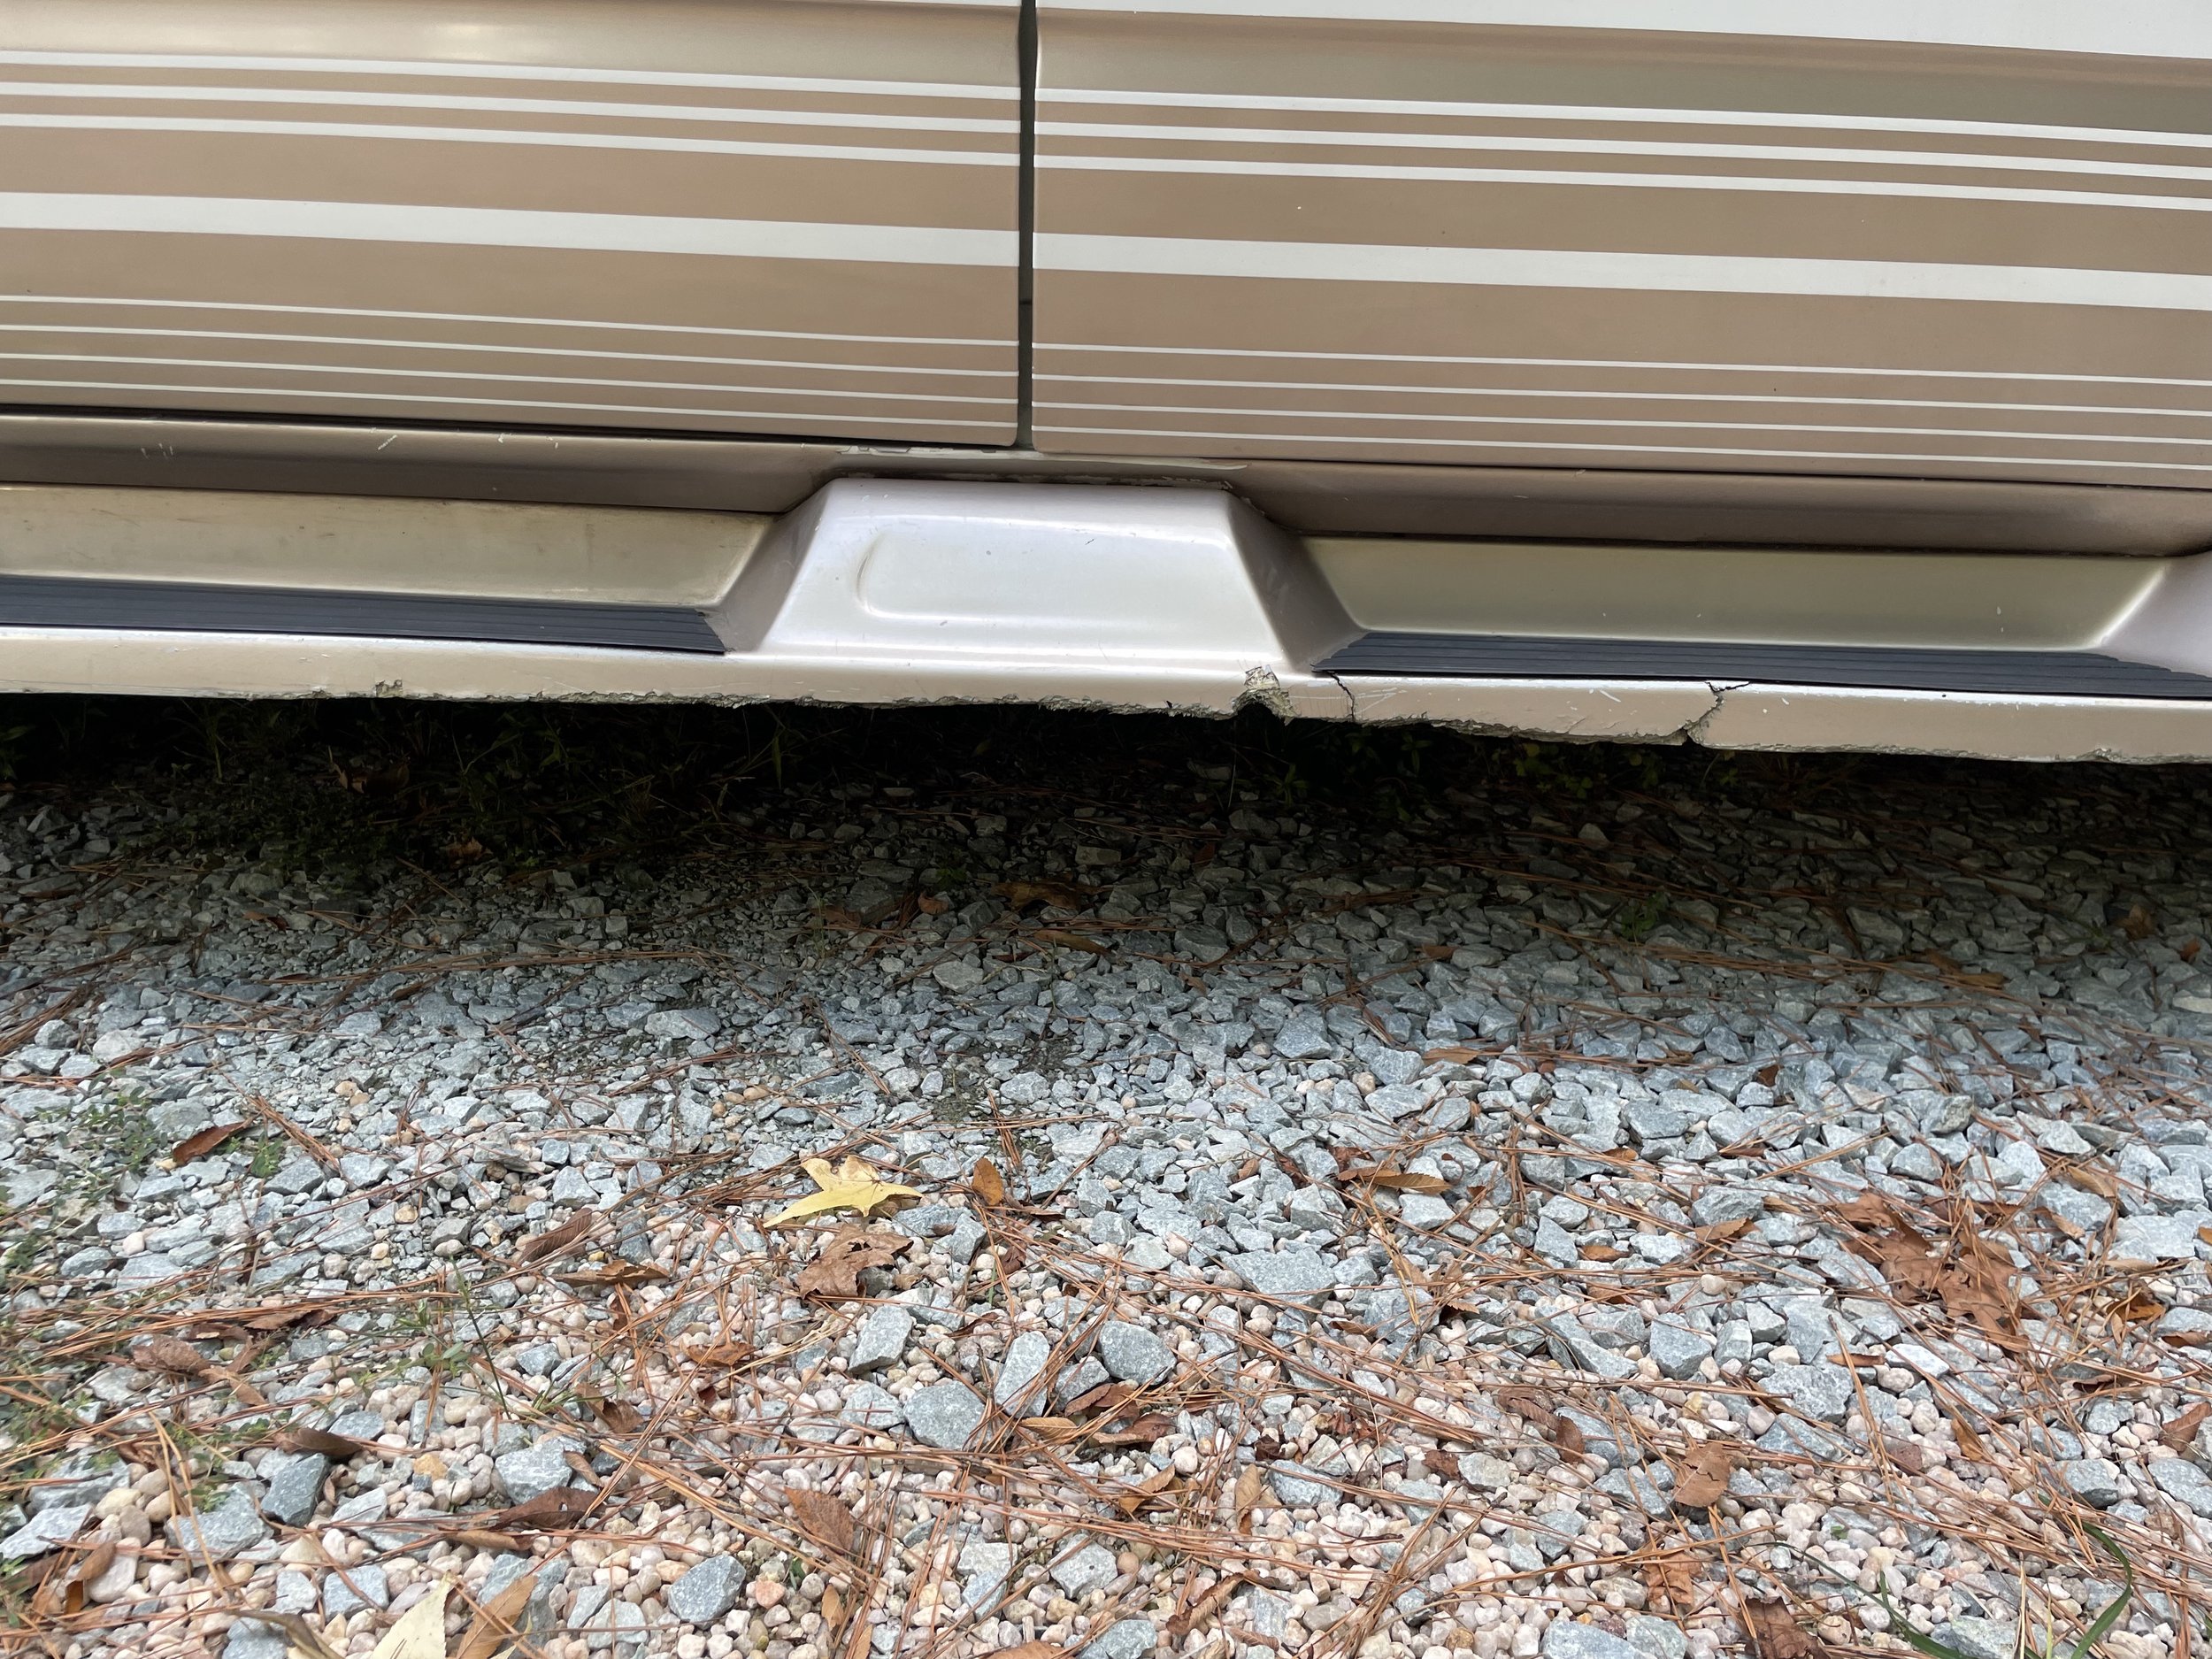
Body
The running boards are made of fiber glass. They had some damage when I bought the van, but overall they’re quite solid. I opted to leave them on because they provide fantastic protection against catalytic converter thieves.
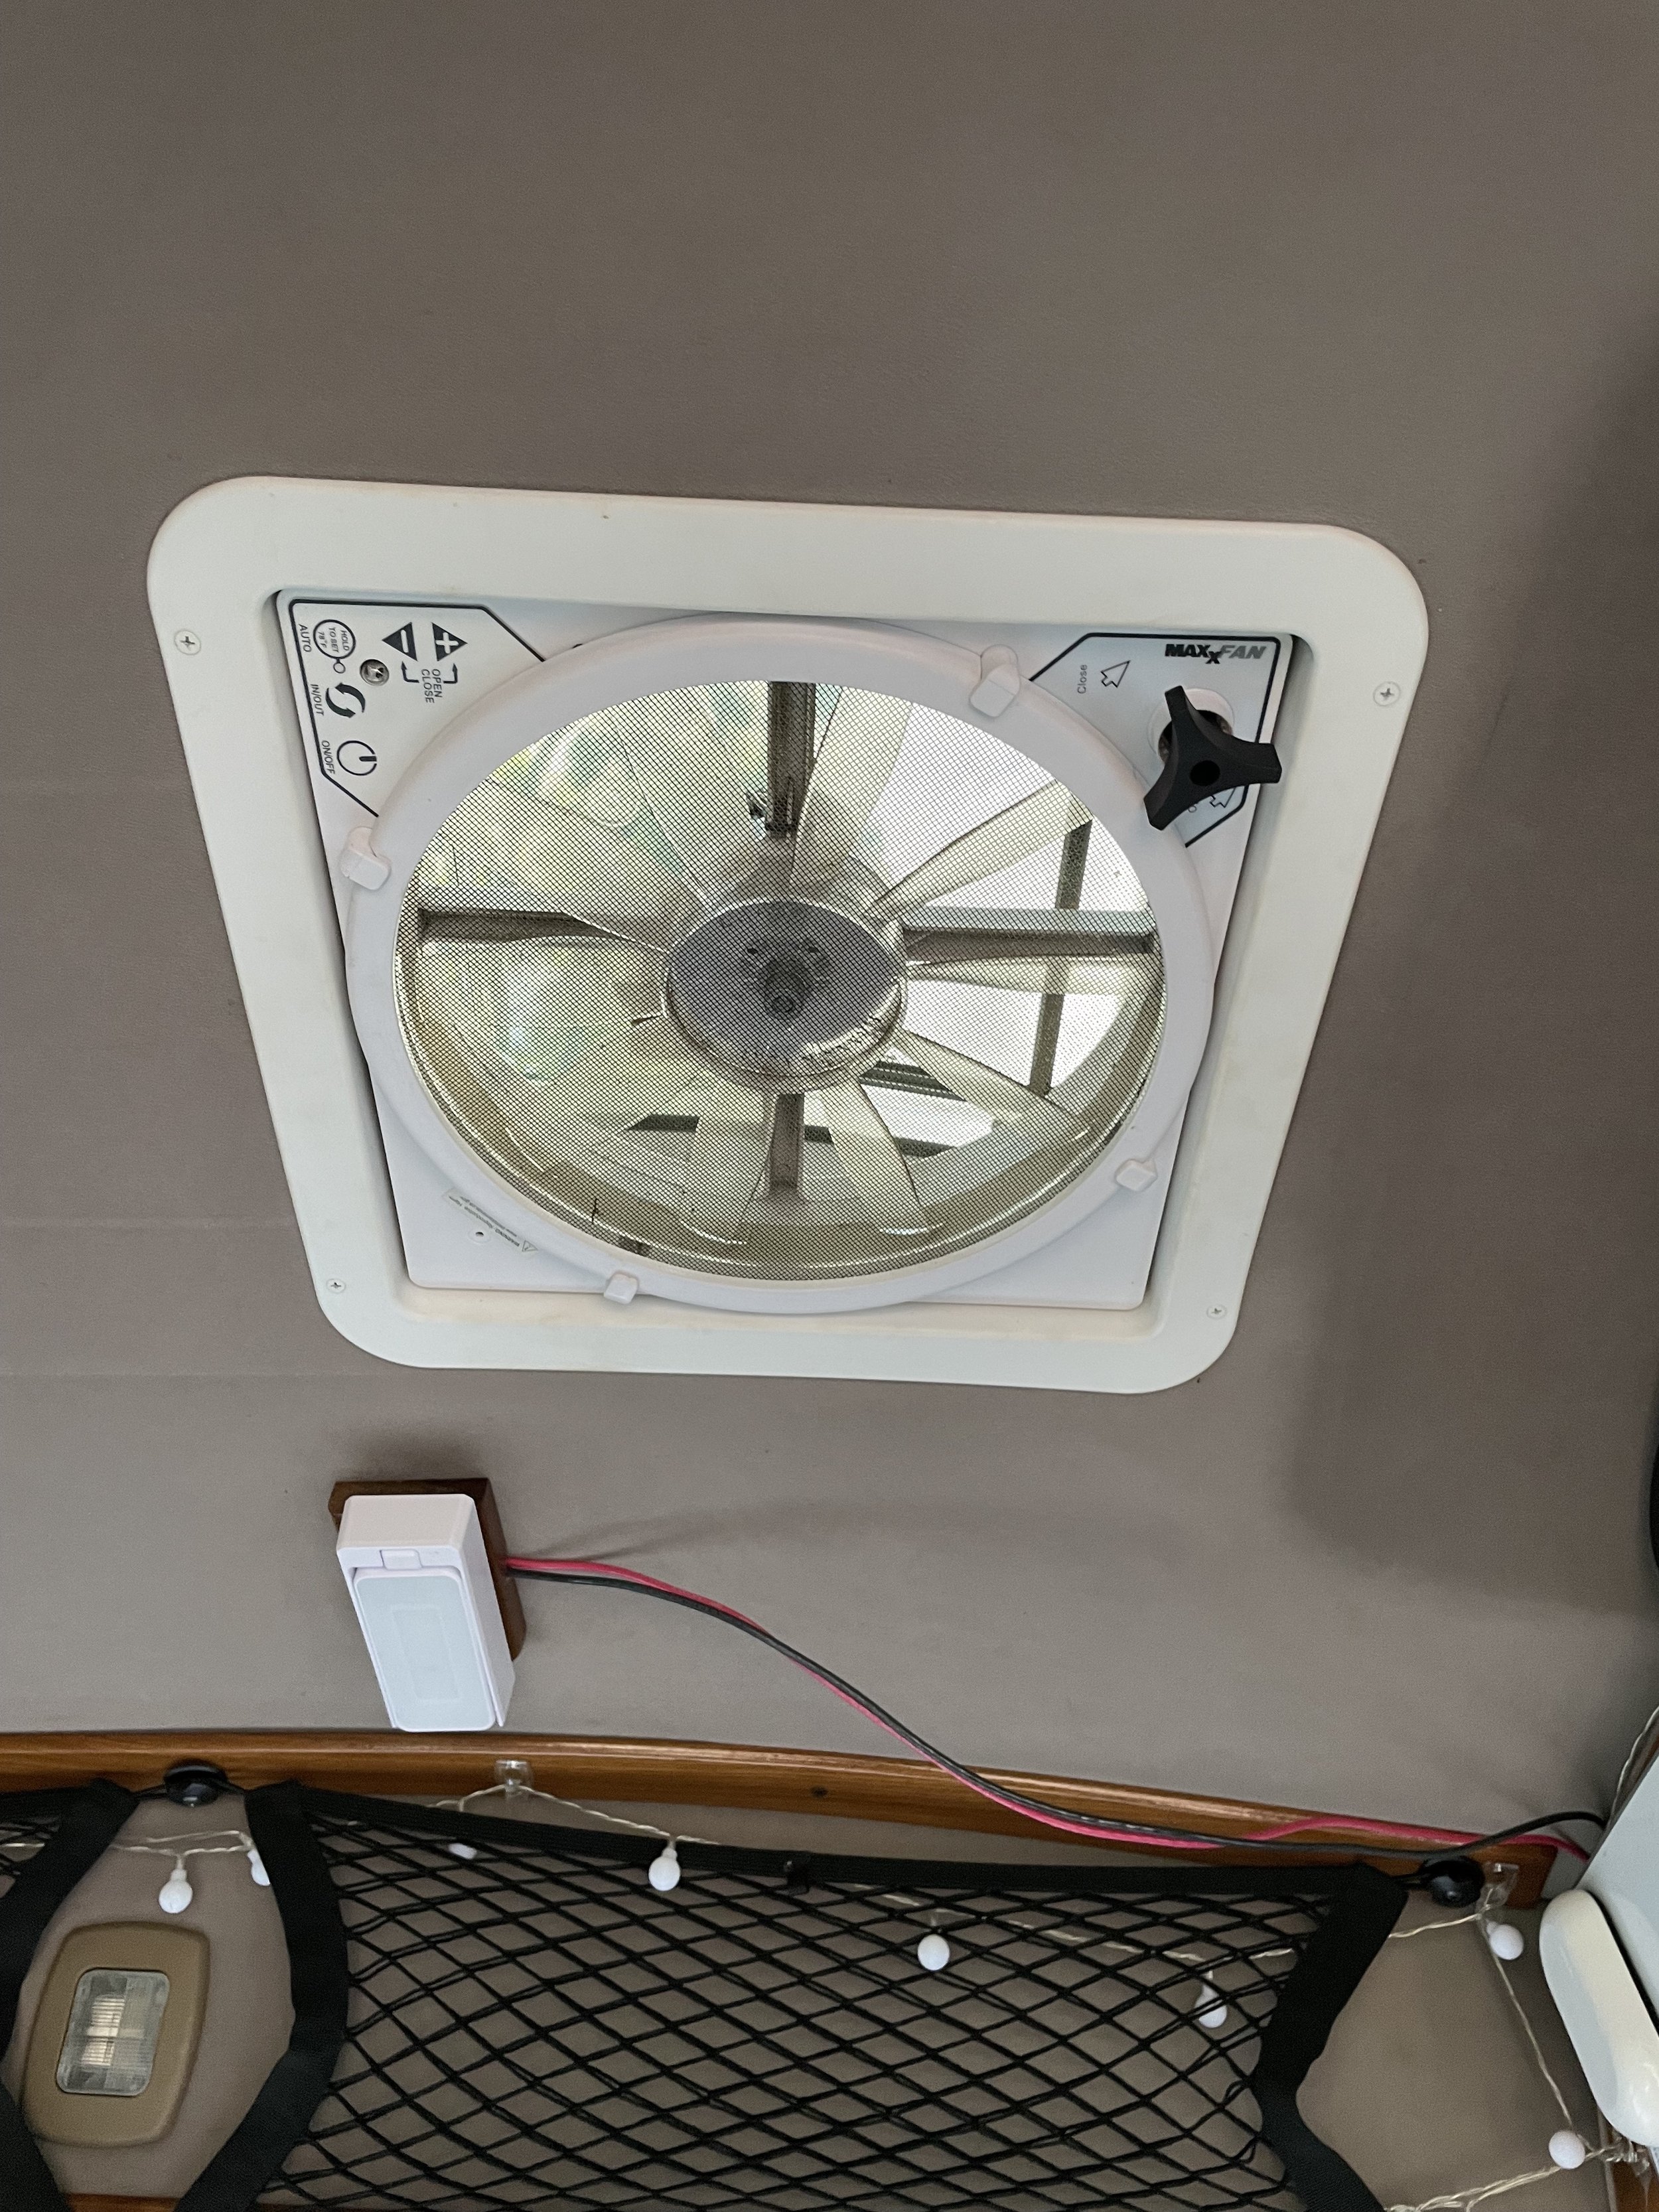
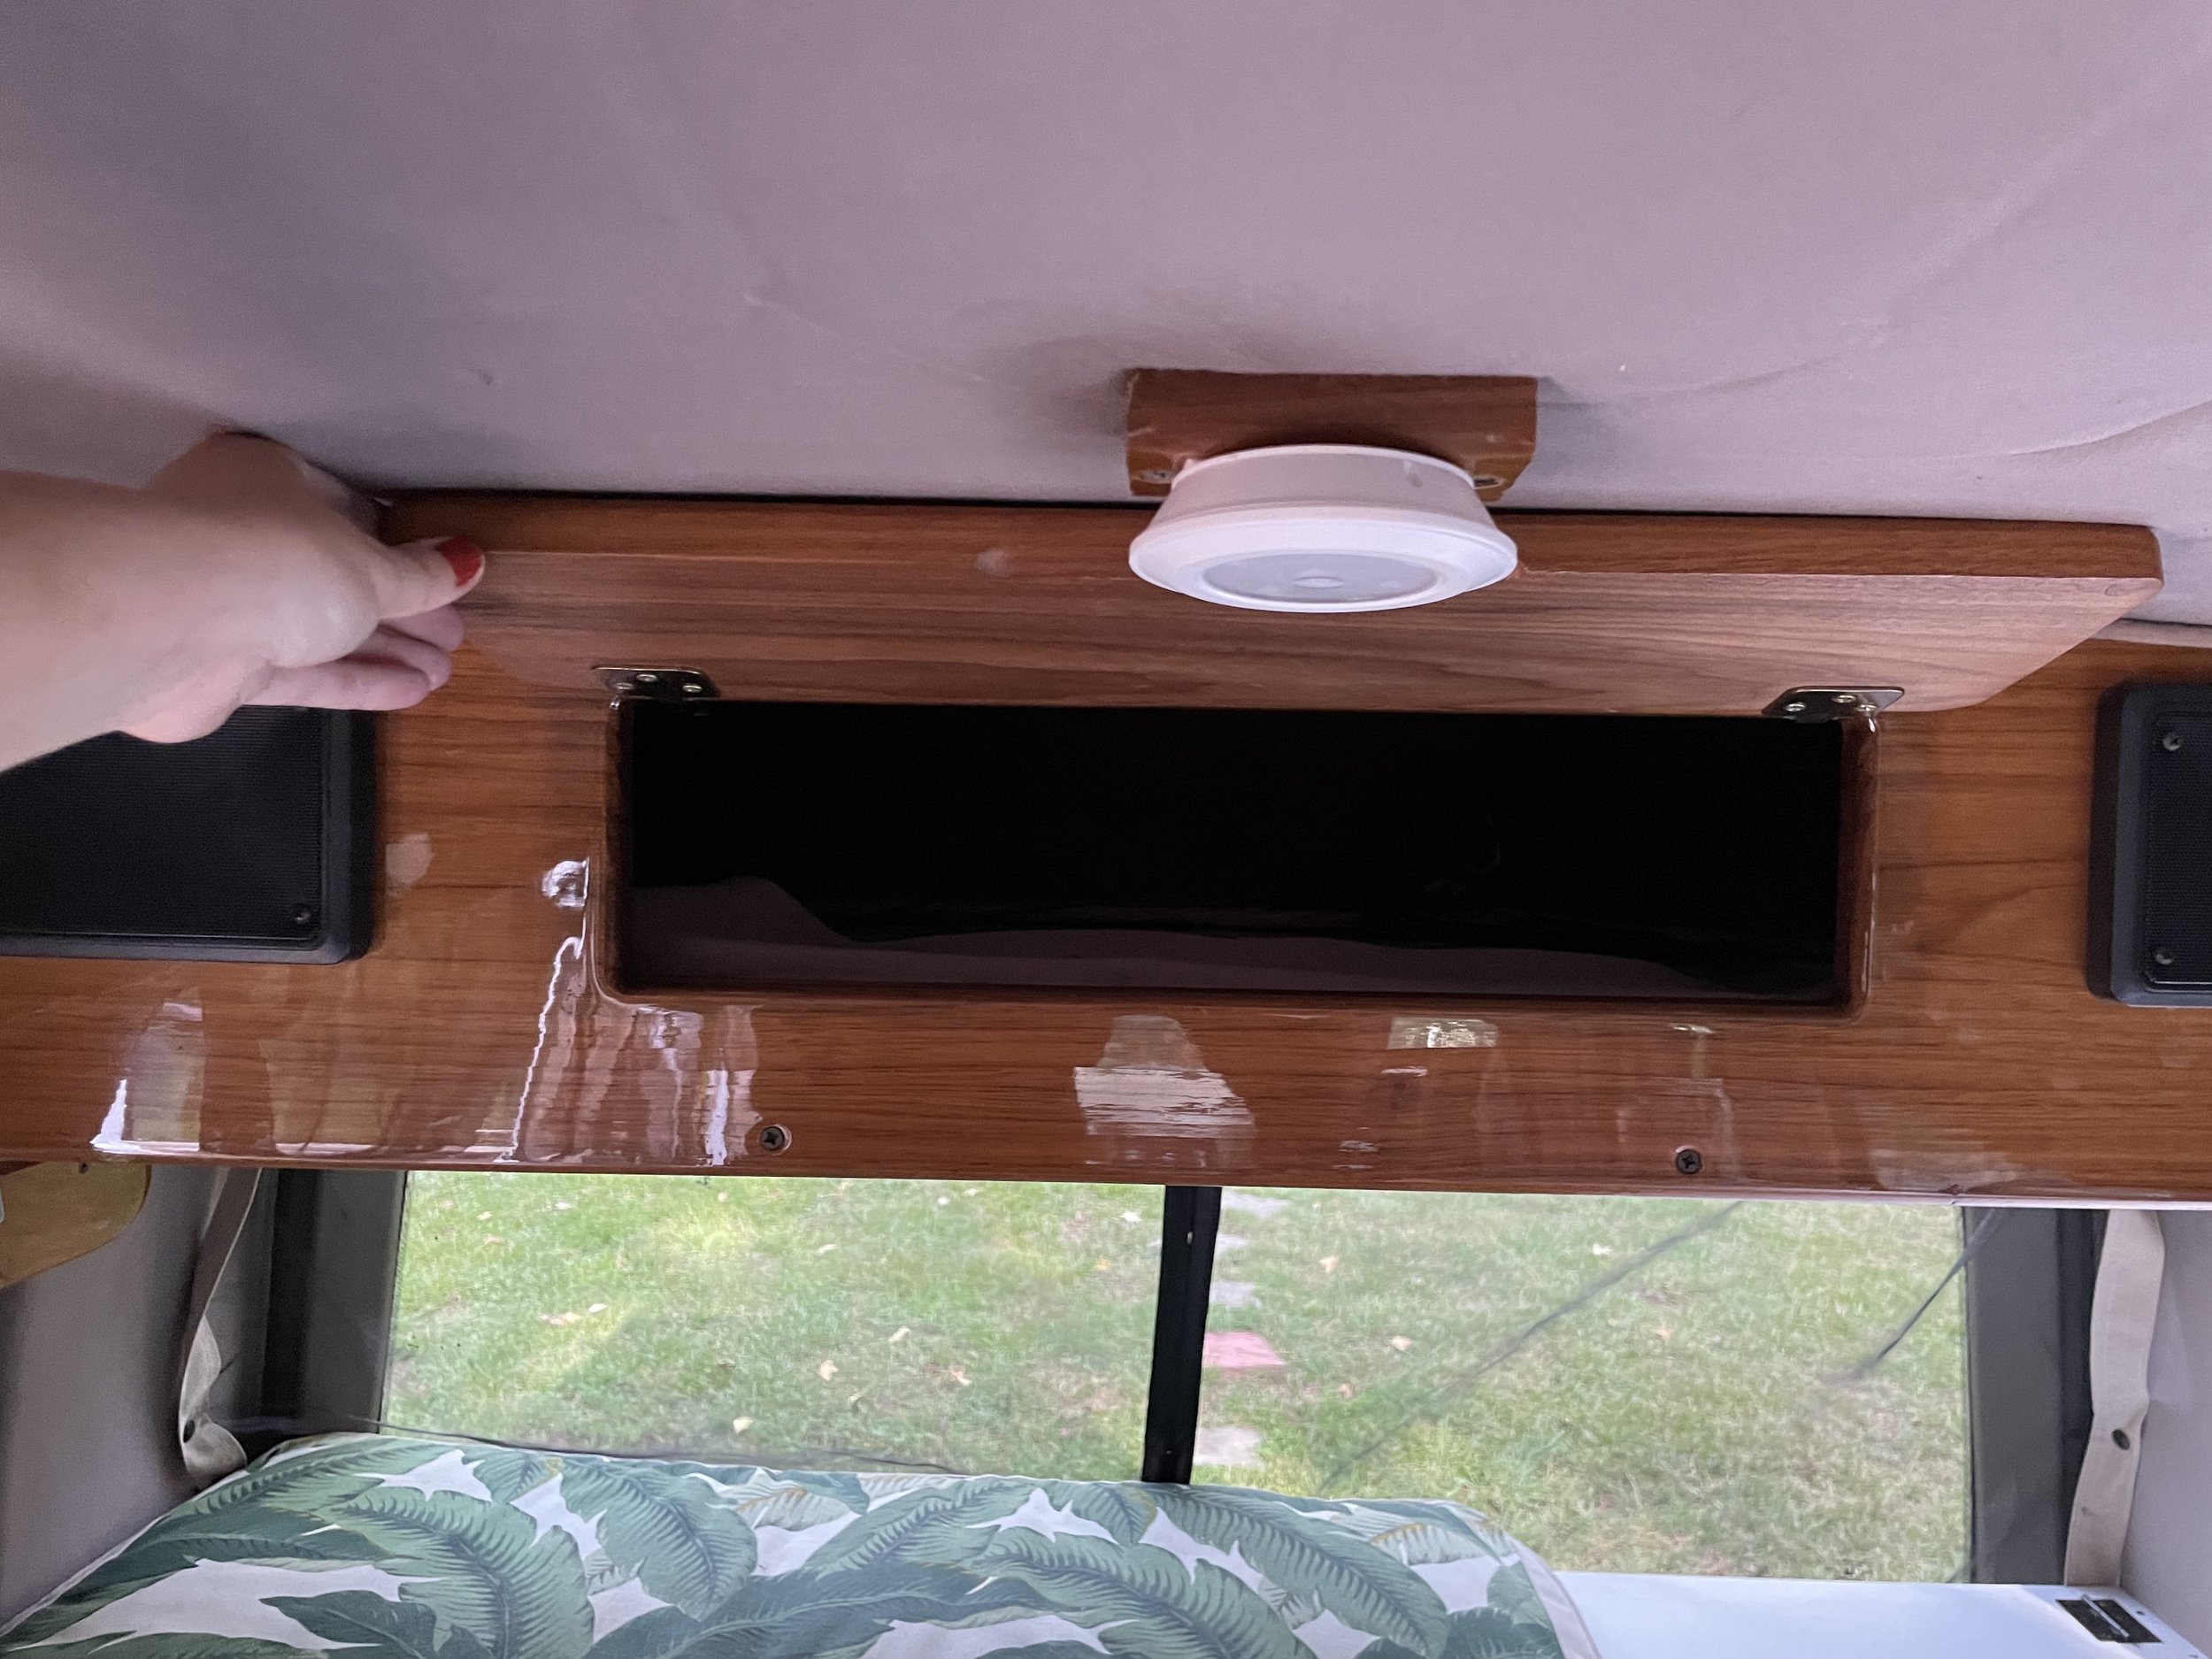
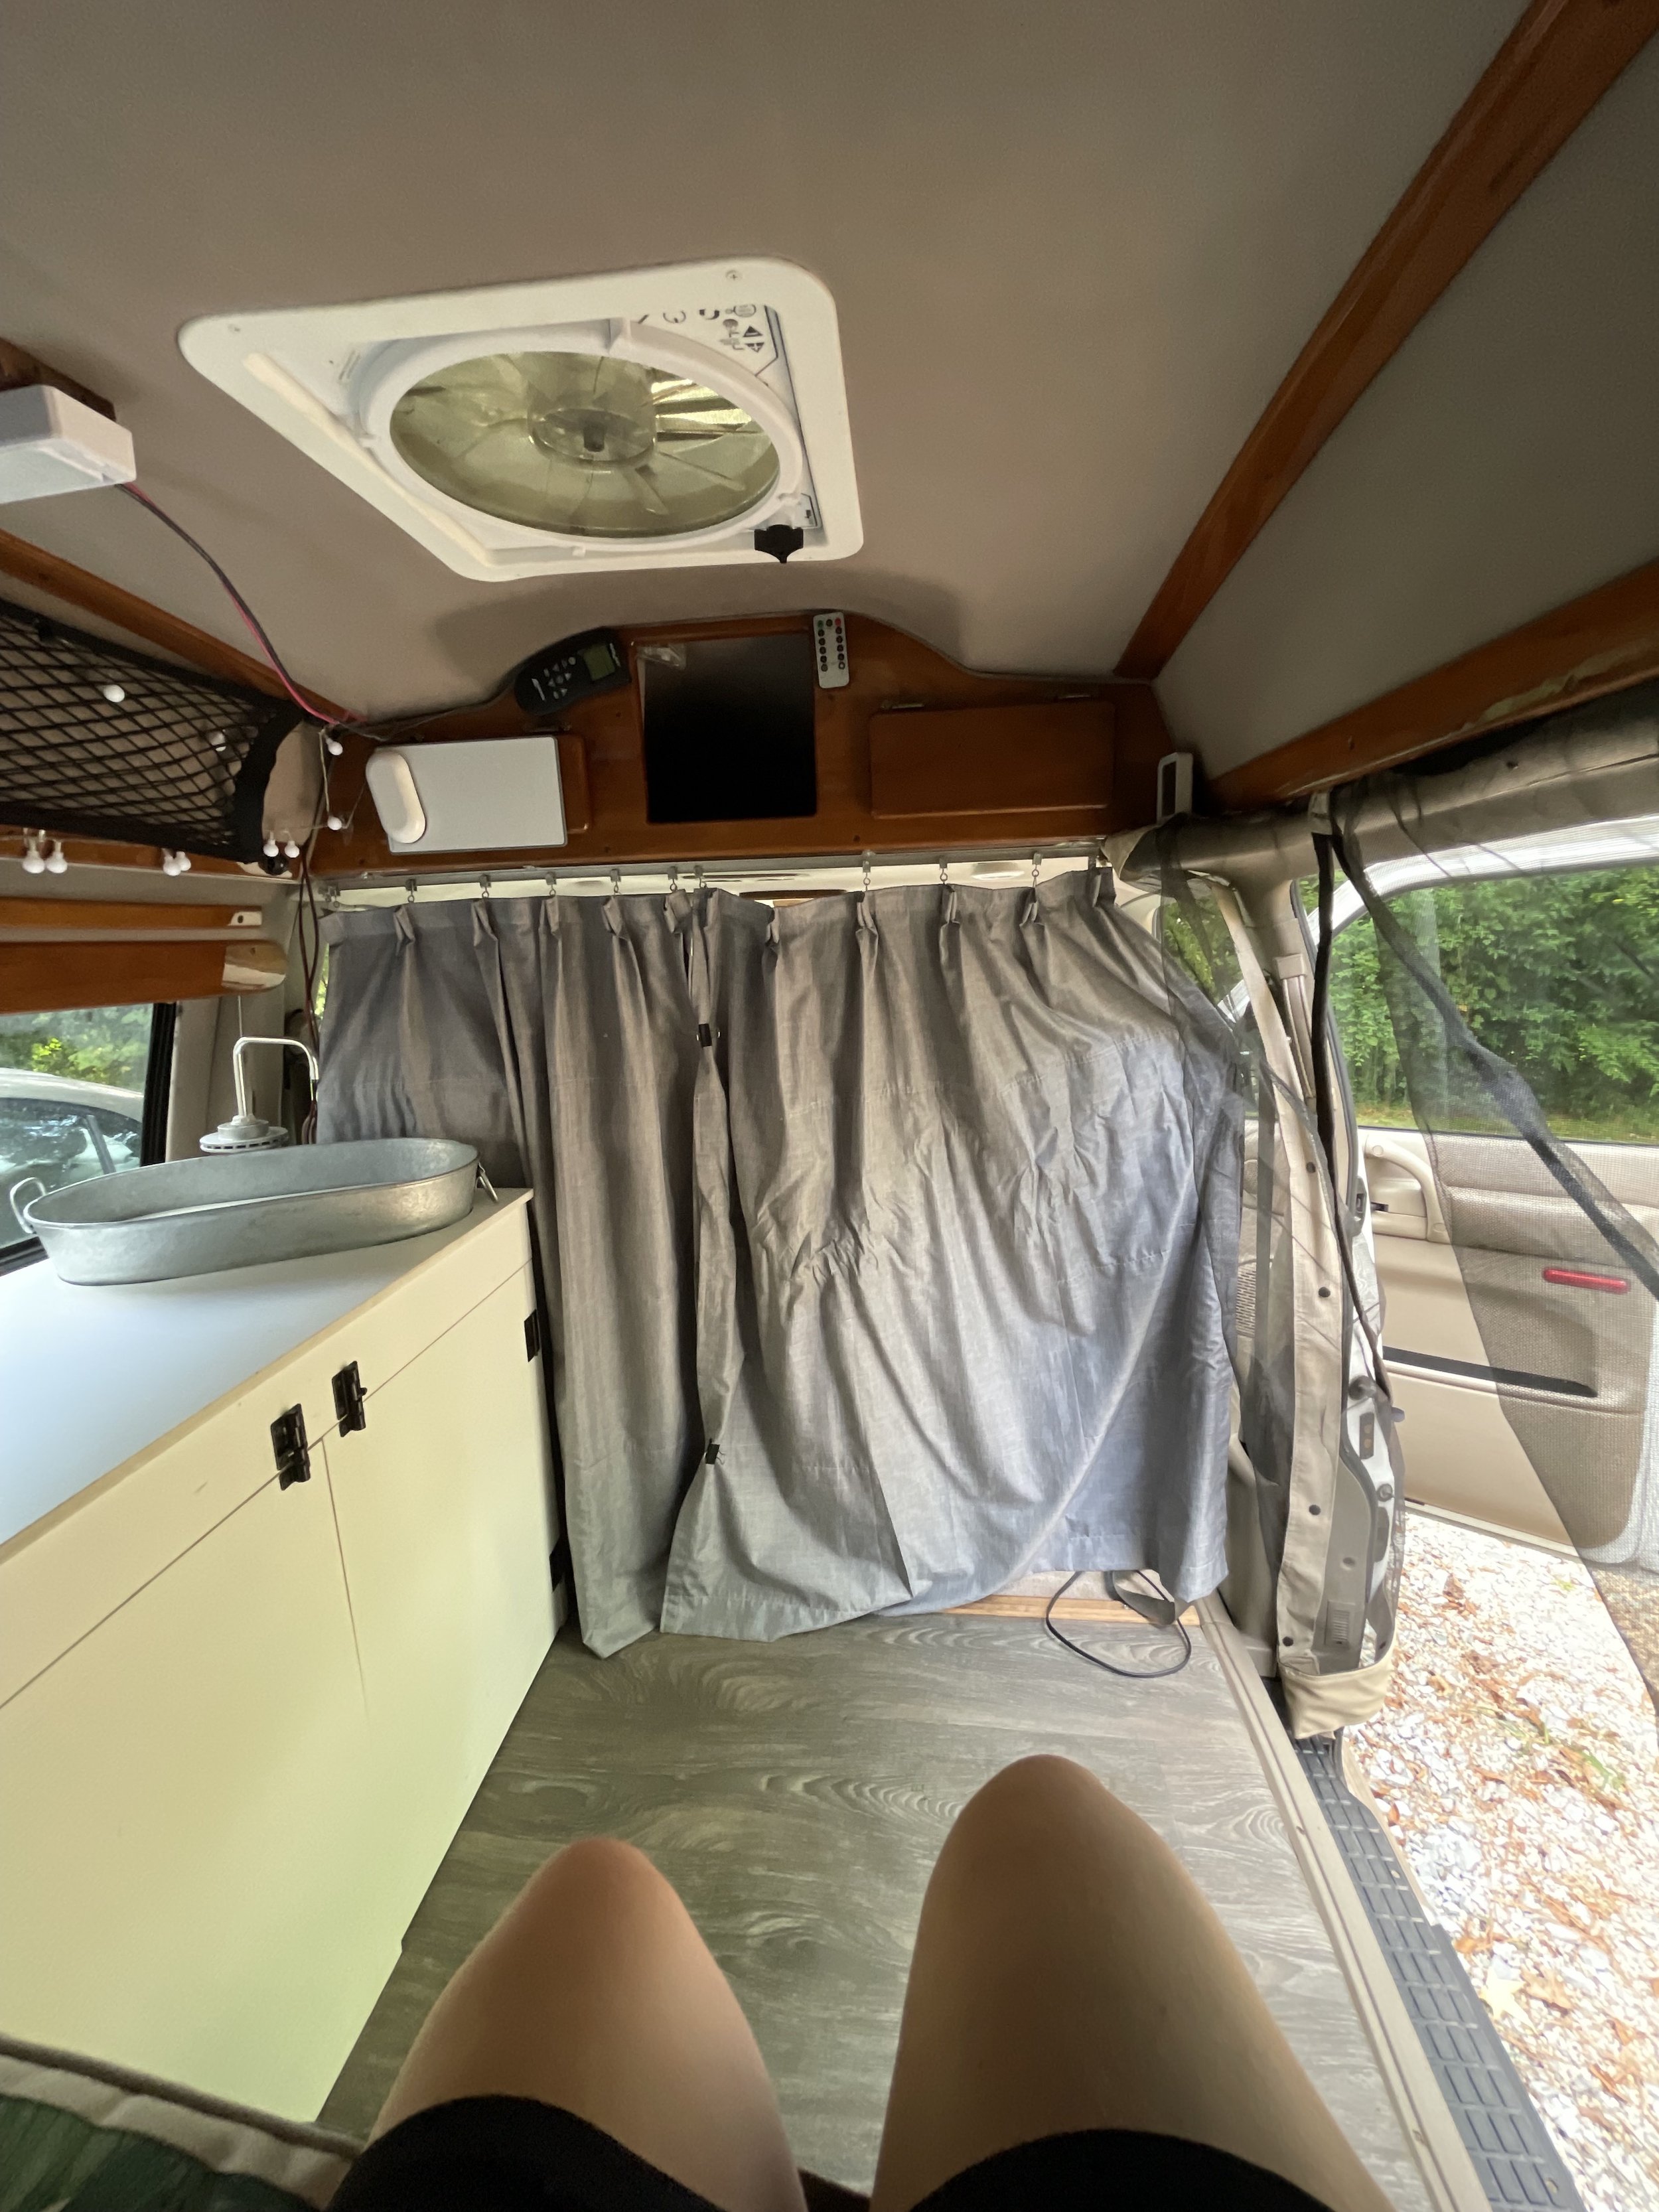
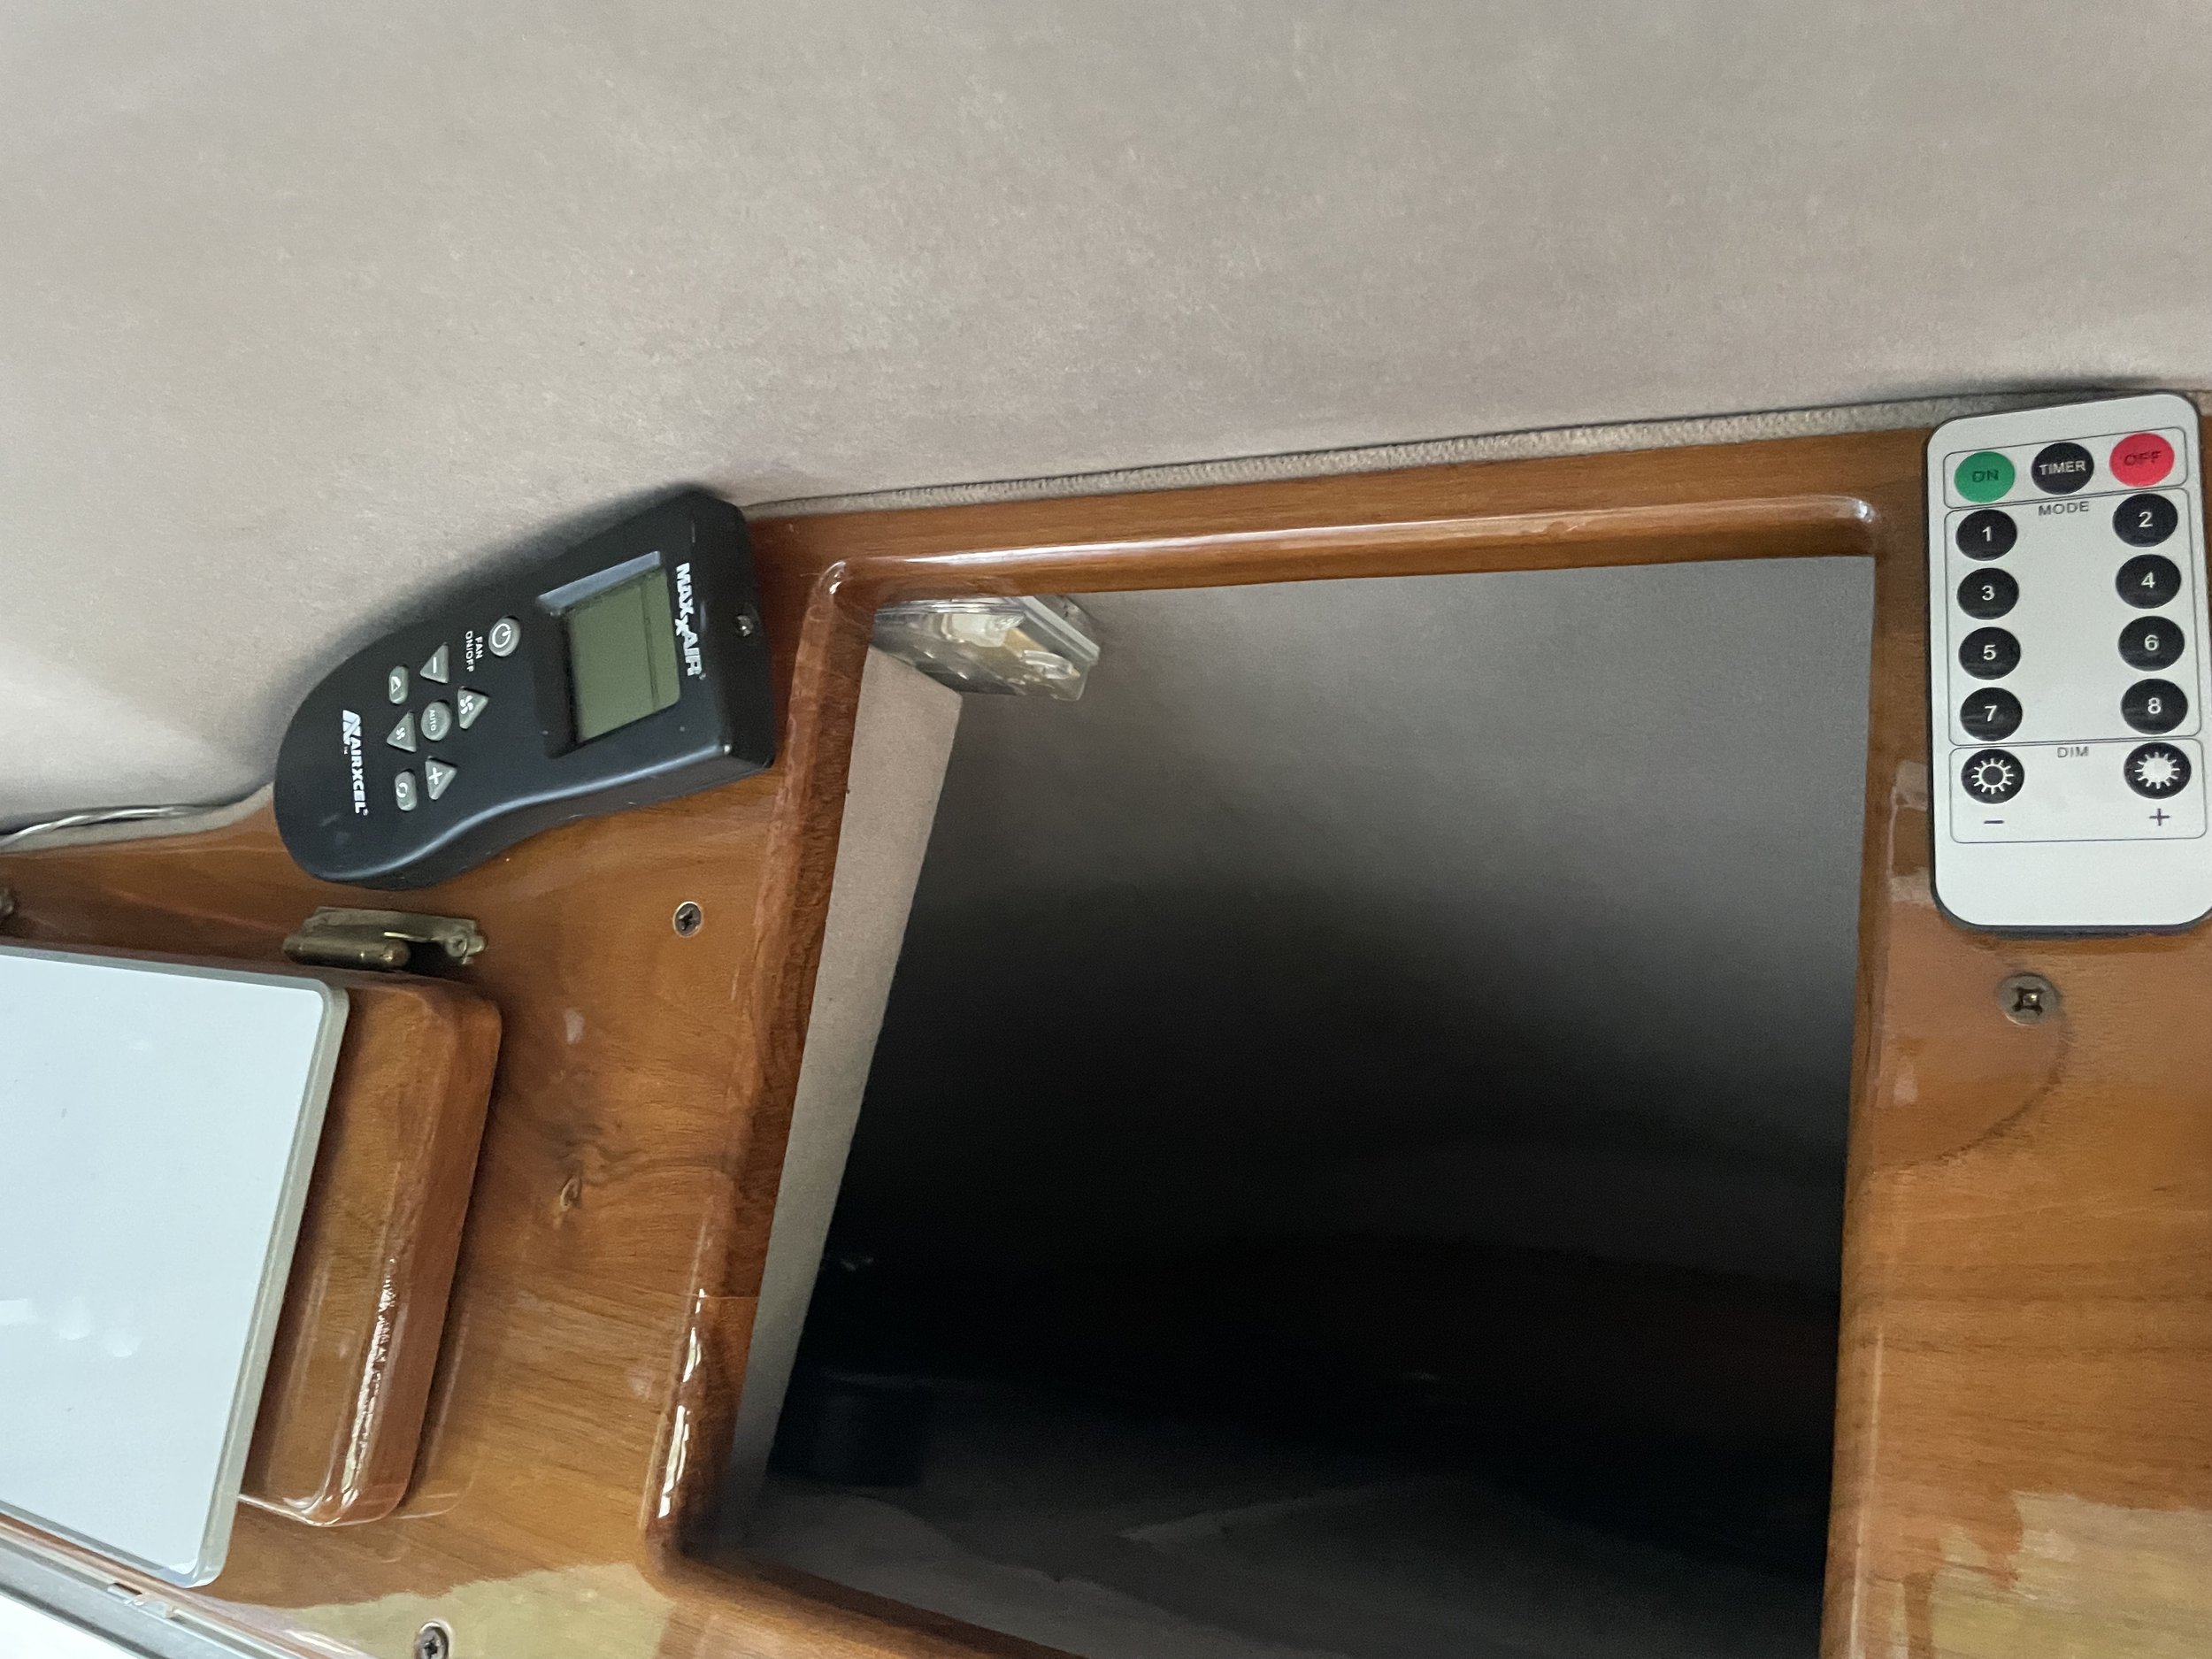
On the roof is a MaxxAir Deluxe Fan. There’s a remote for it too!

Power System
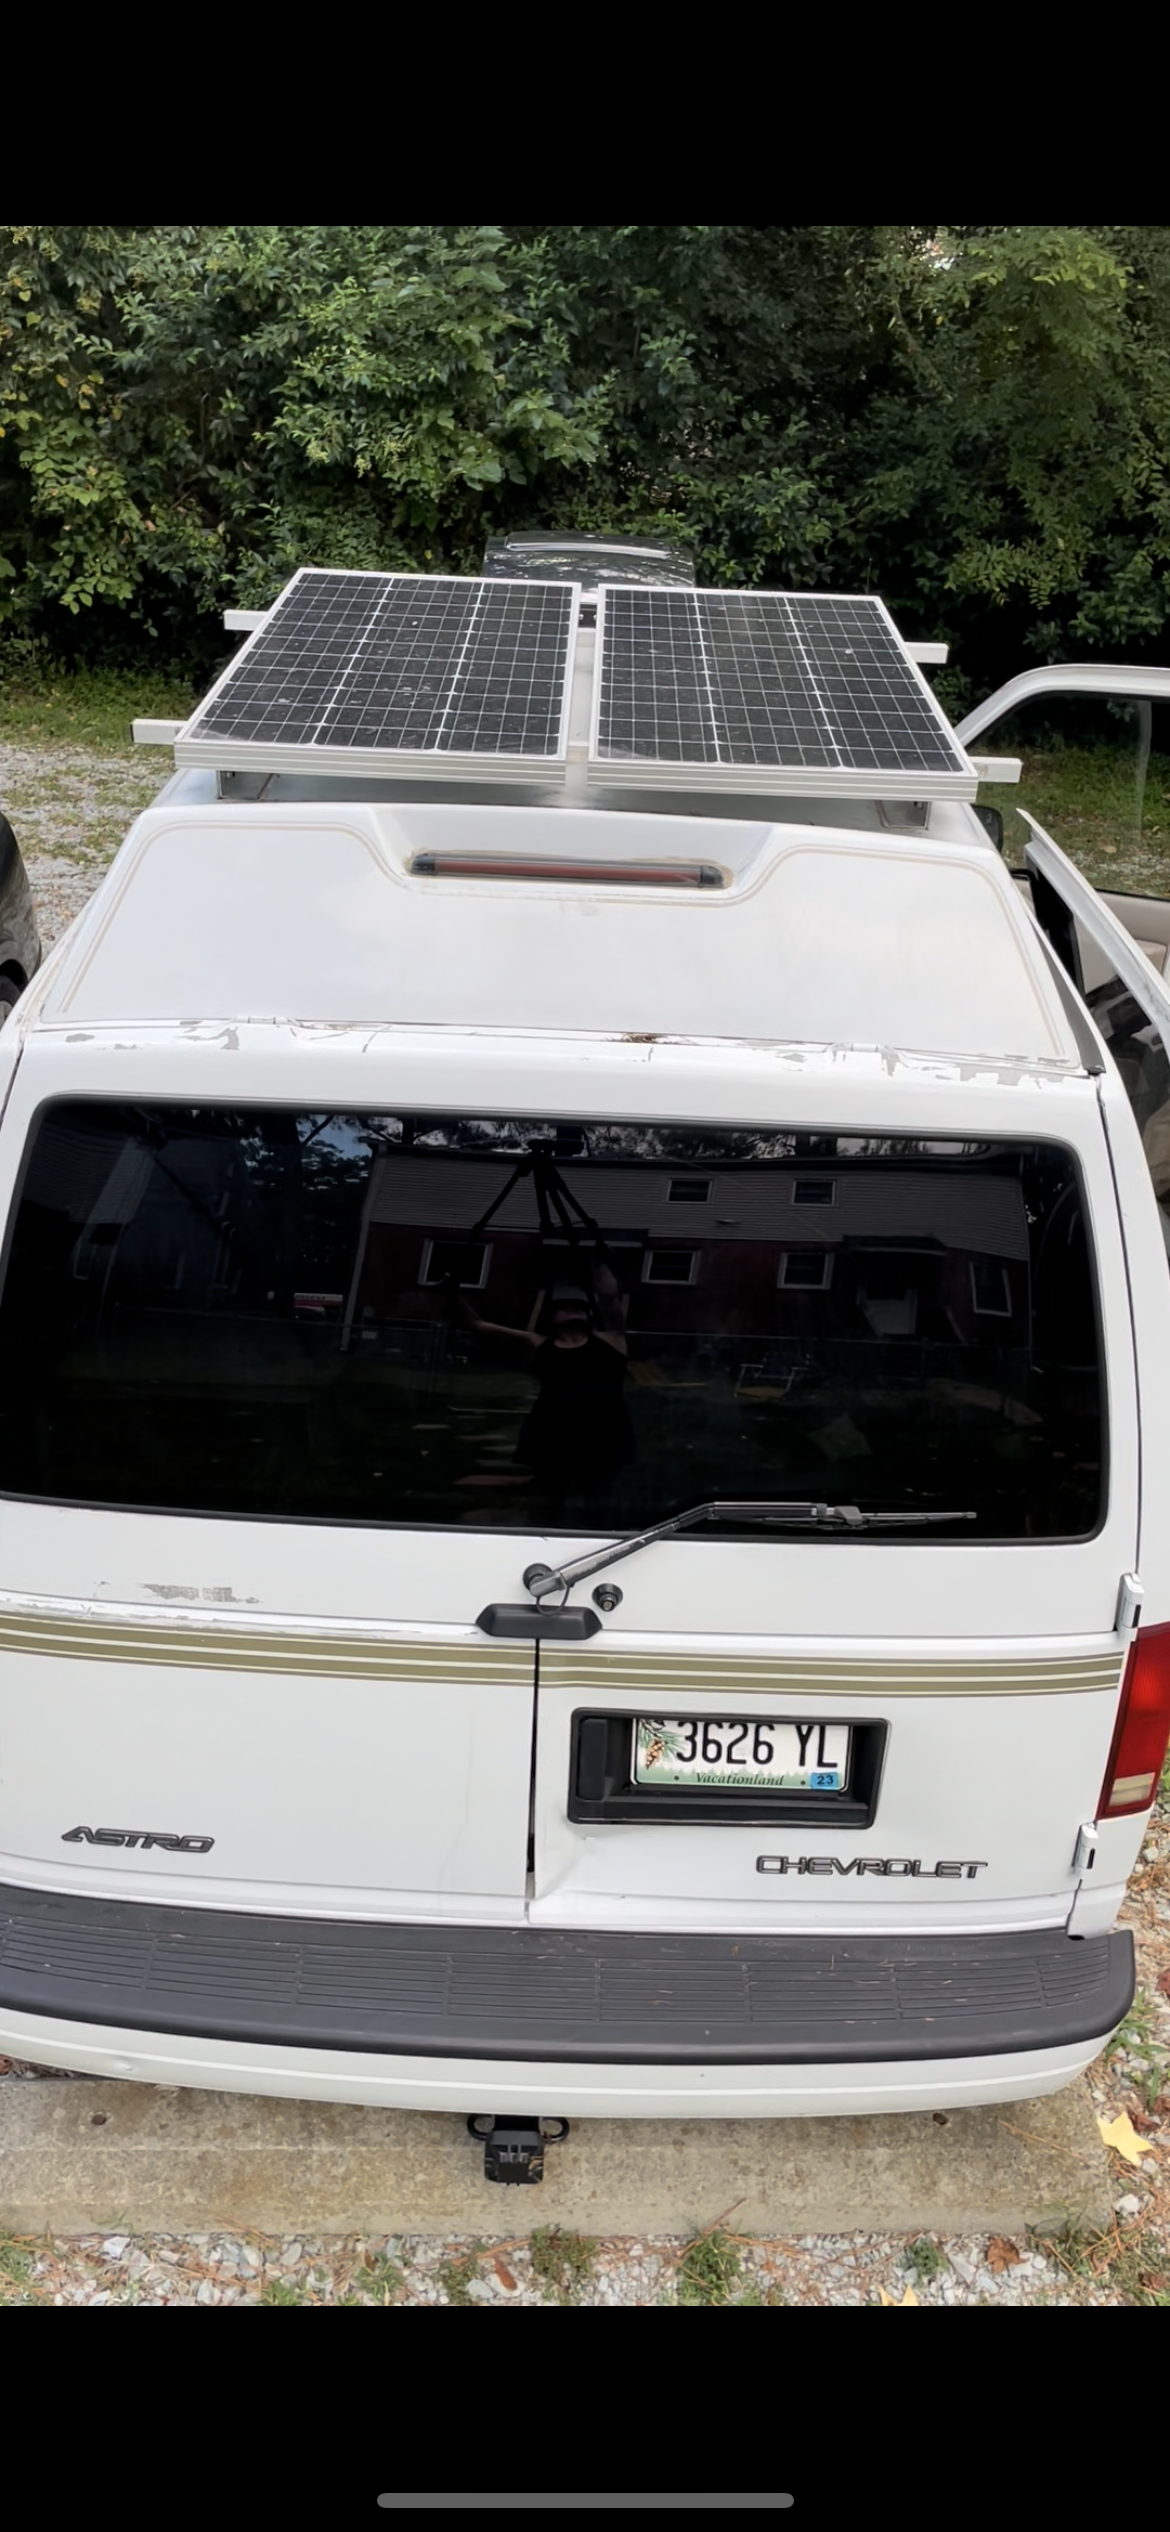
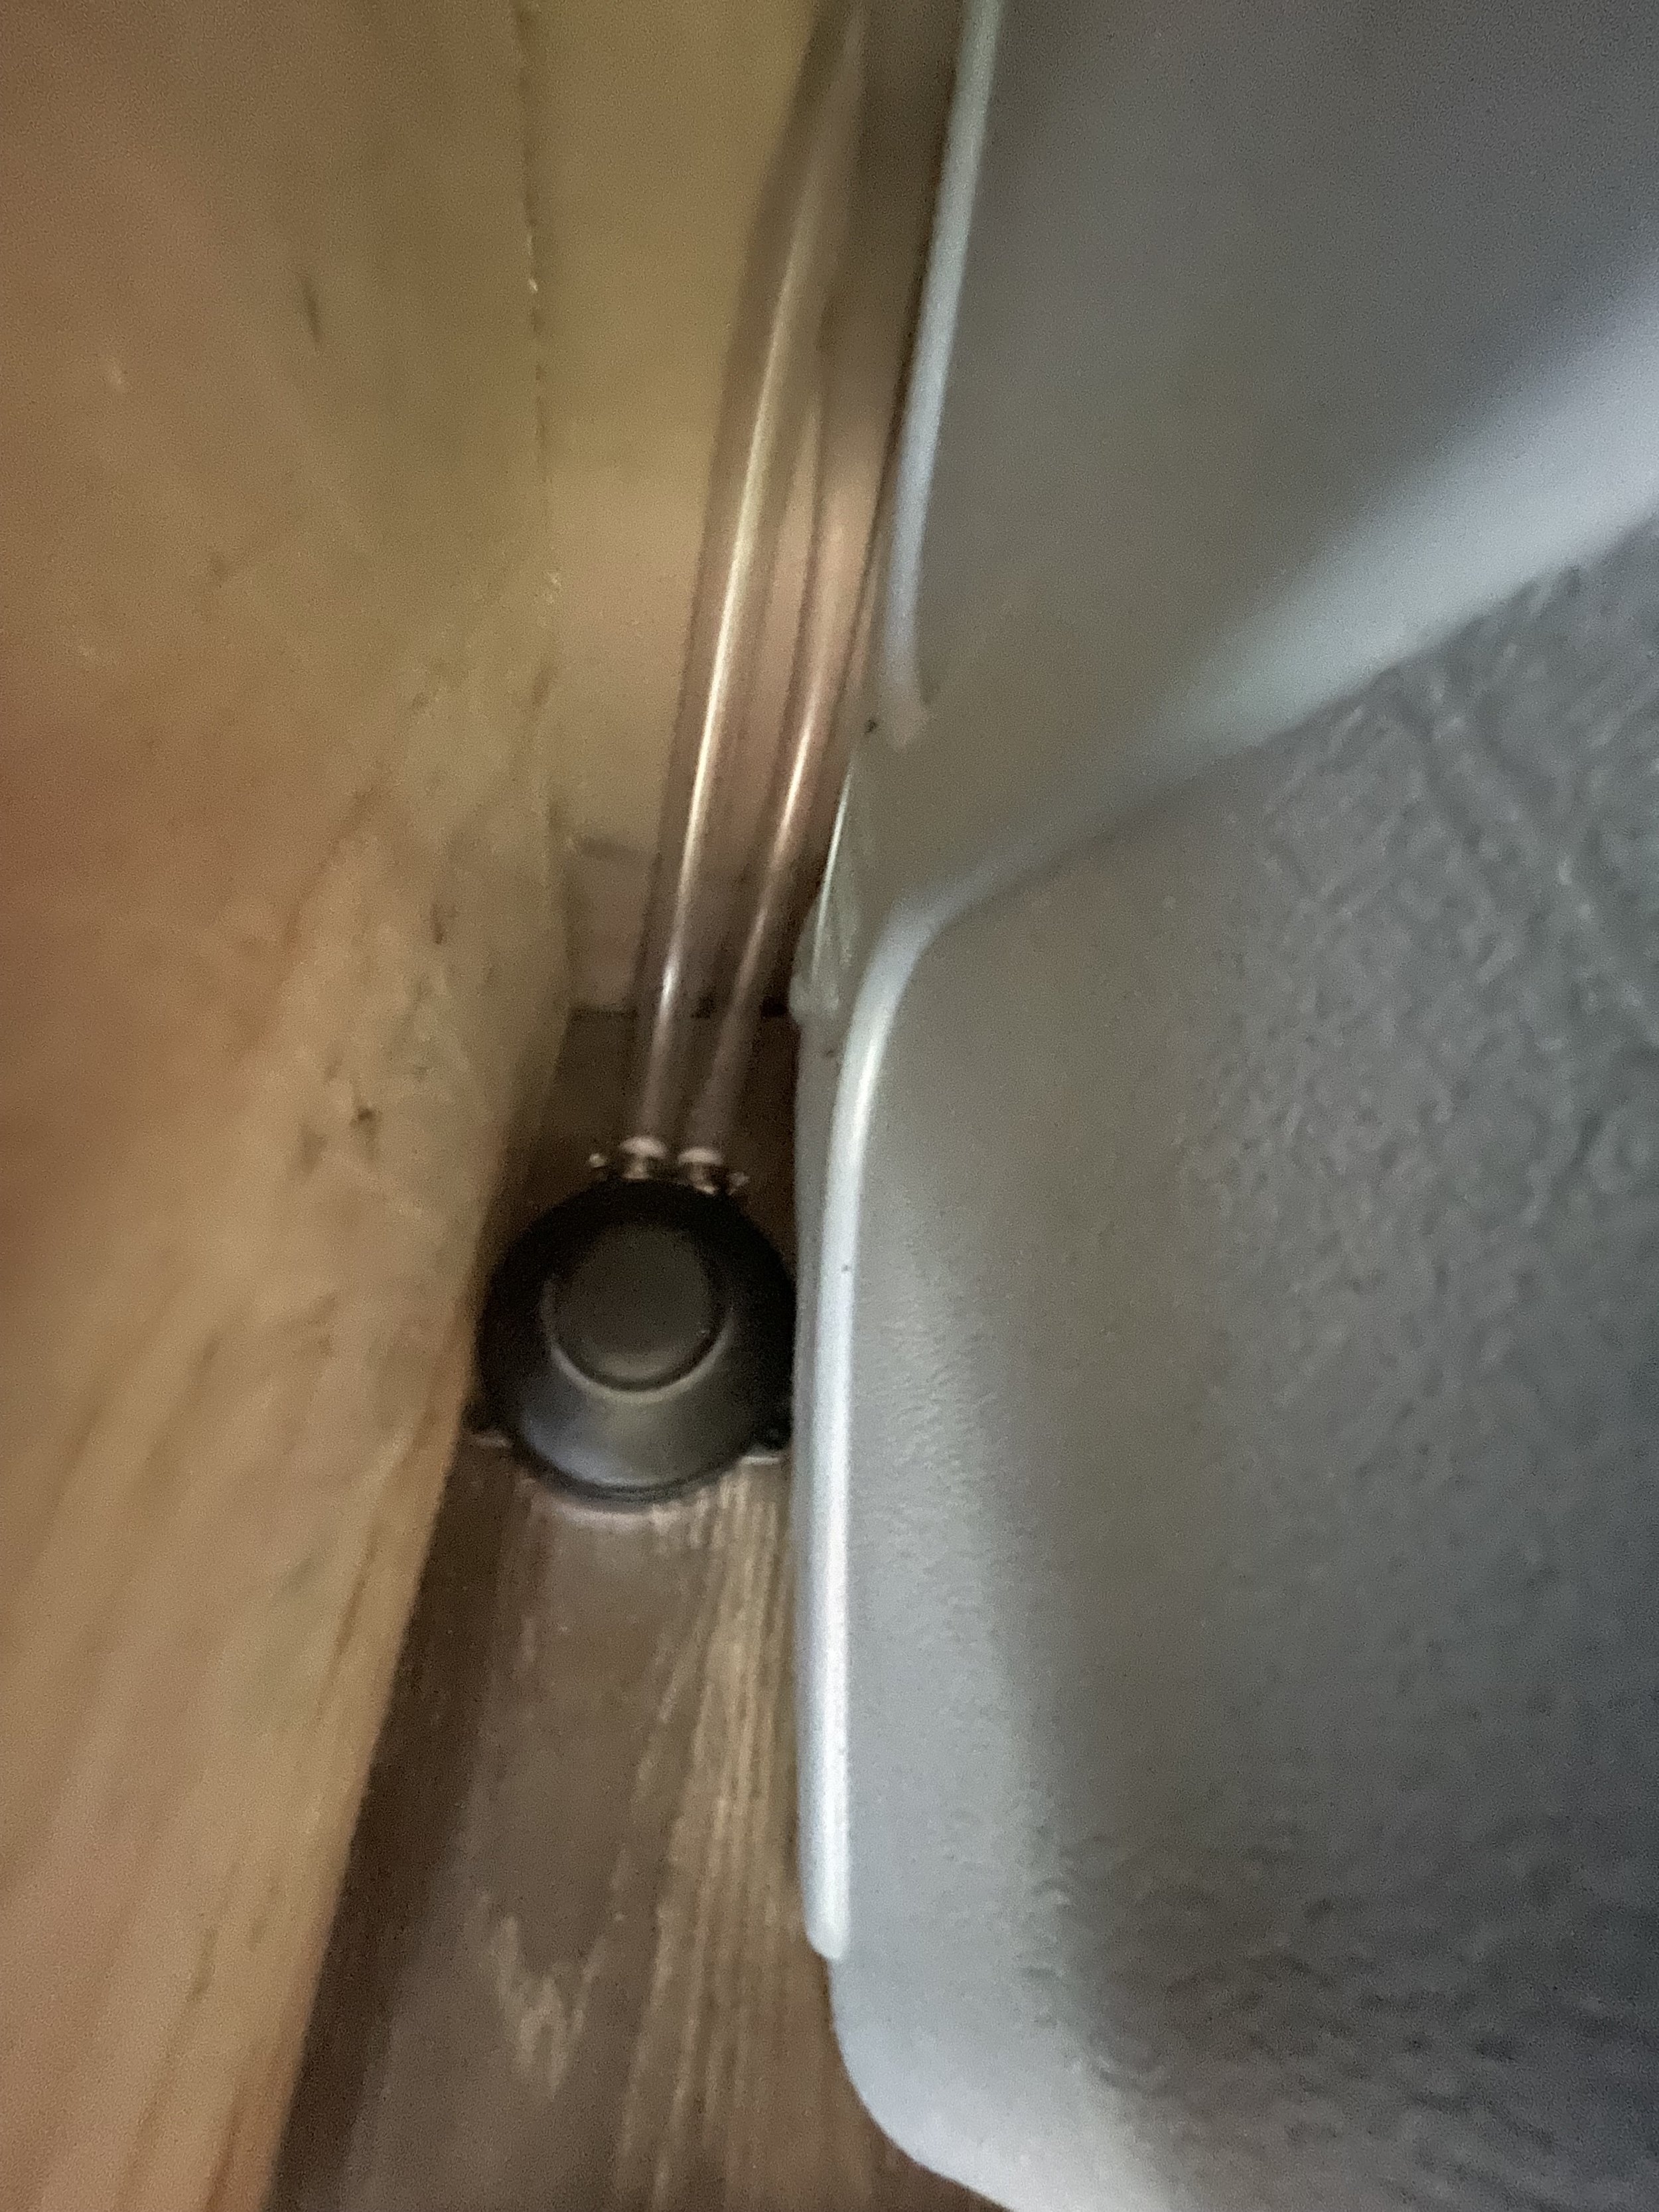
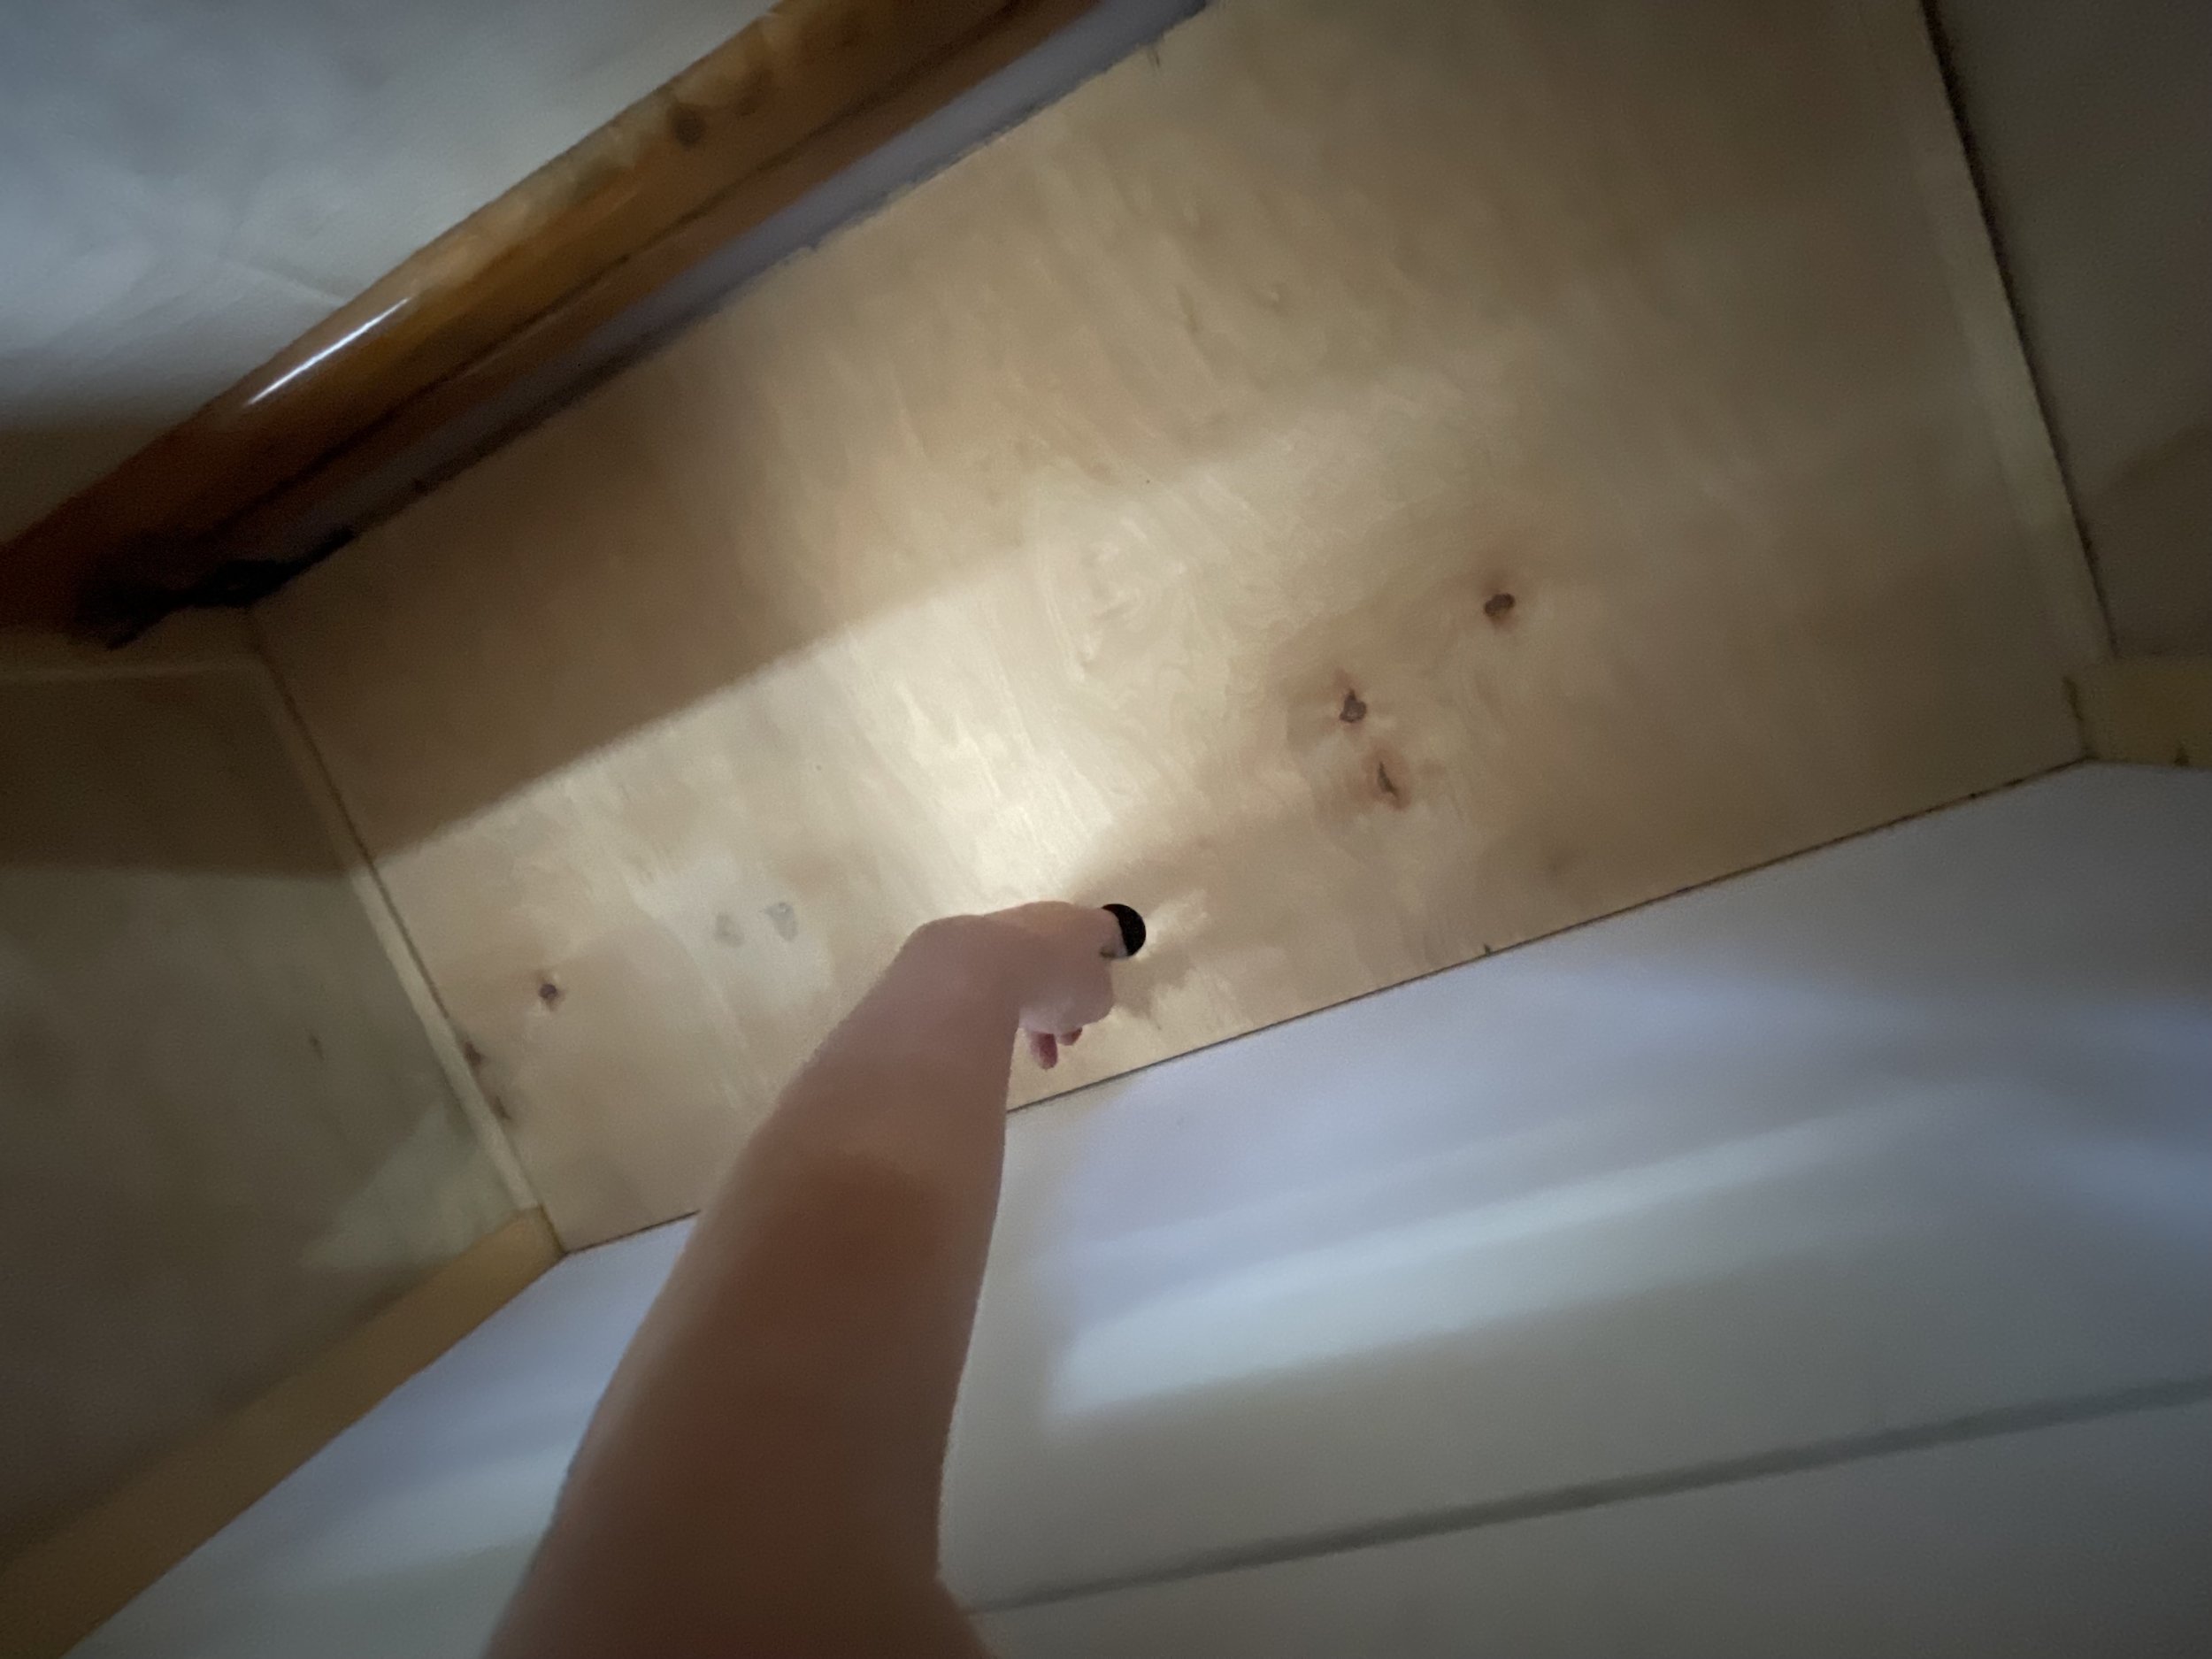
On the roof, you’ll see 2, 100 Watt Renogy solar panels. They’re mounted on custom aluminum roof racks. The roofracks are thru-bolted all the way through the roof with sealant and adhered with marine-grade adhesive. The wires are run through a plastic housing, also adhered with marine-grade adhesive and the cables for the solar panels are routed through the cabinet above the cab.
Hitch
There’s a hitch on which I’ve installed a Keysafe. I keep the spare key in there. You can also take this off for towing or to attach a cargo carrier.

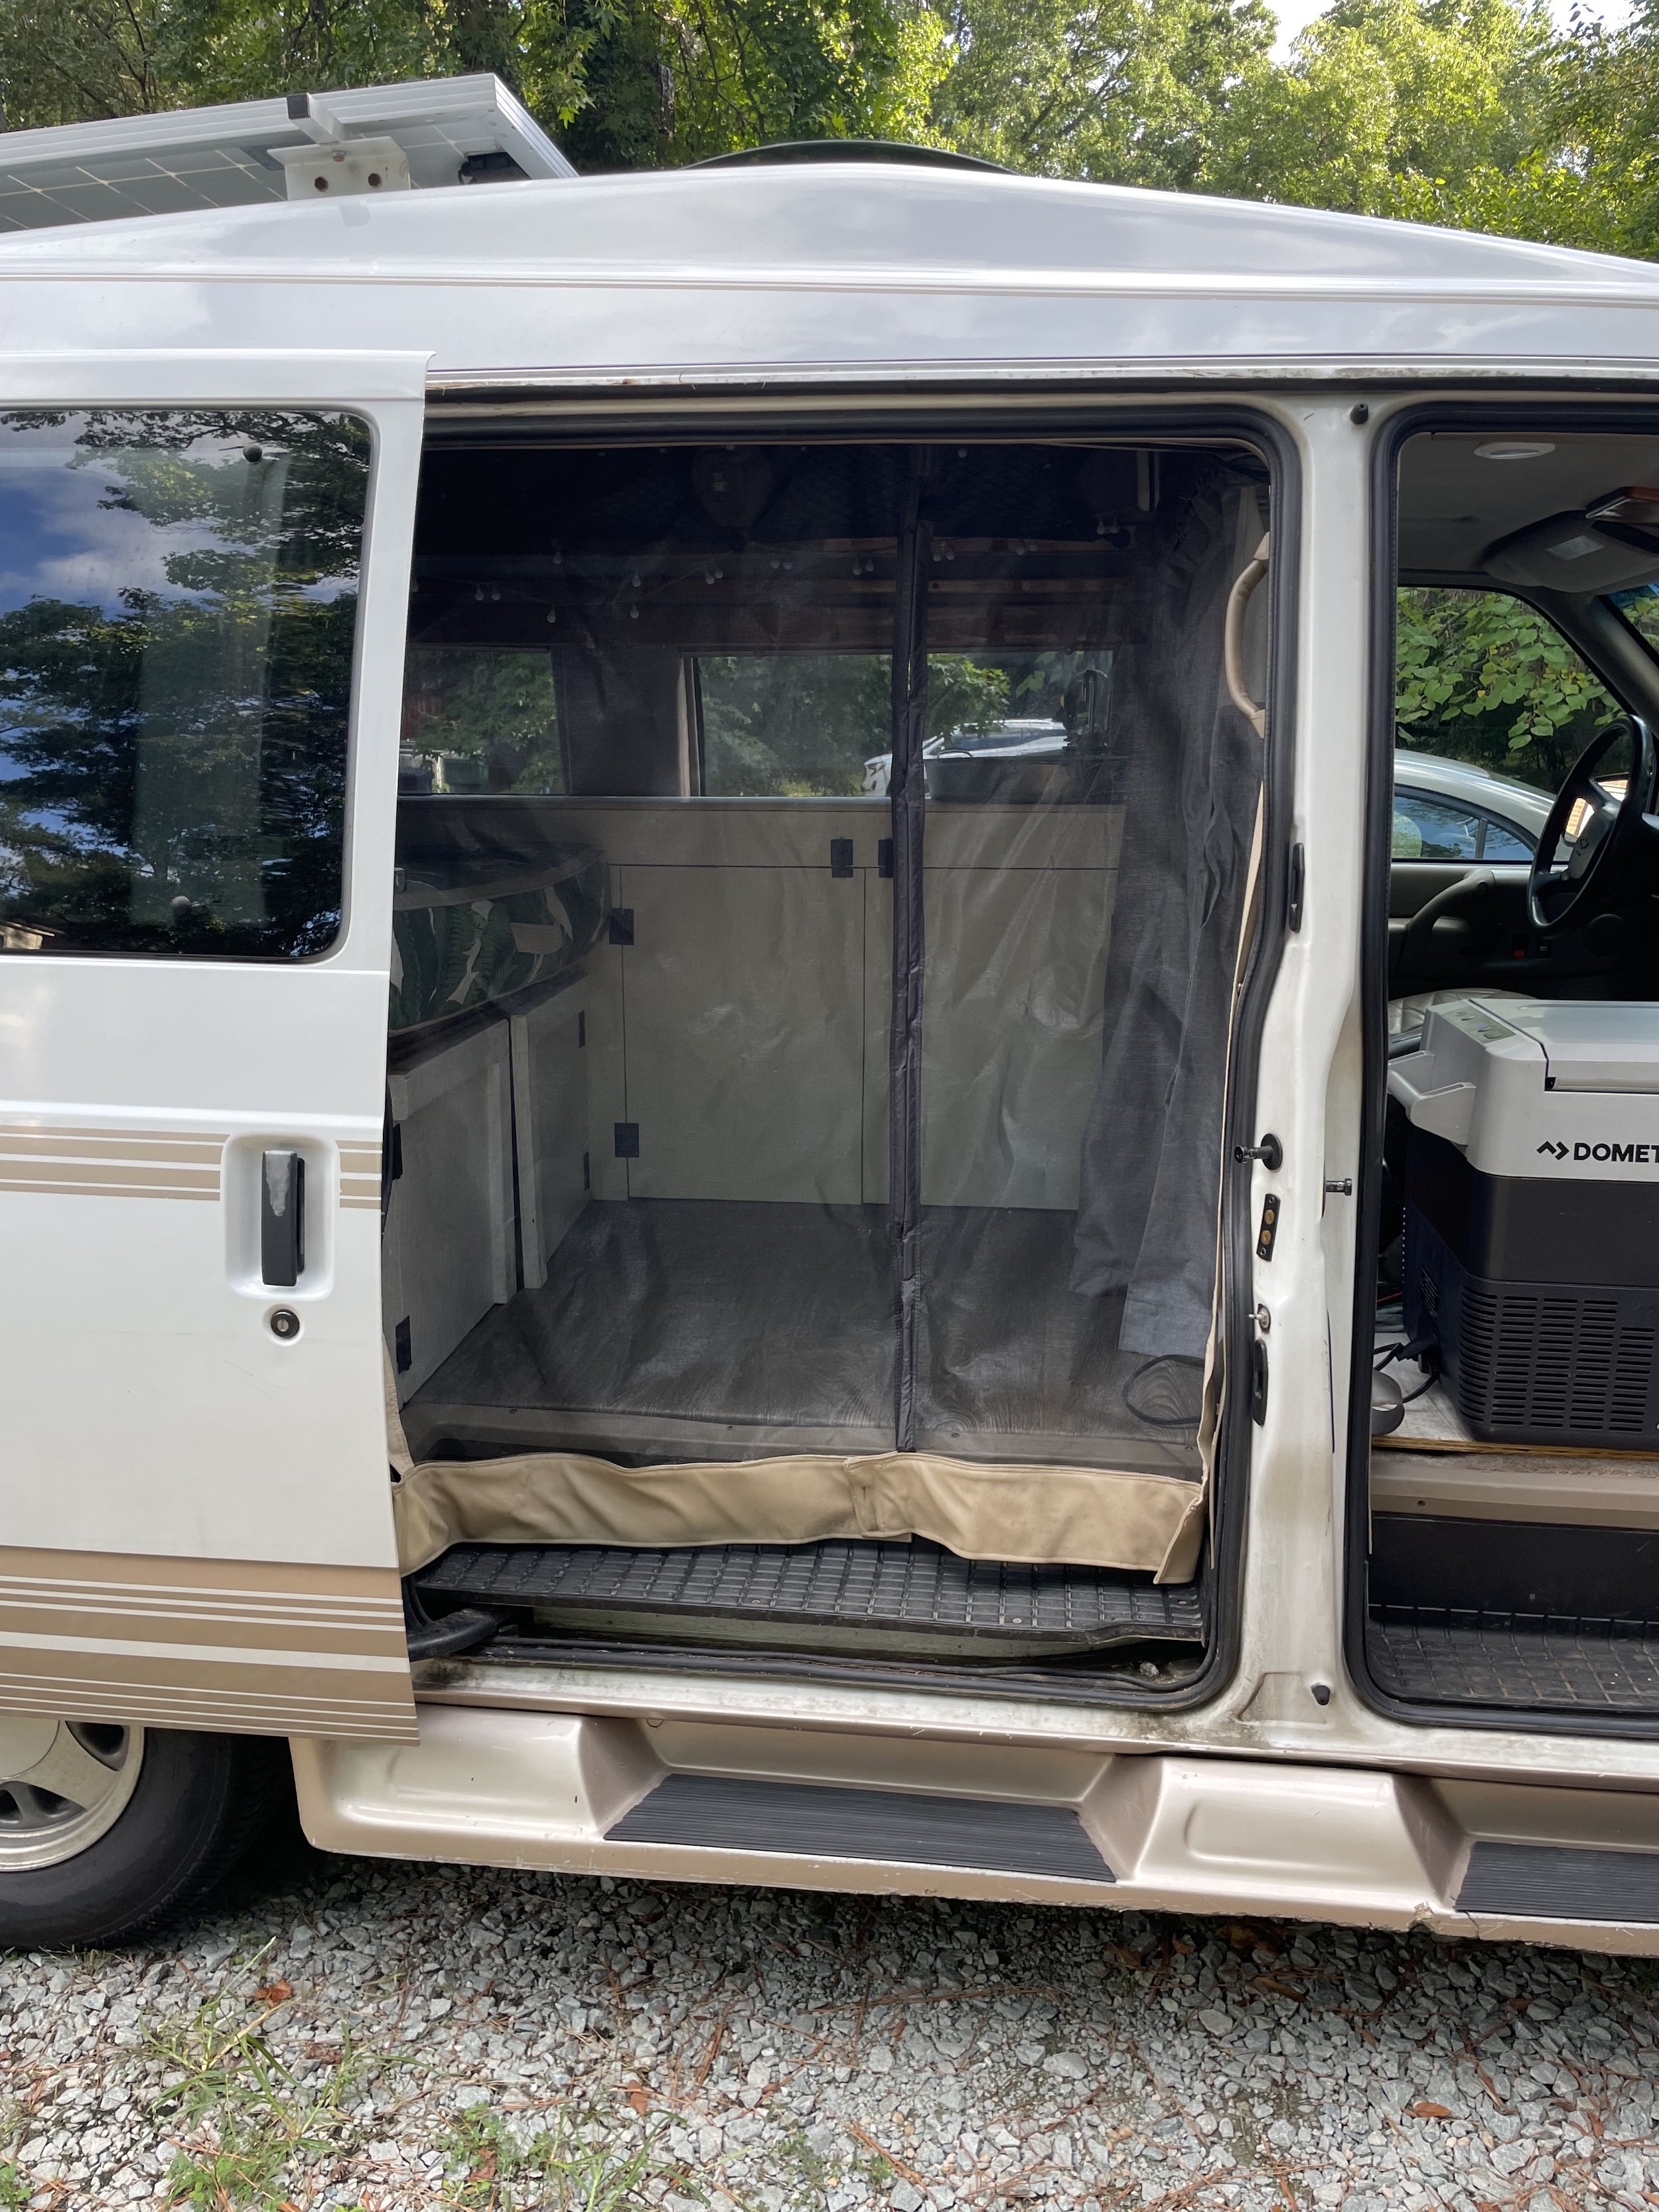
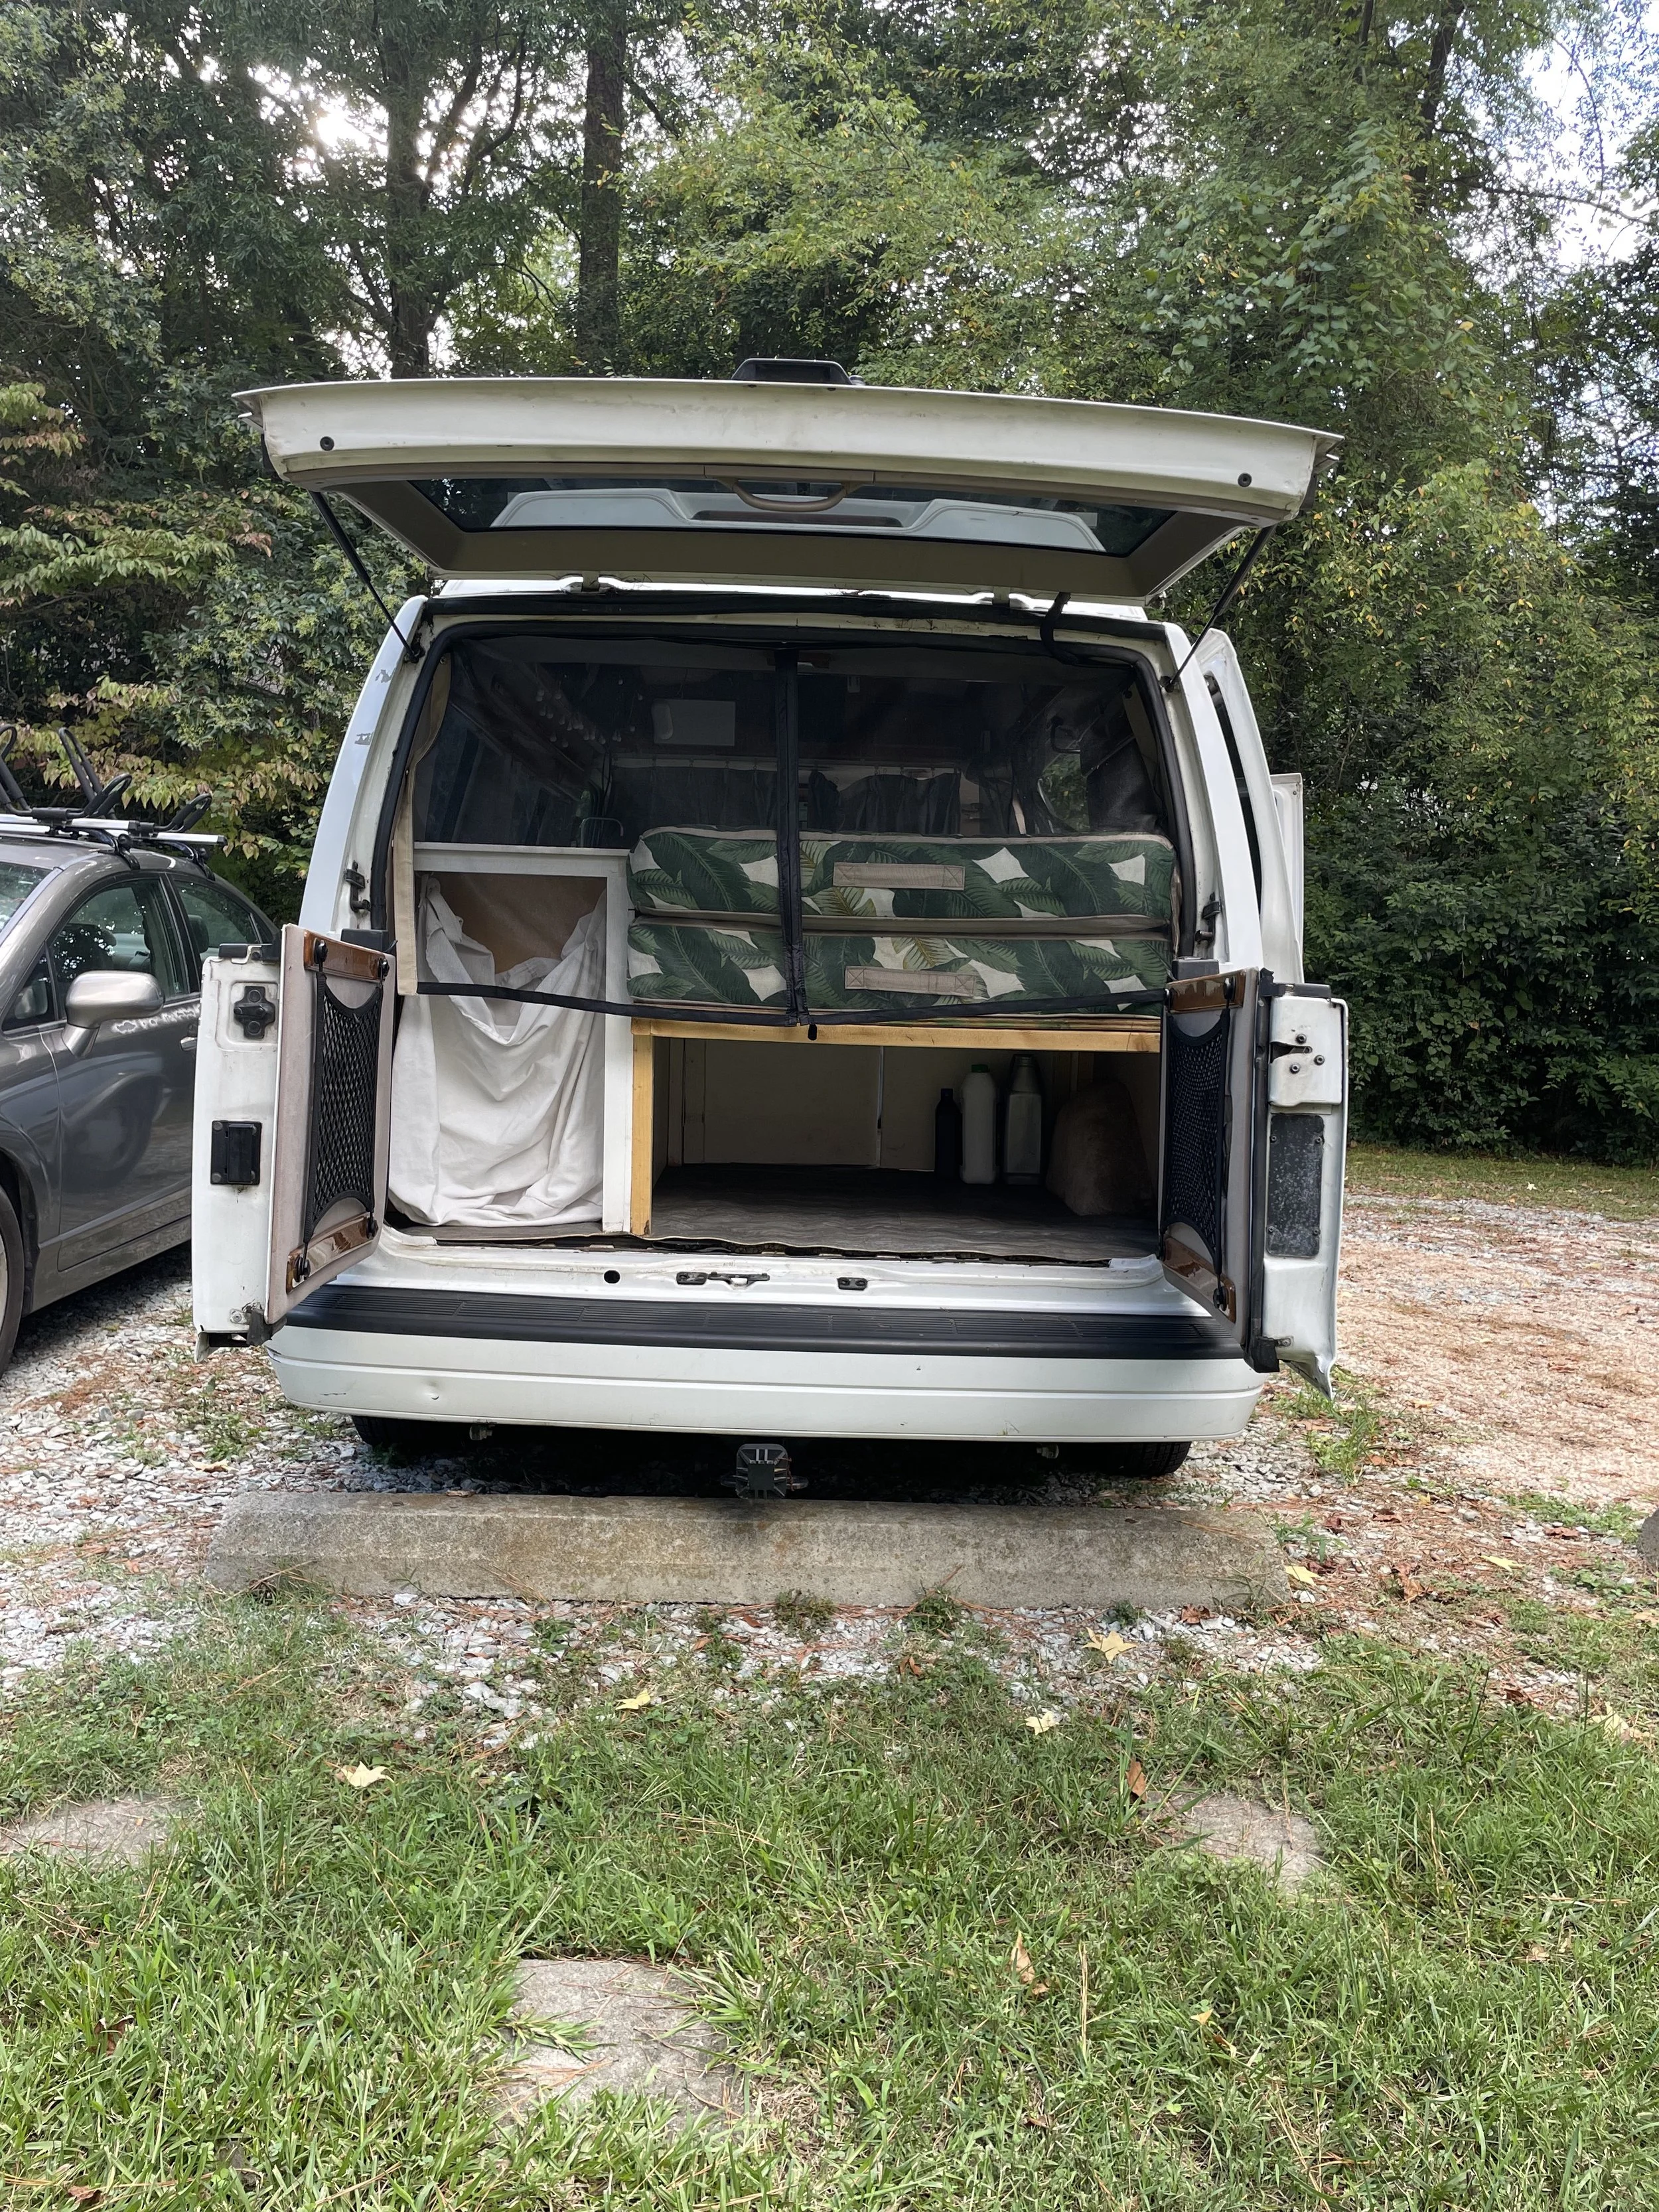
Interior
The interior van was custom-built by me, my dad, and my mom. My parents are both professional carpenters and my mom is a seamstress (she made the mattress).
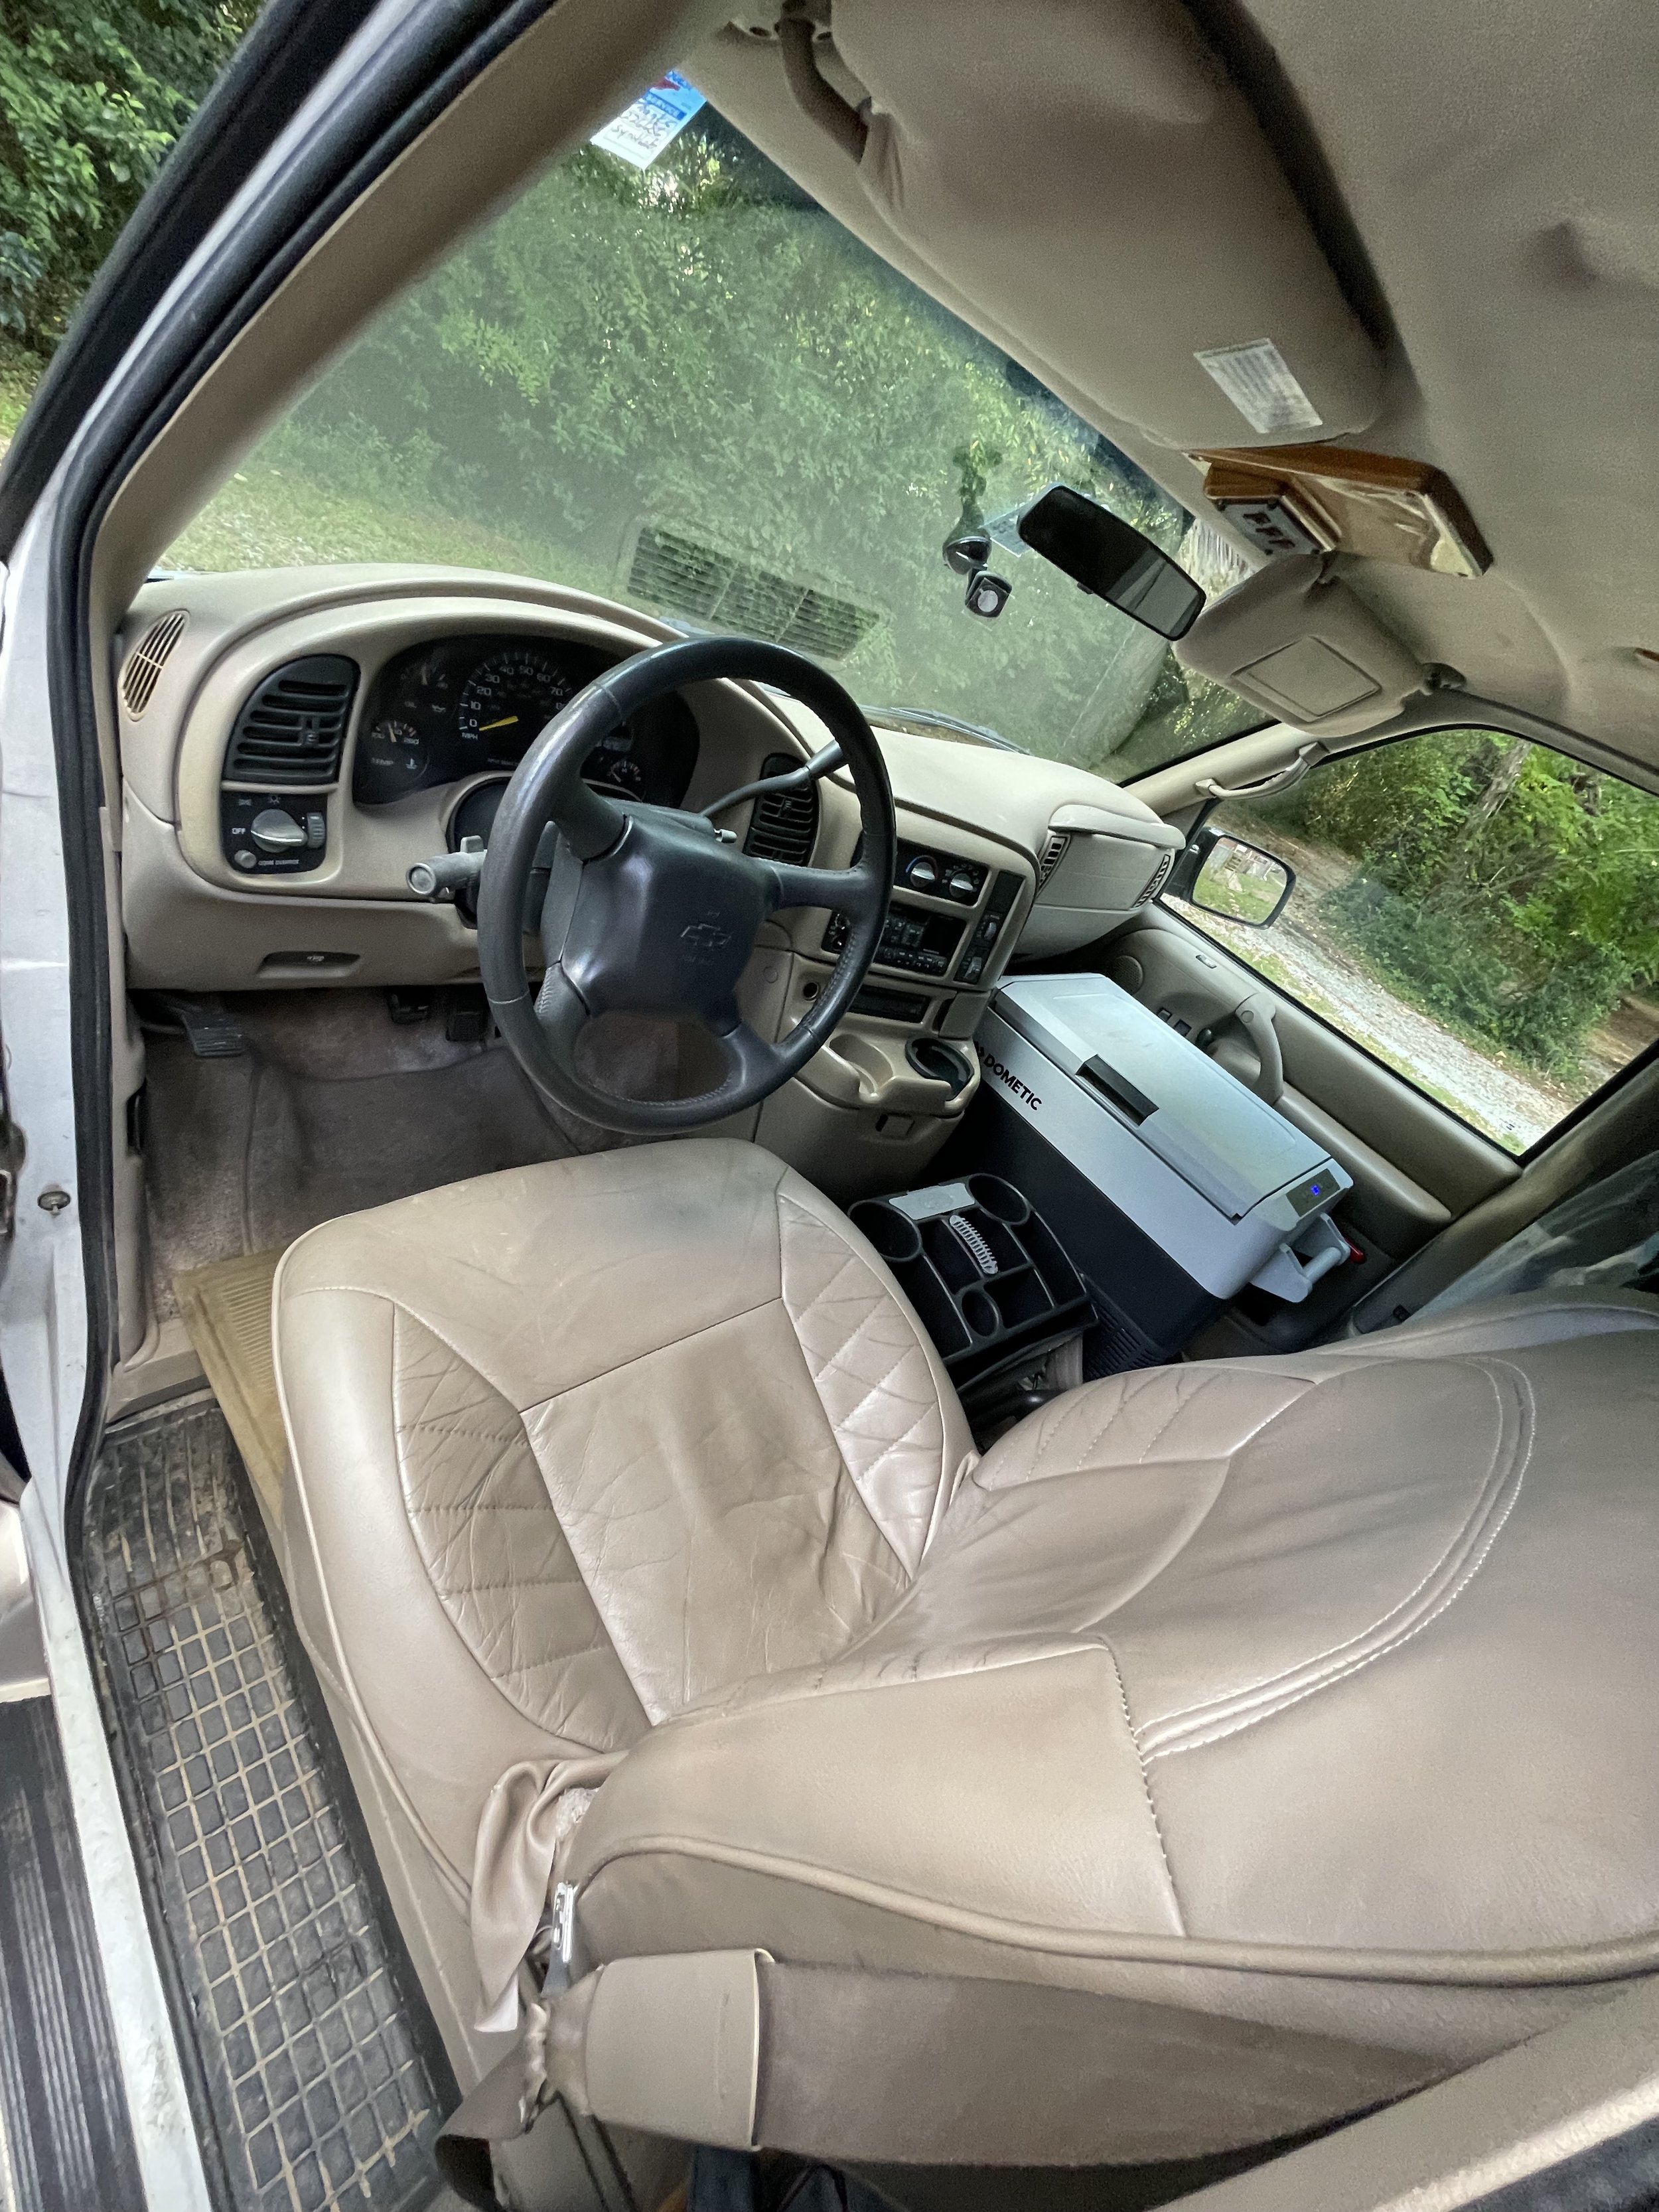
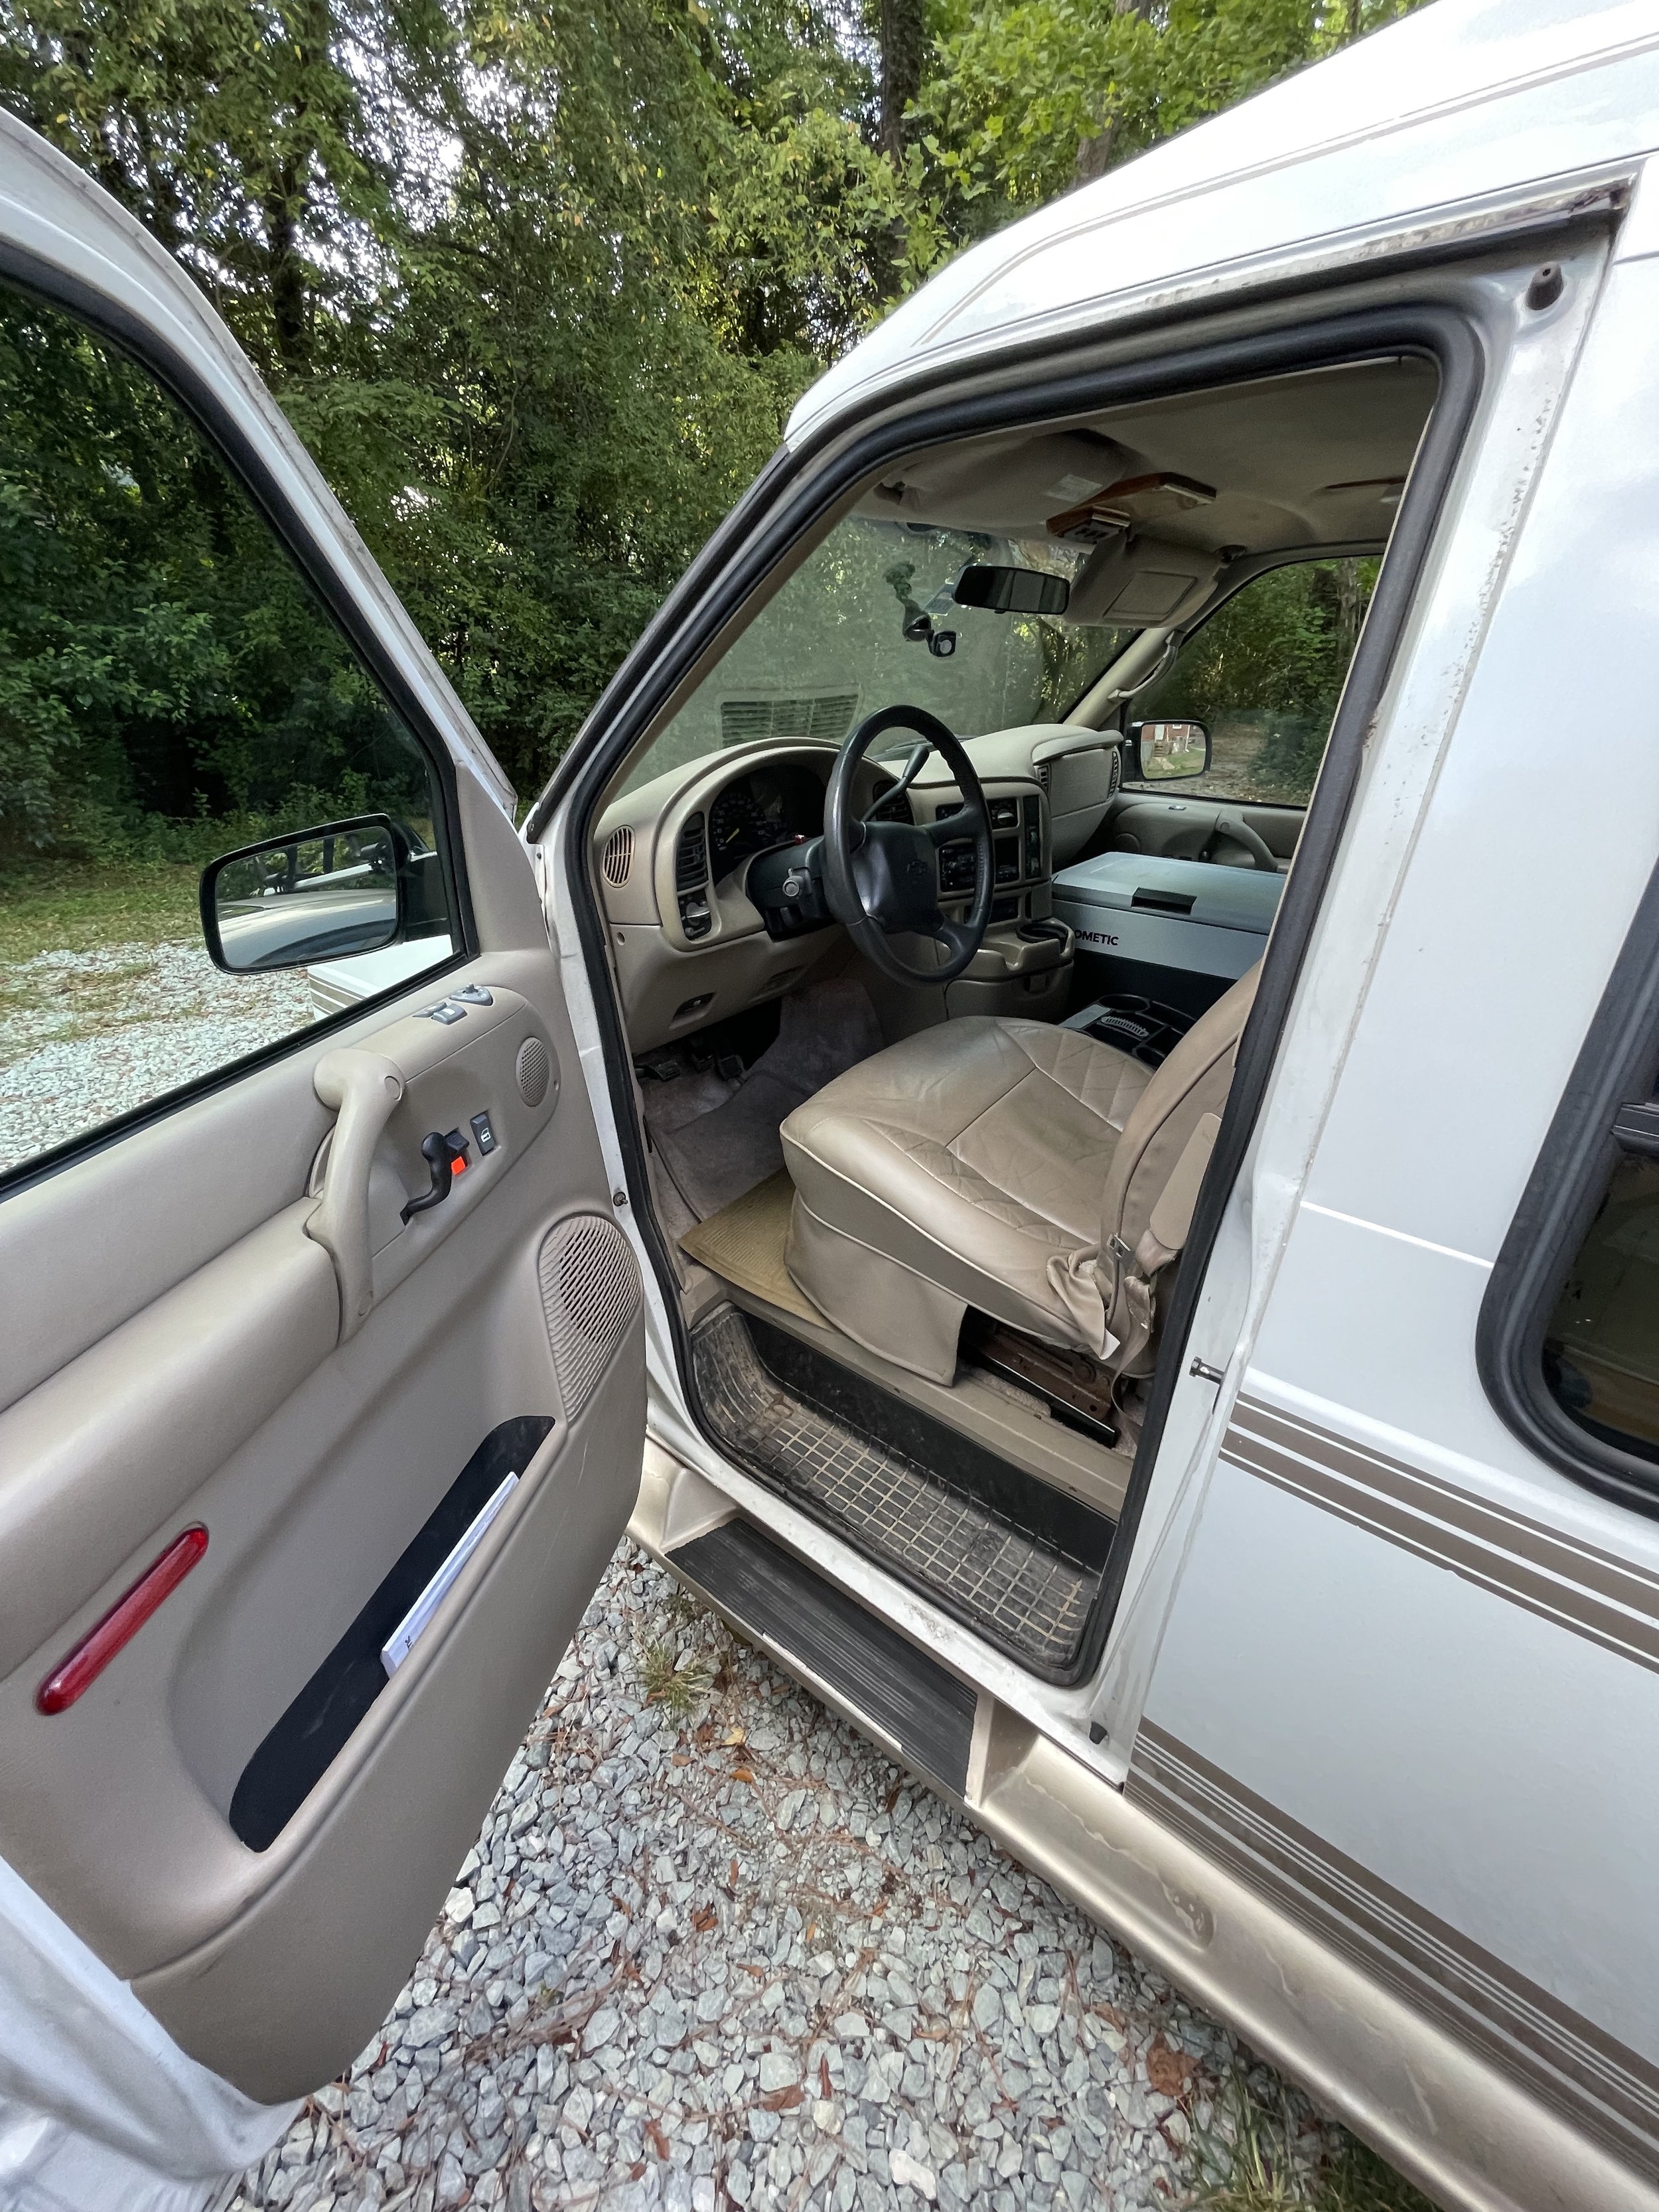
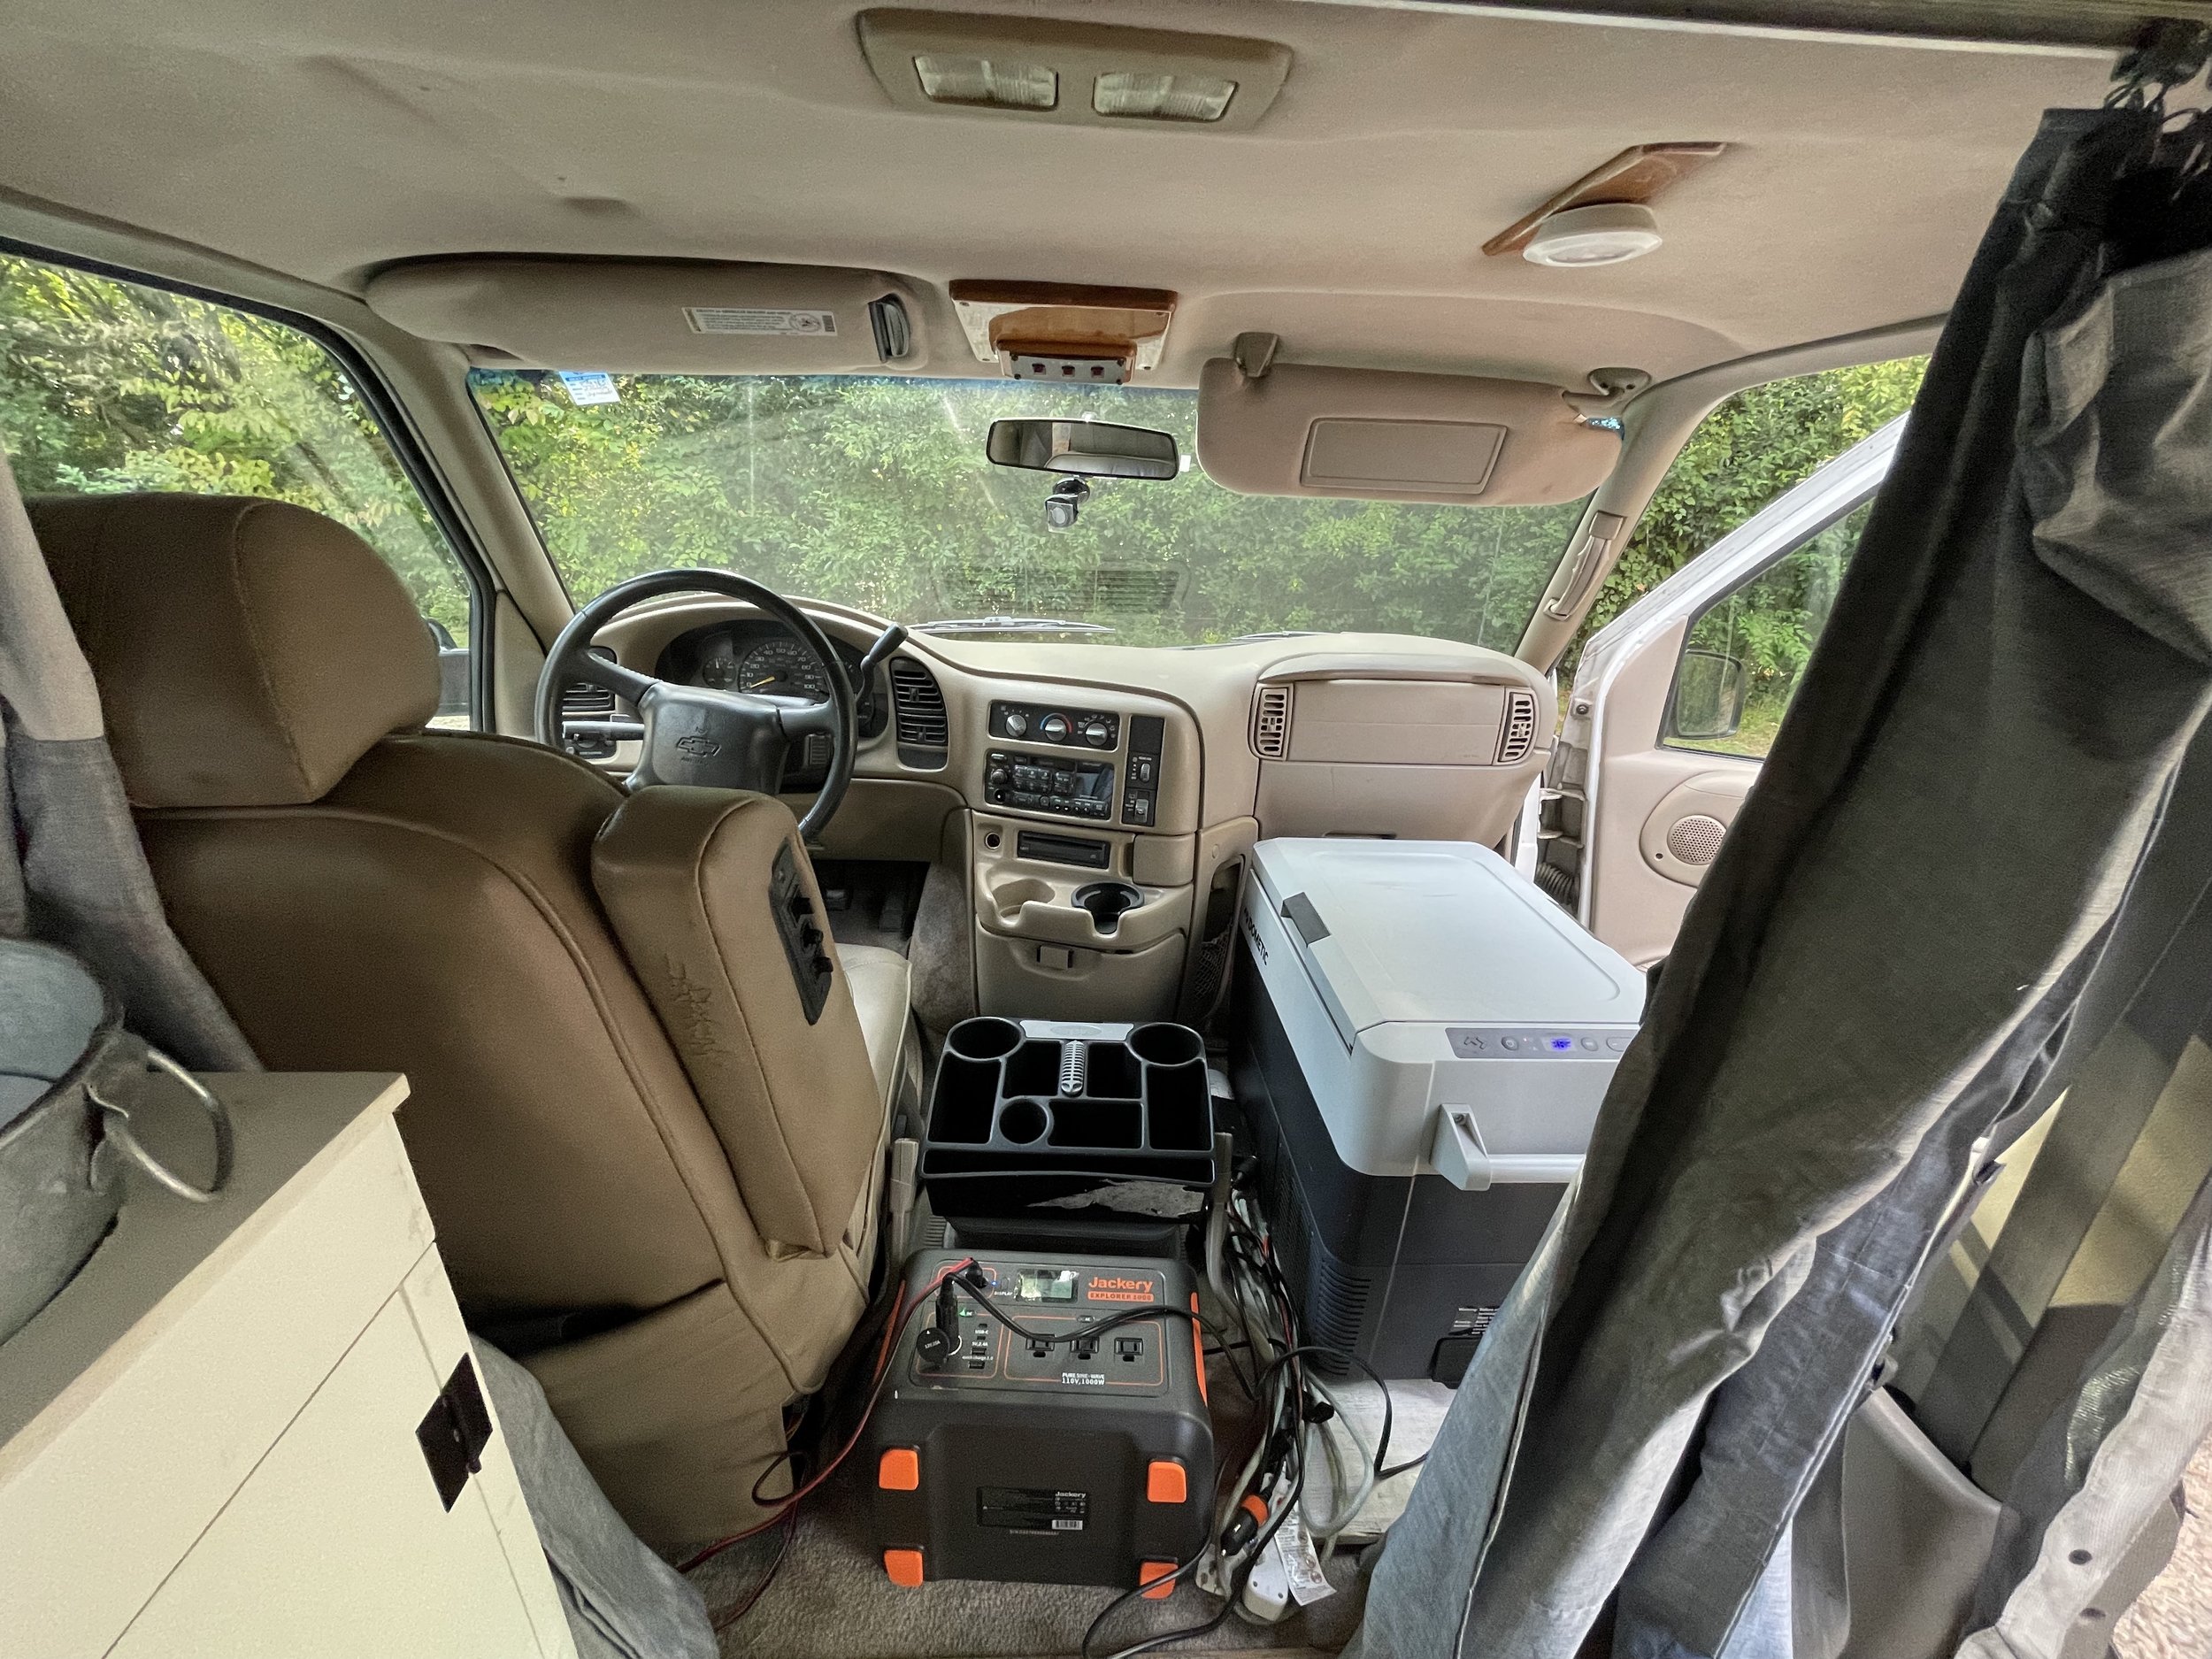
Front Seat
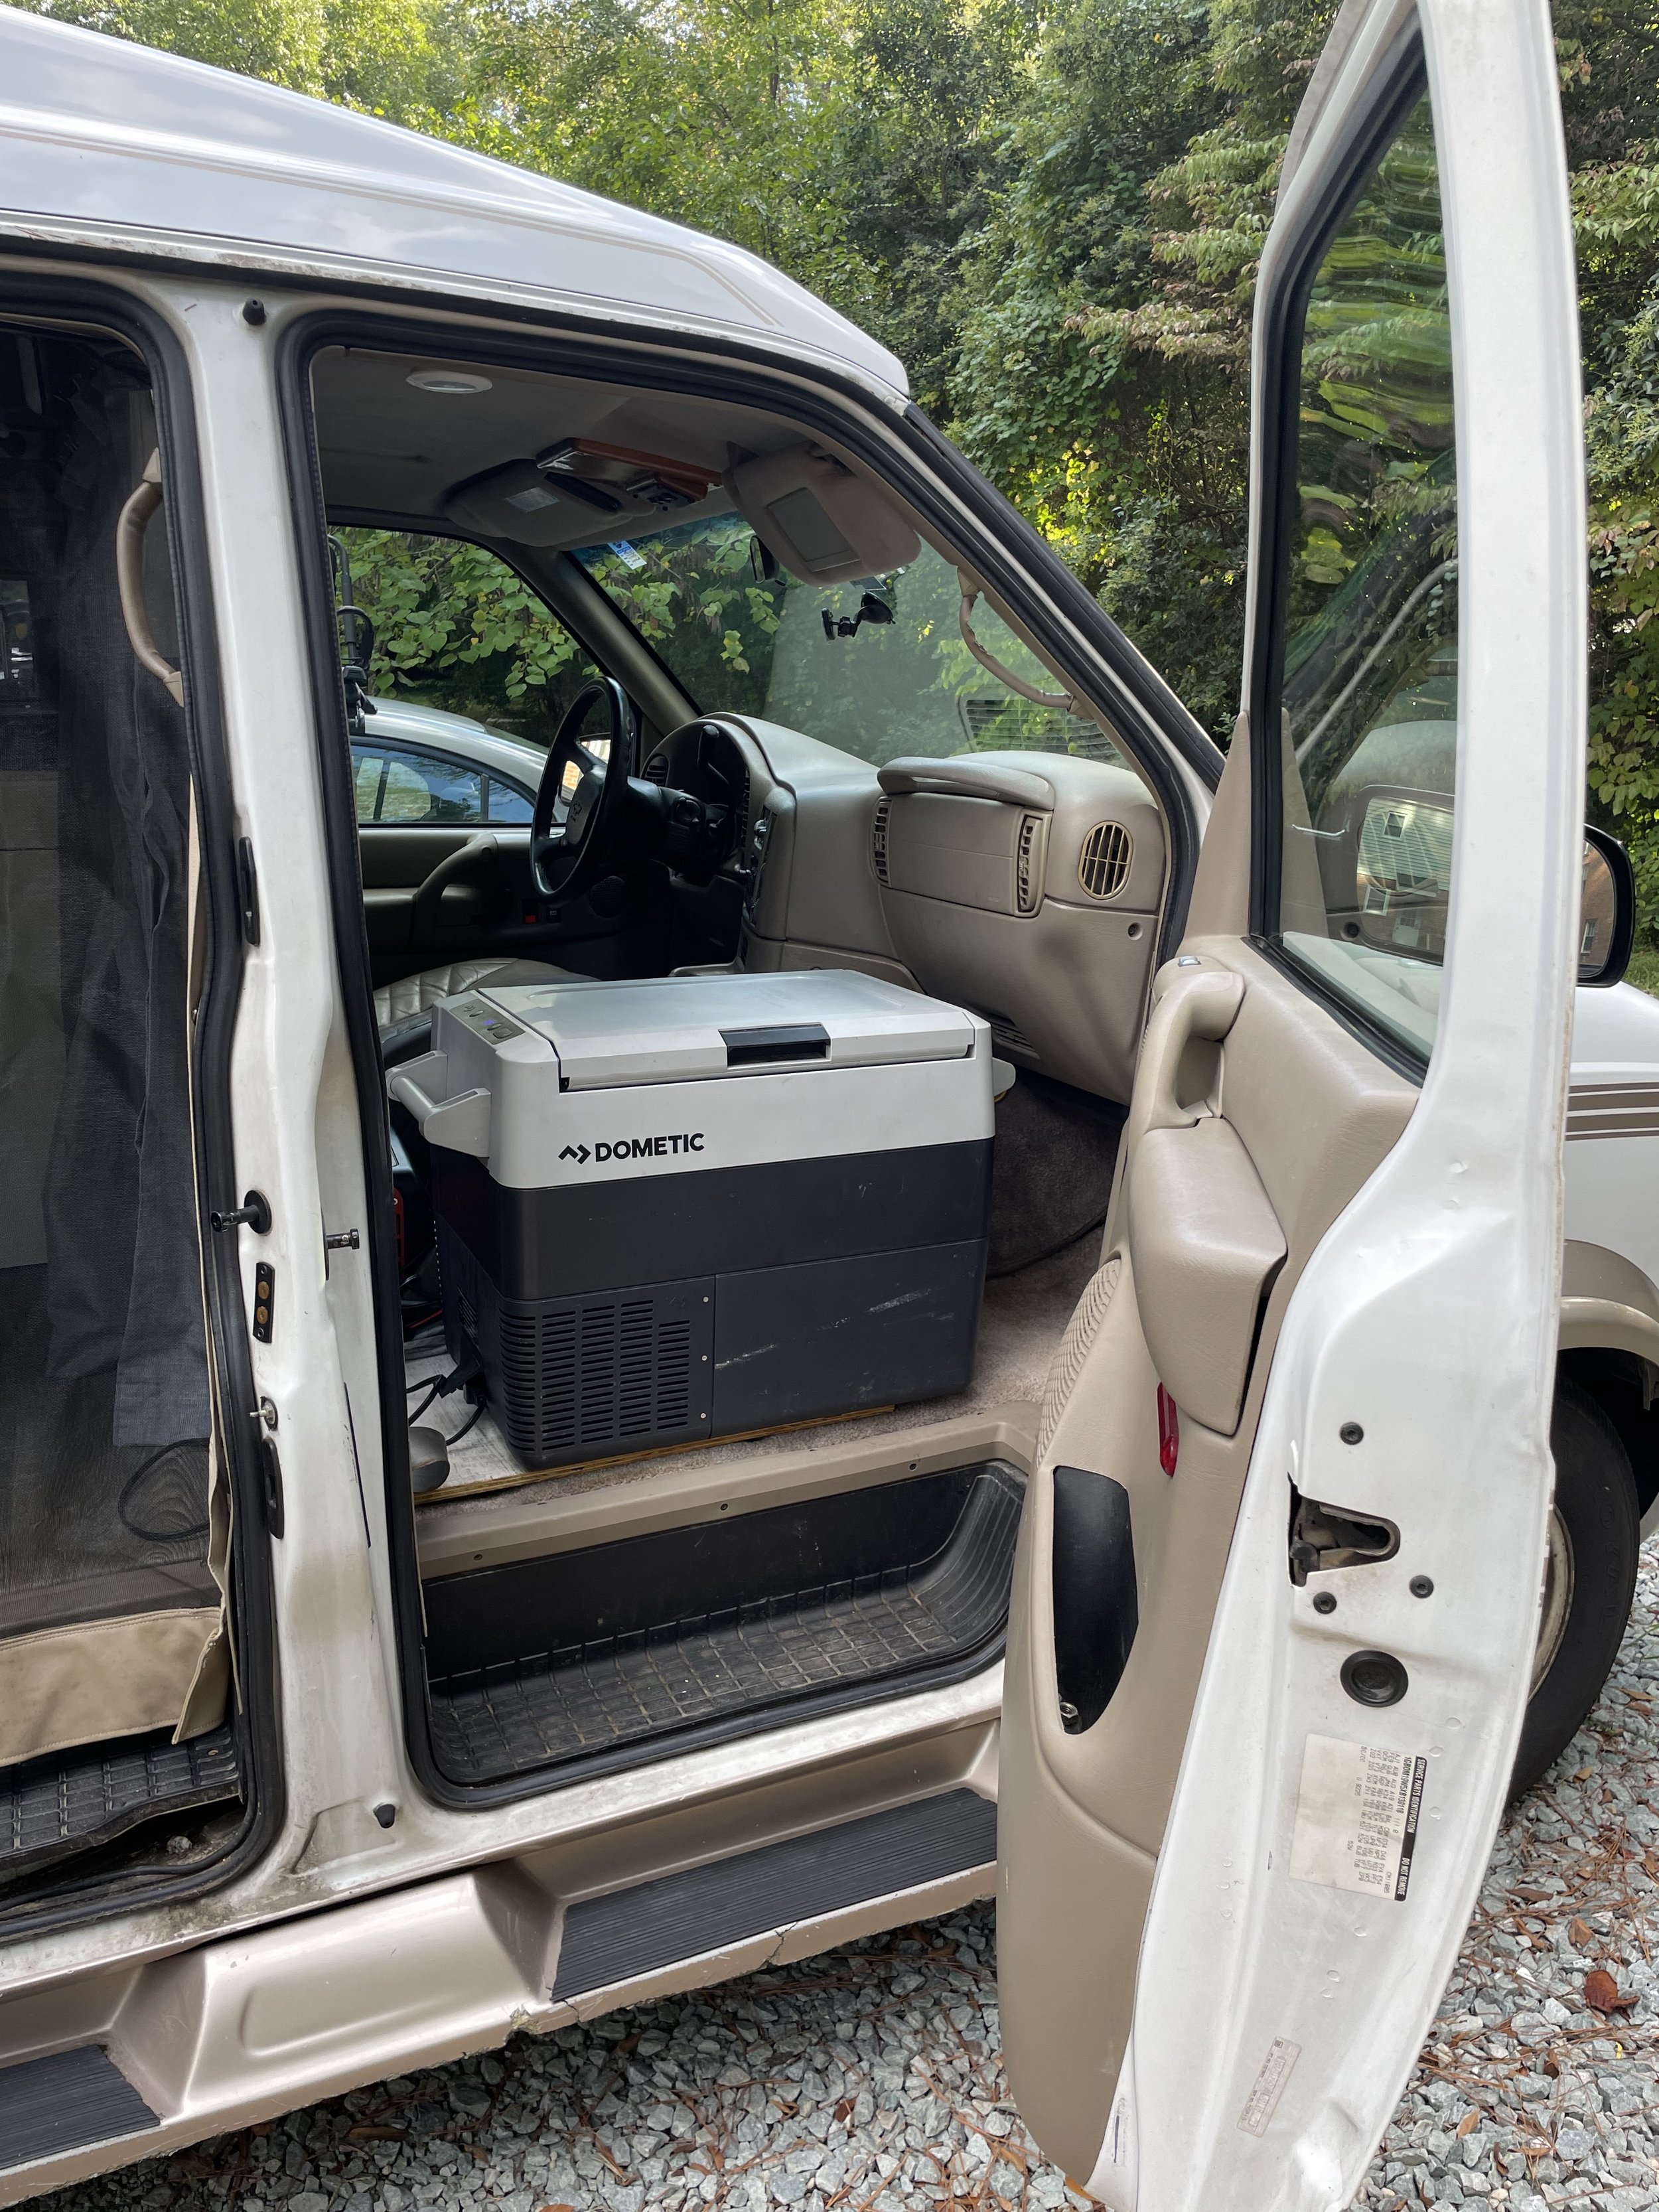
The front seat has recently been reupholstered with an OEM cover. There’s no console in this van, so I’ve stacked two small plastic boxes and a “console” from WalMart. I usually keep charging chords, walkie talkies, and other things like that in the boxes! There’s a winshield mounted magnetic phone holder too (new magnet included).
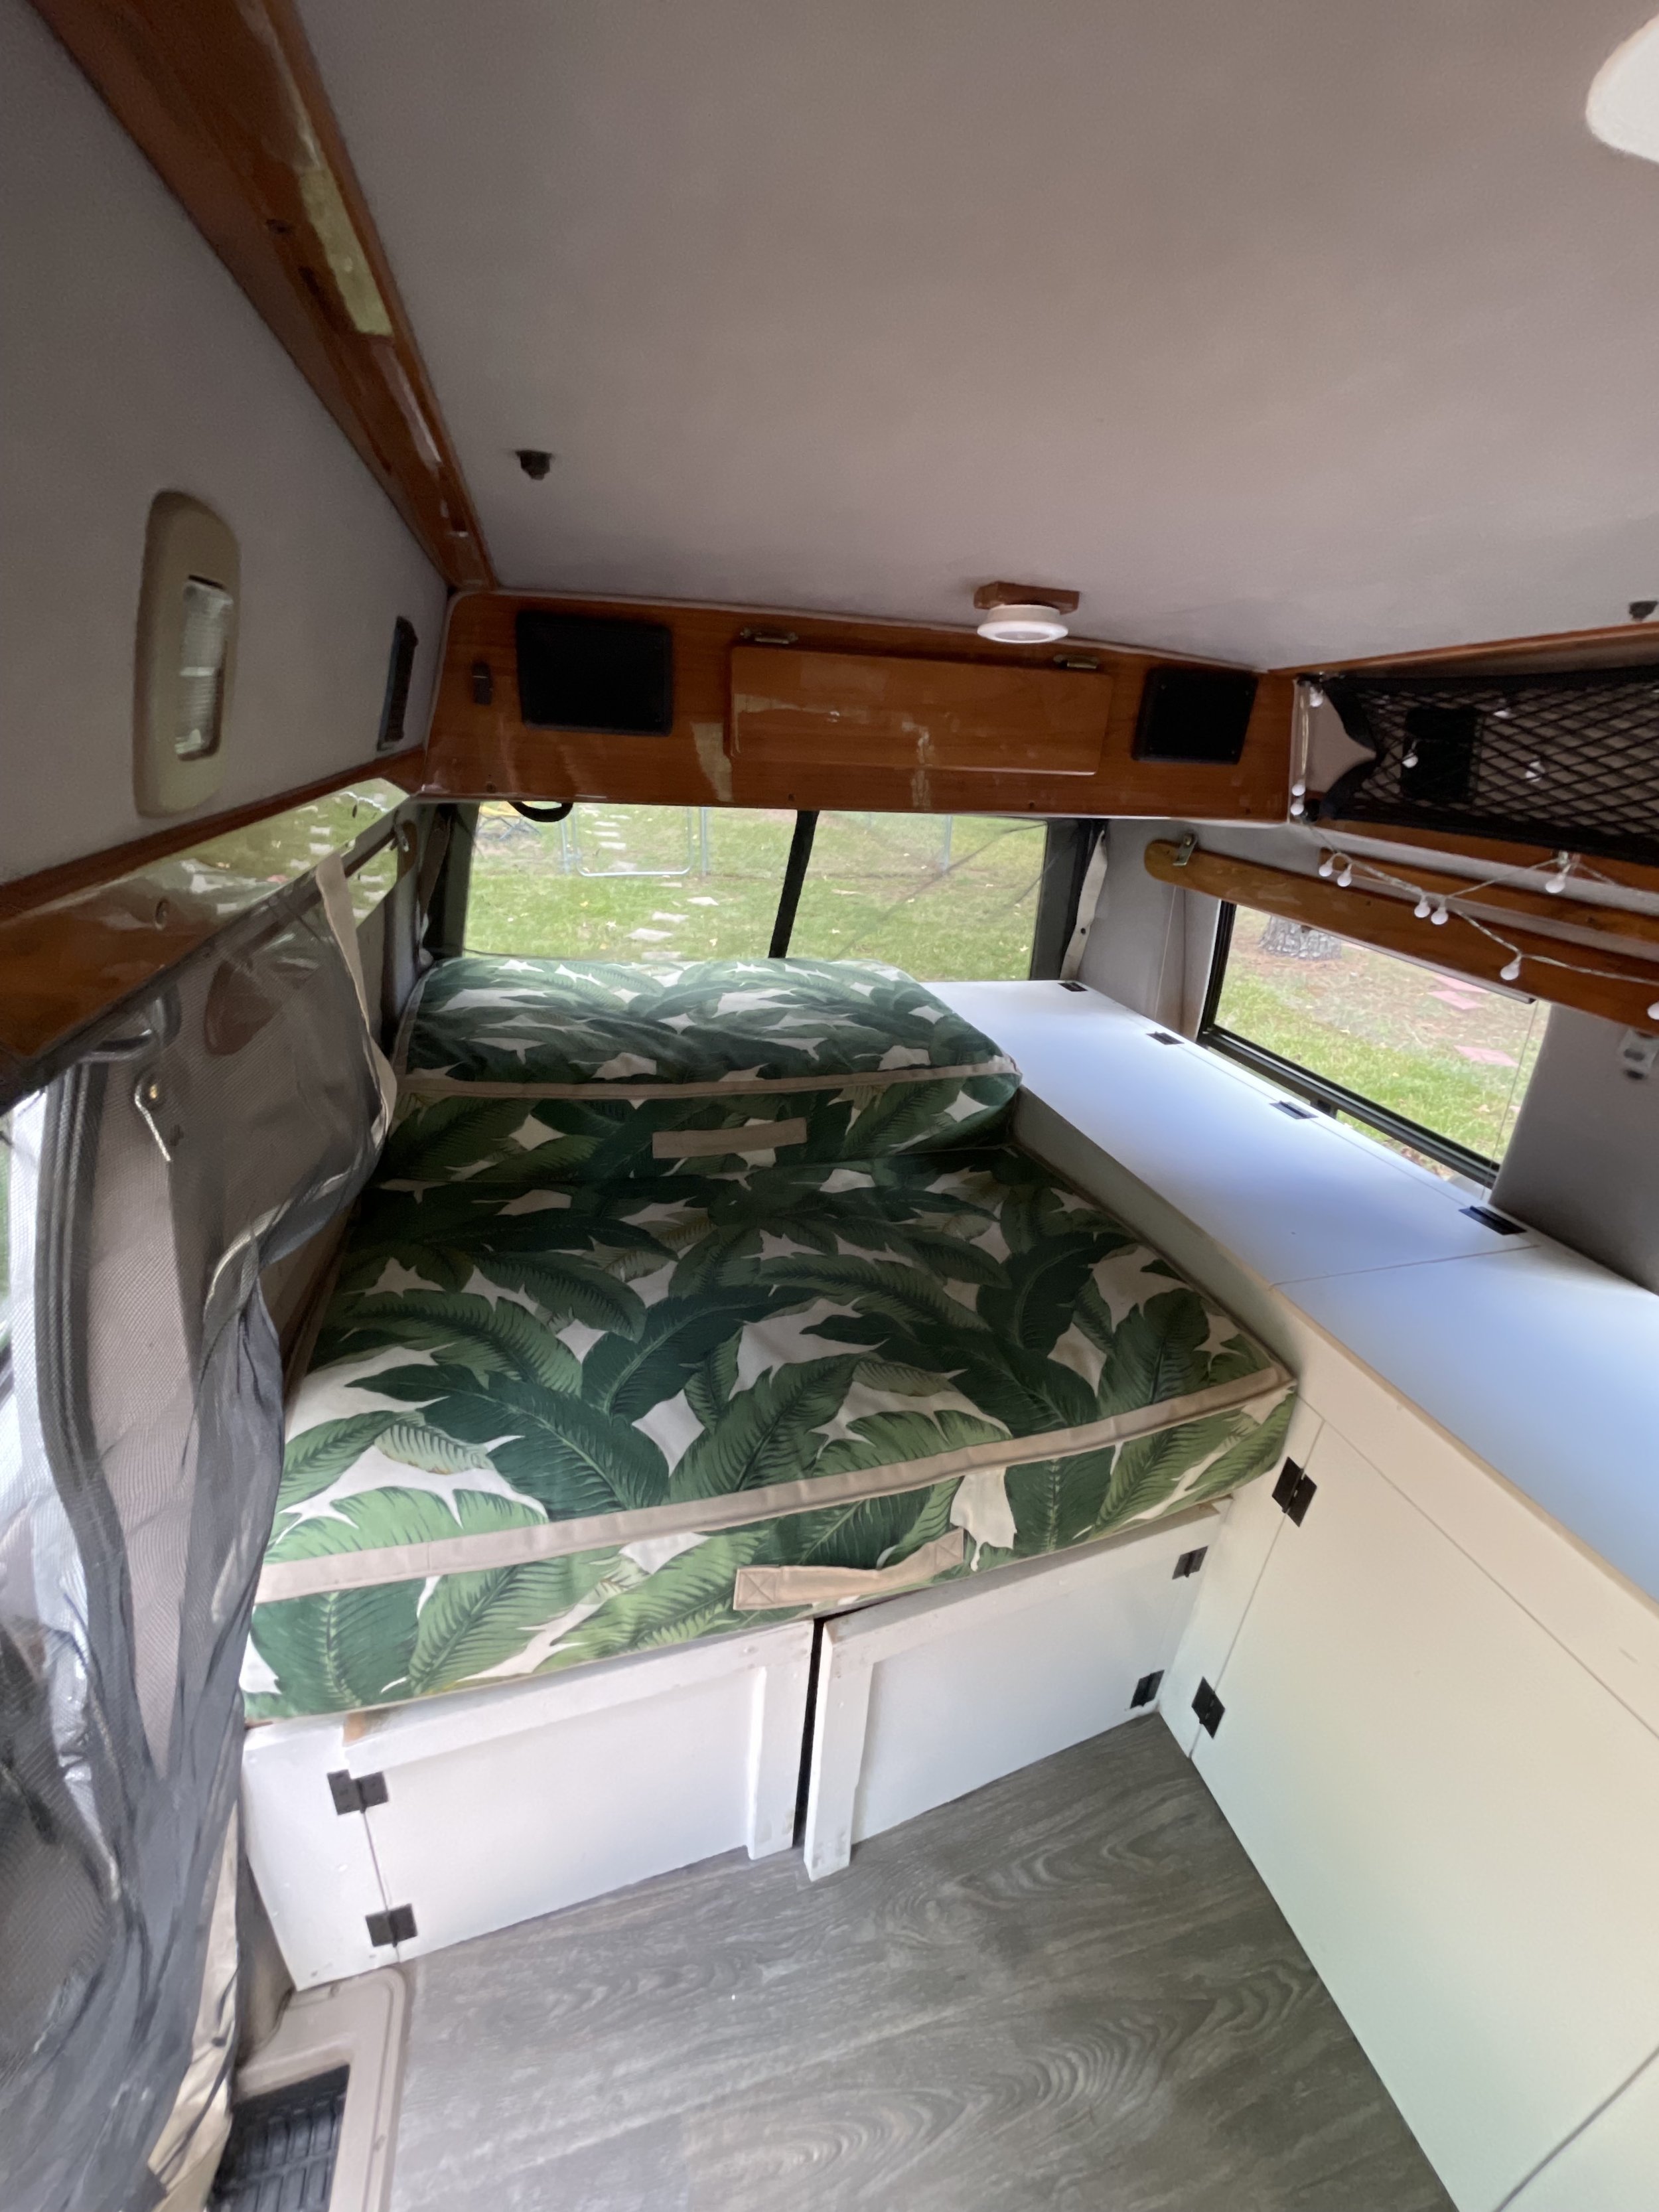
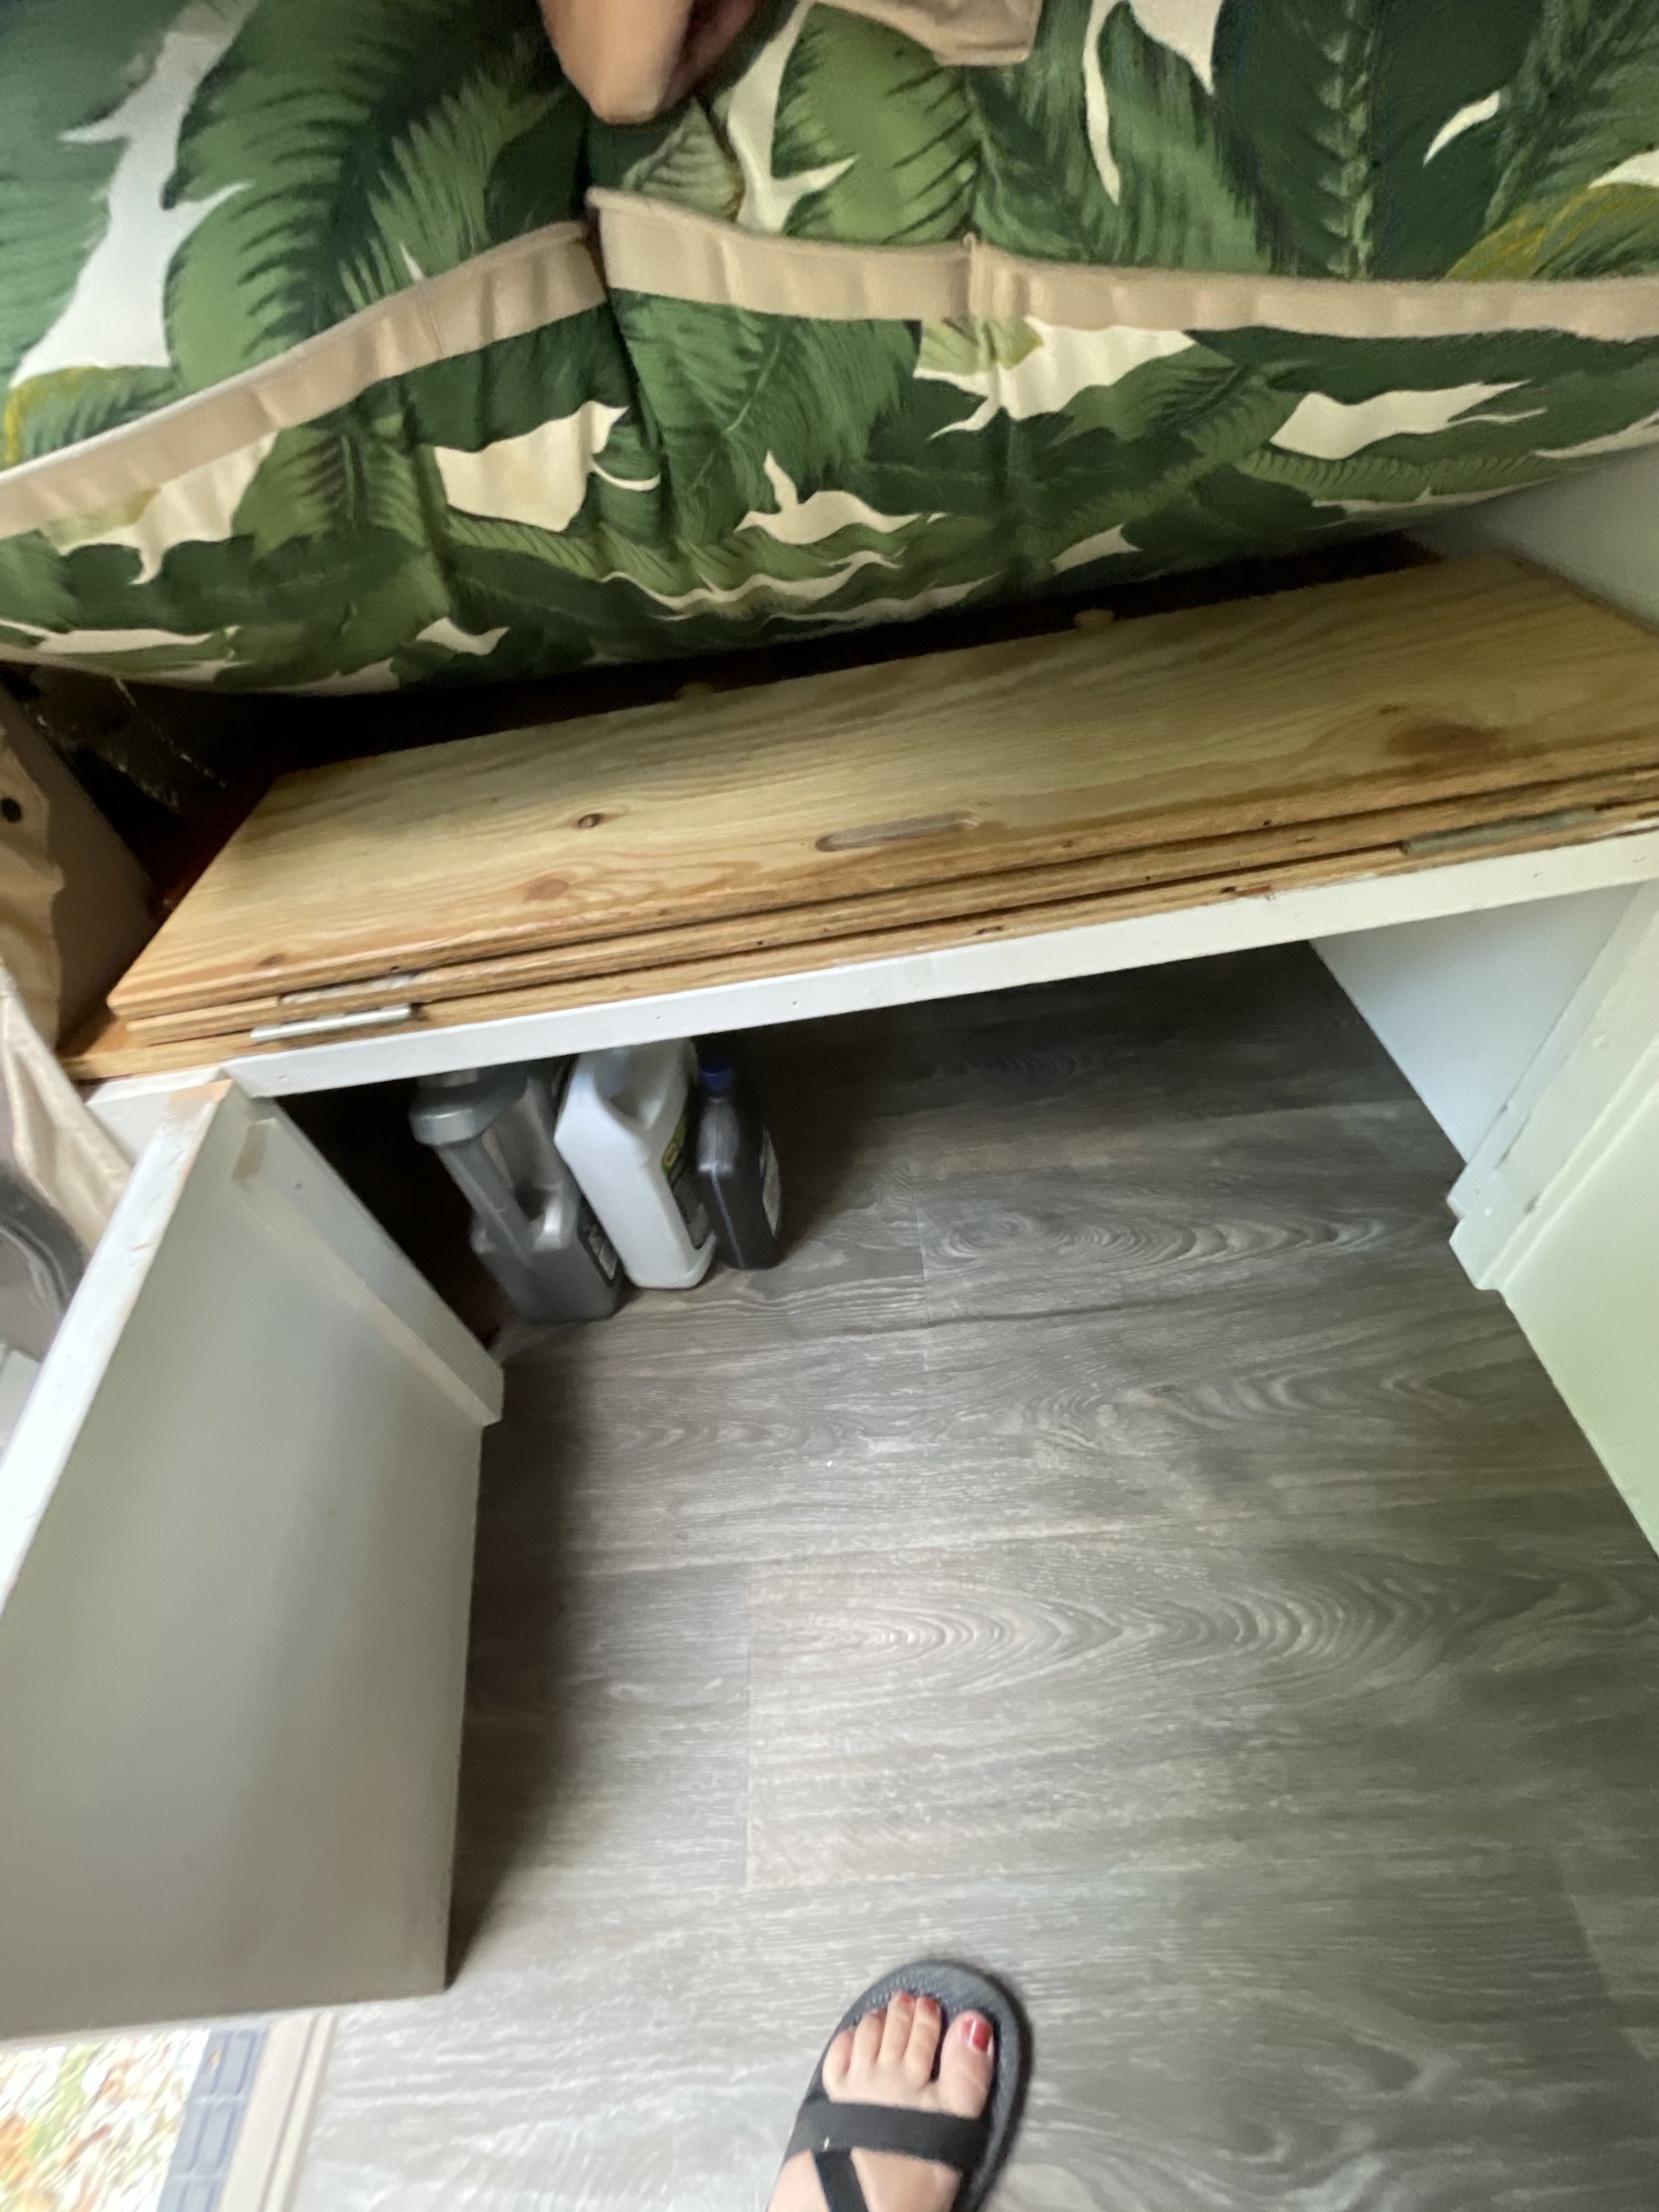
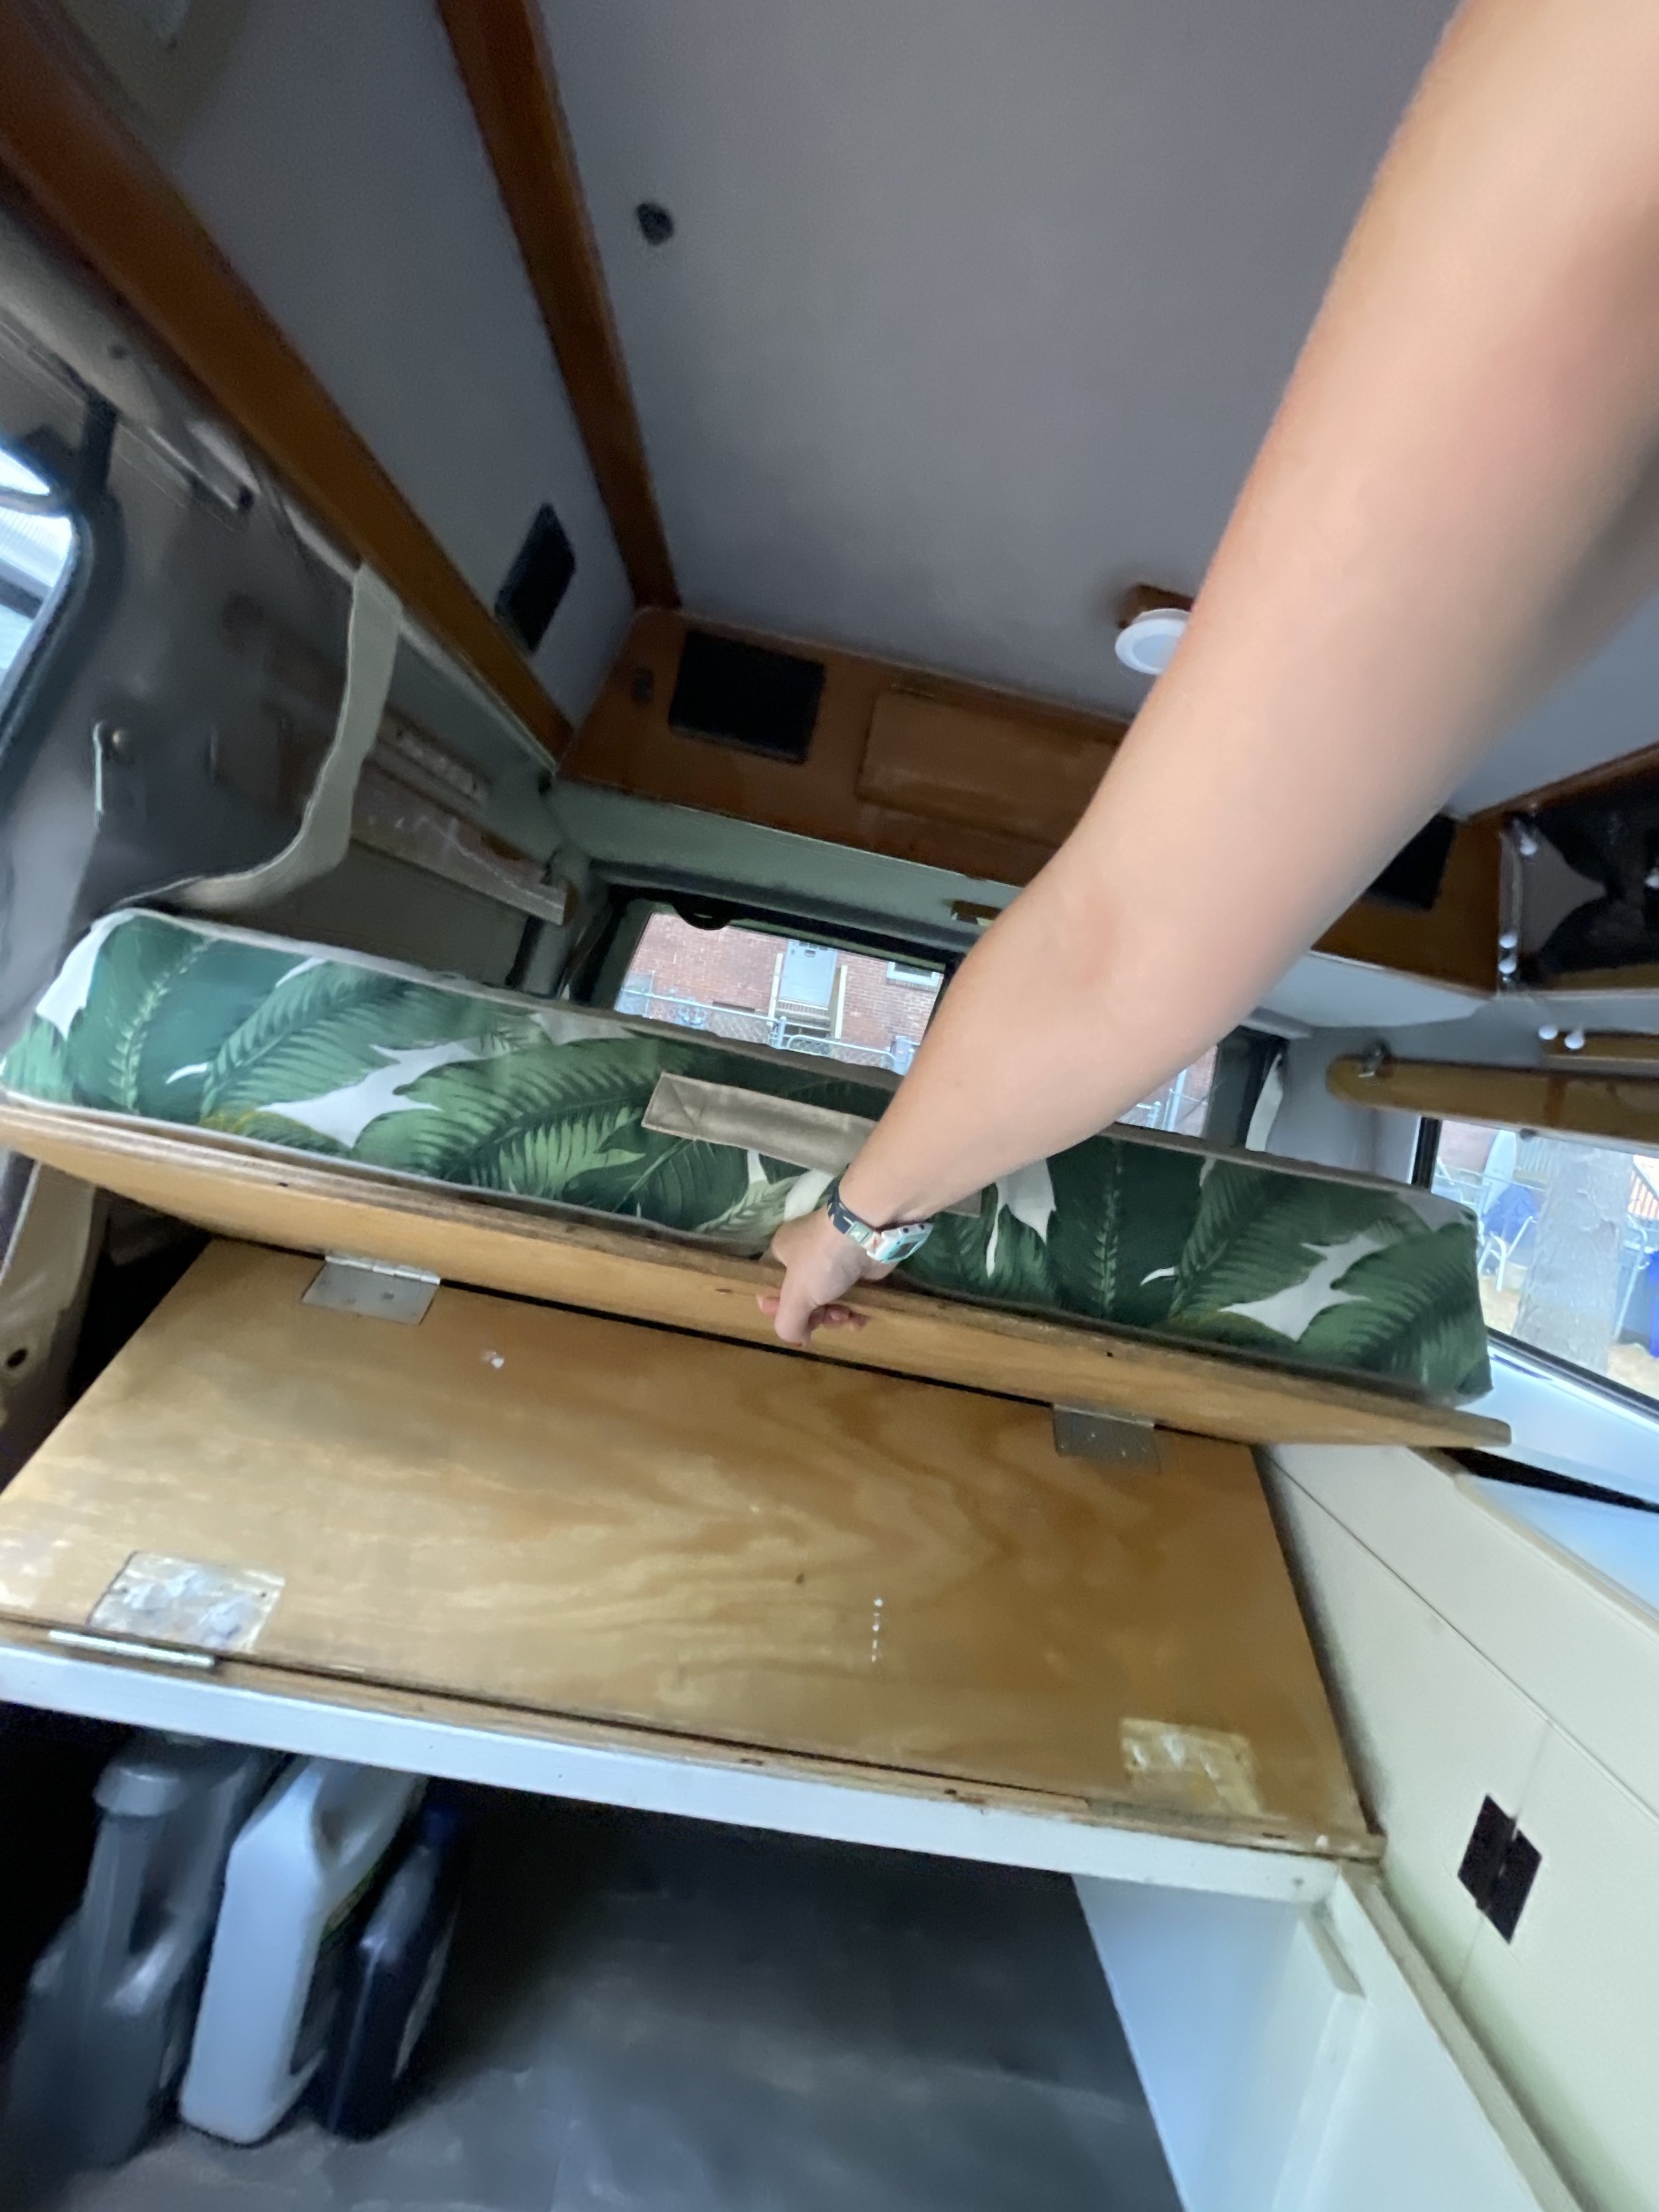
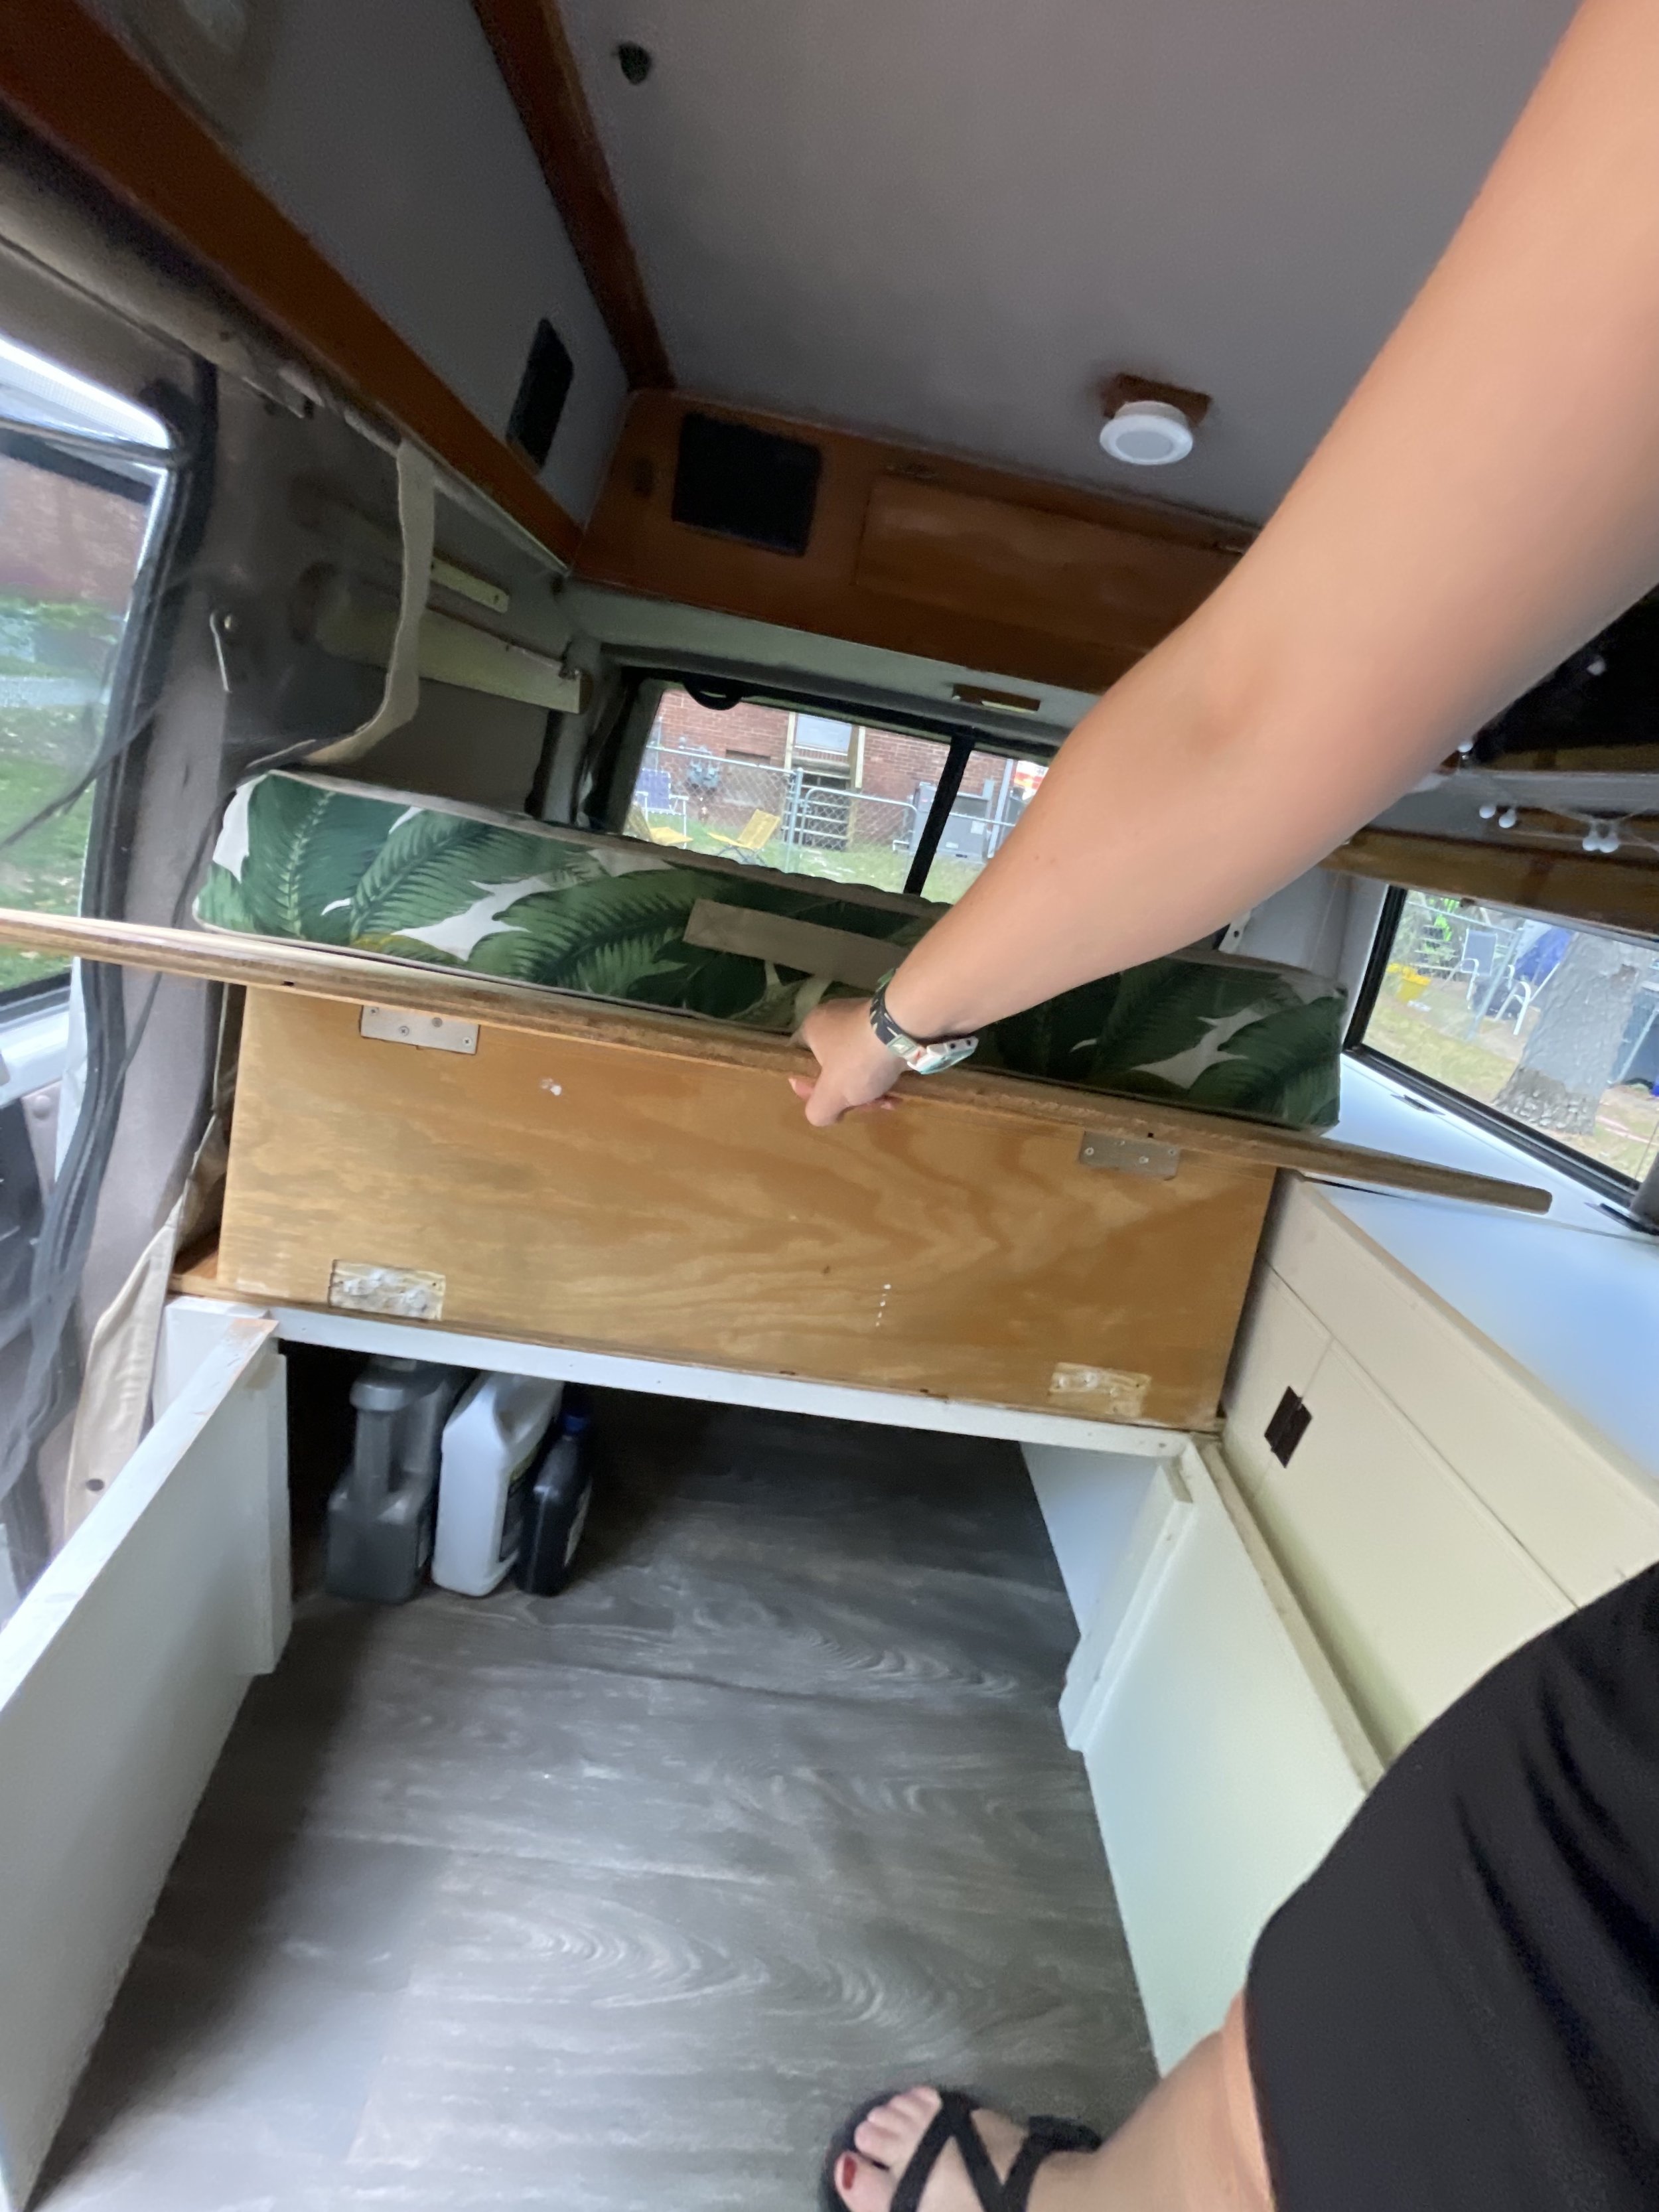
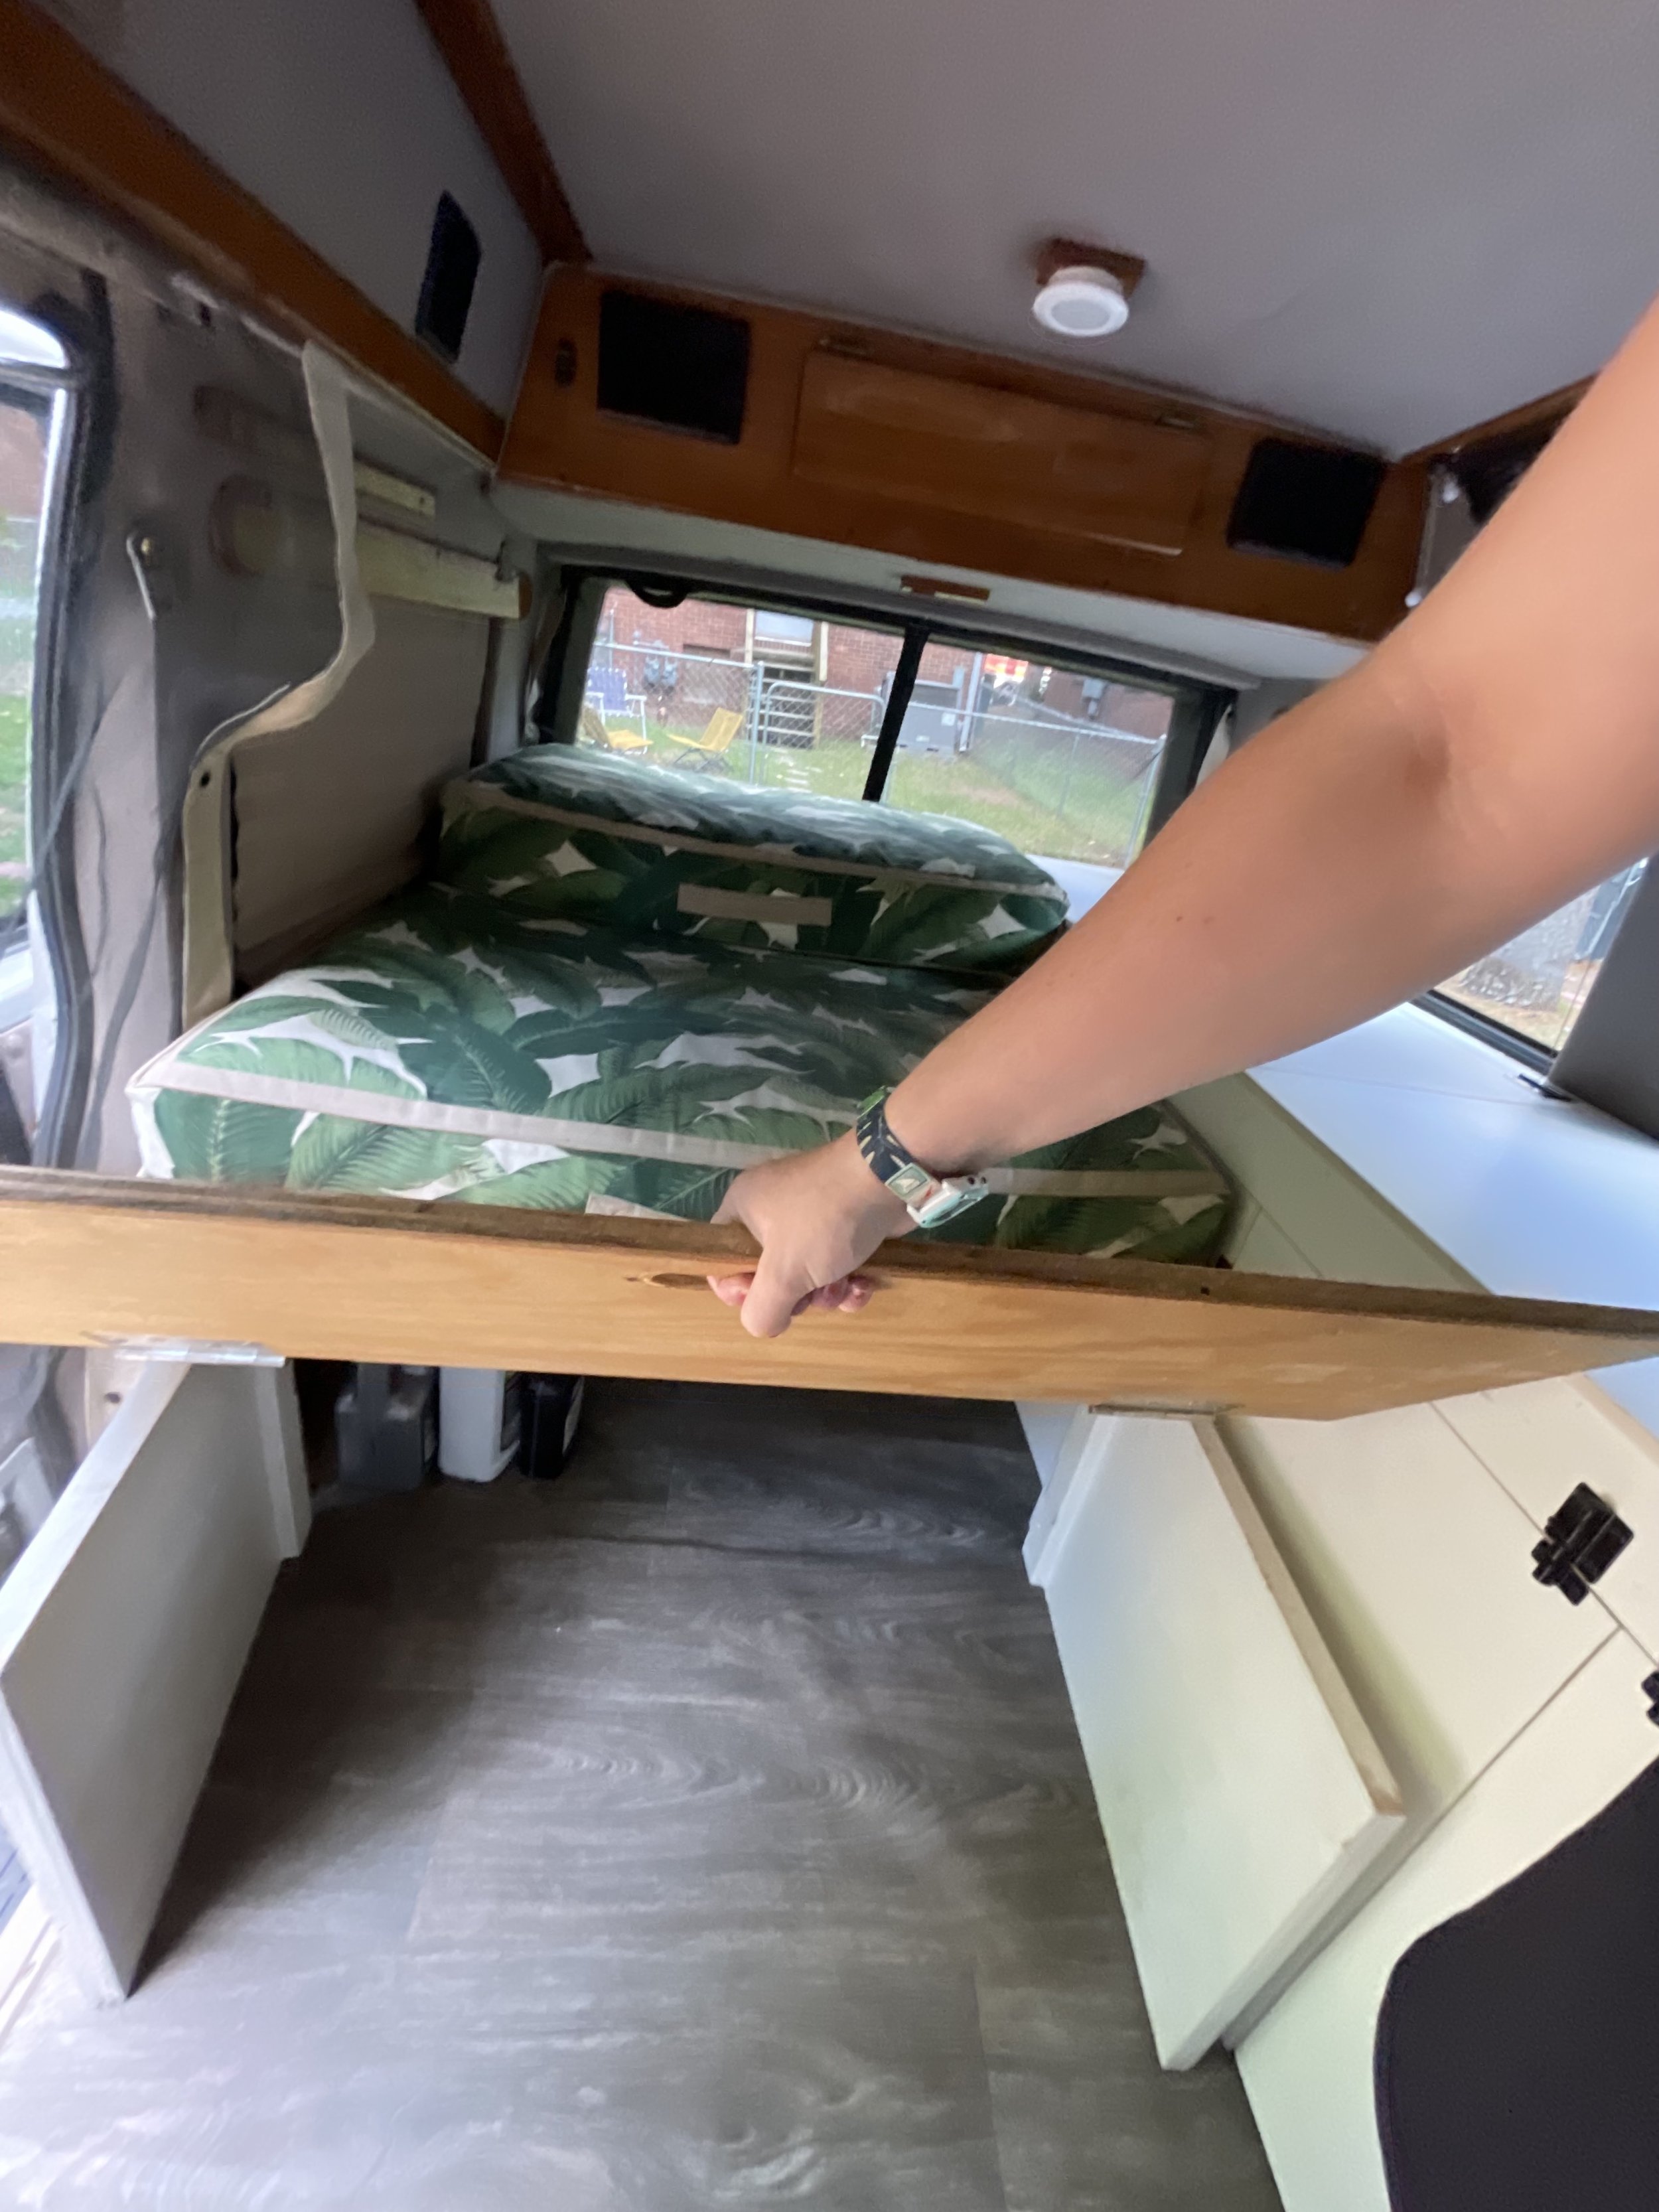
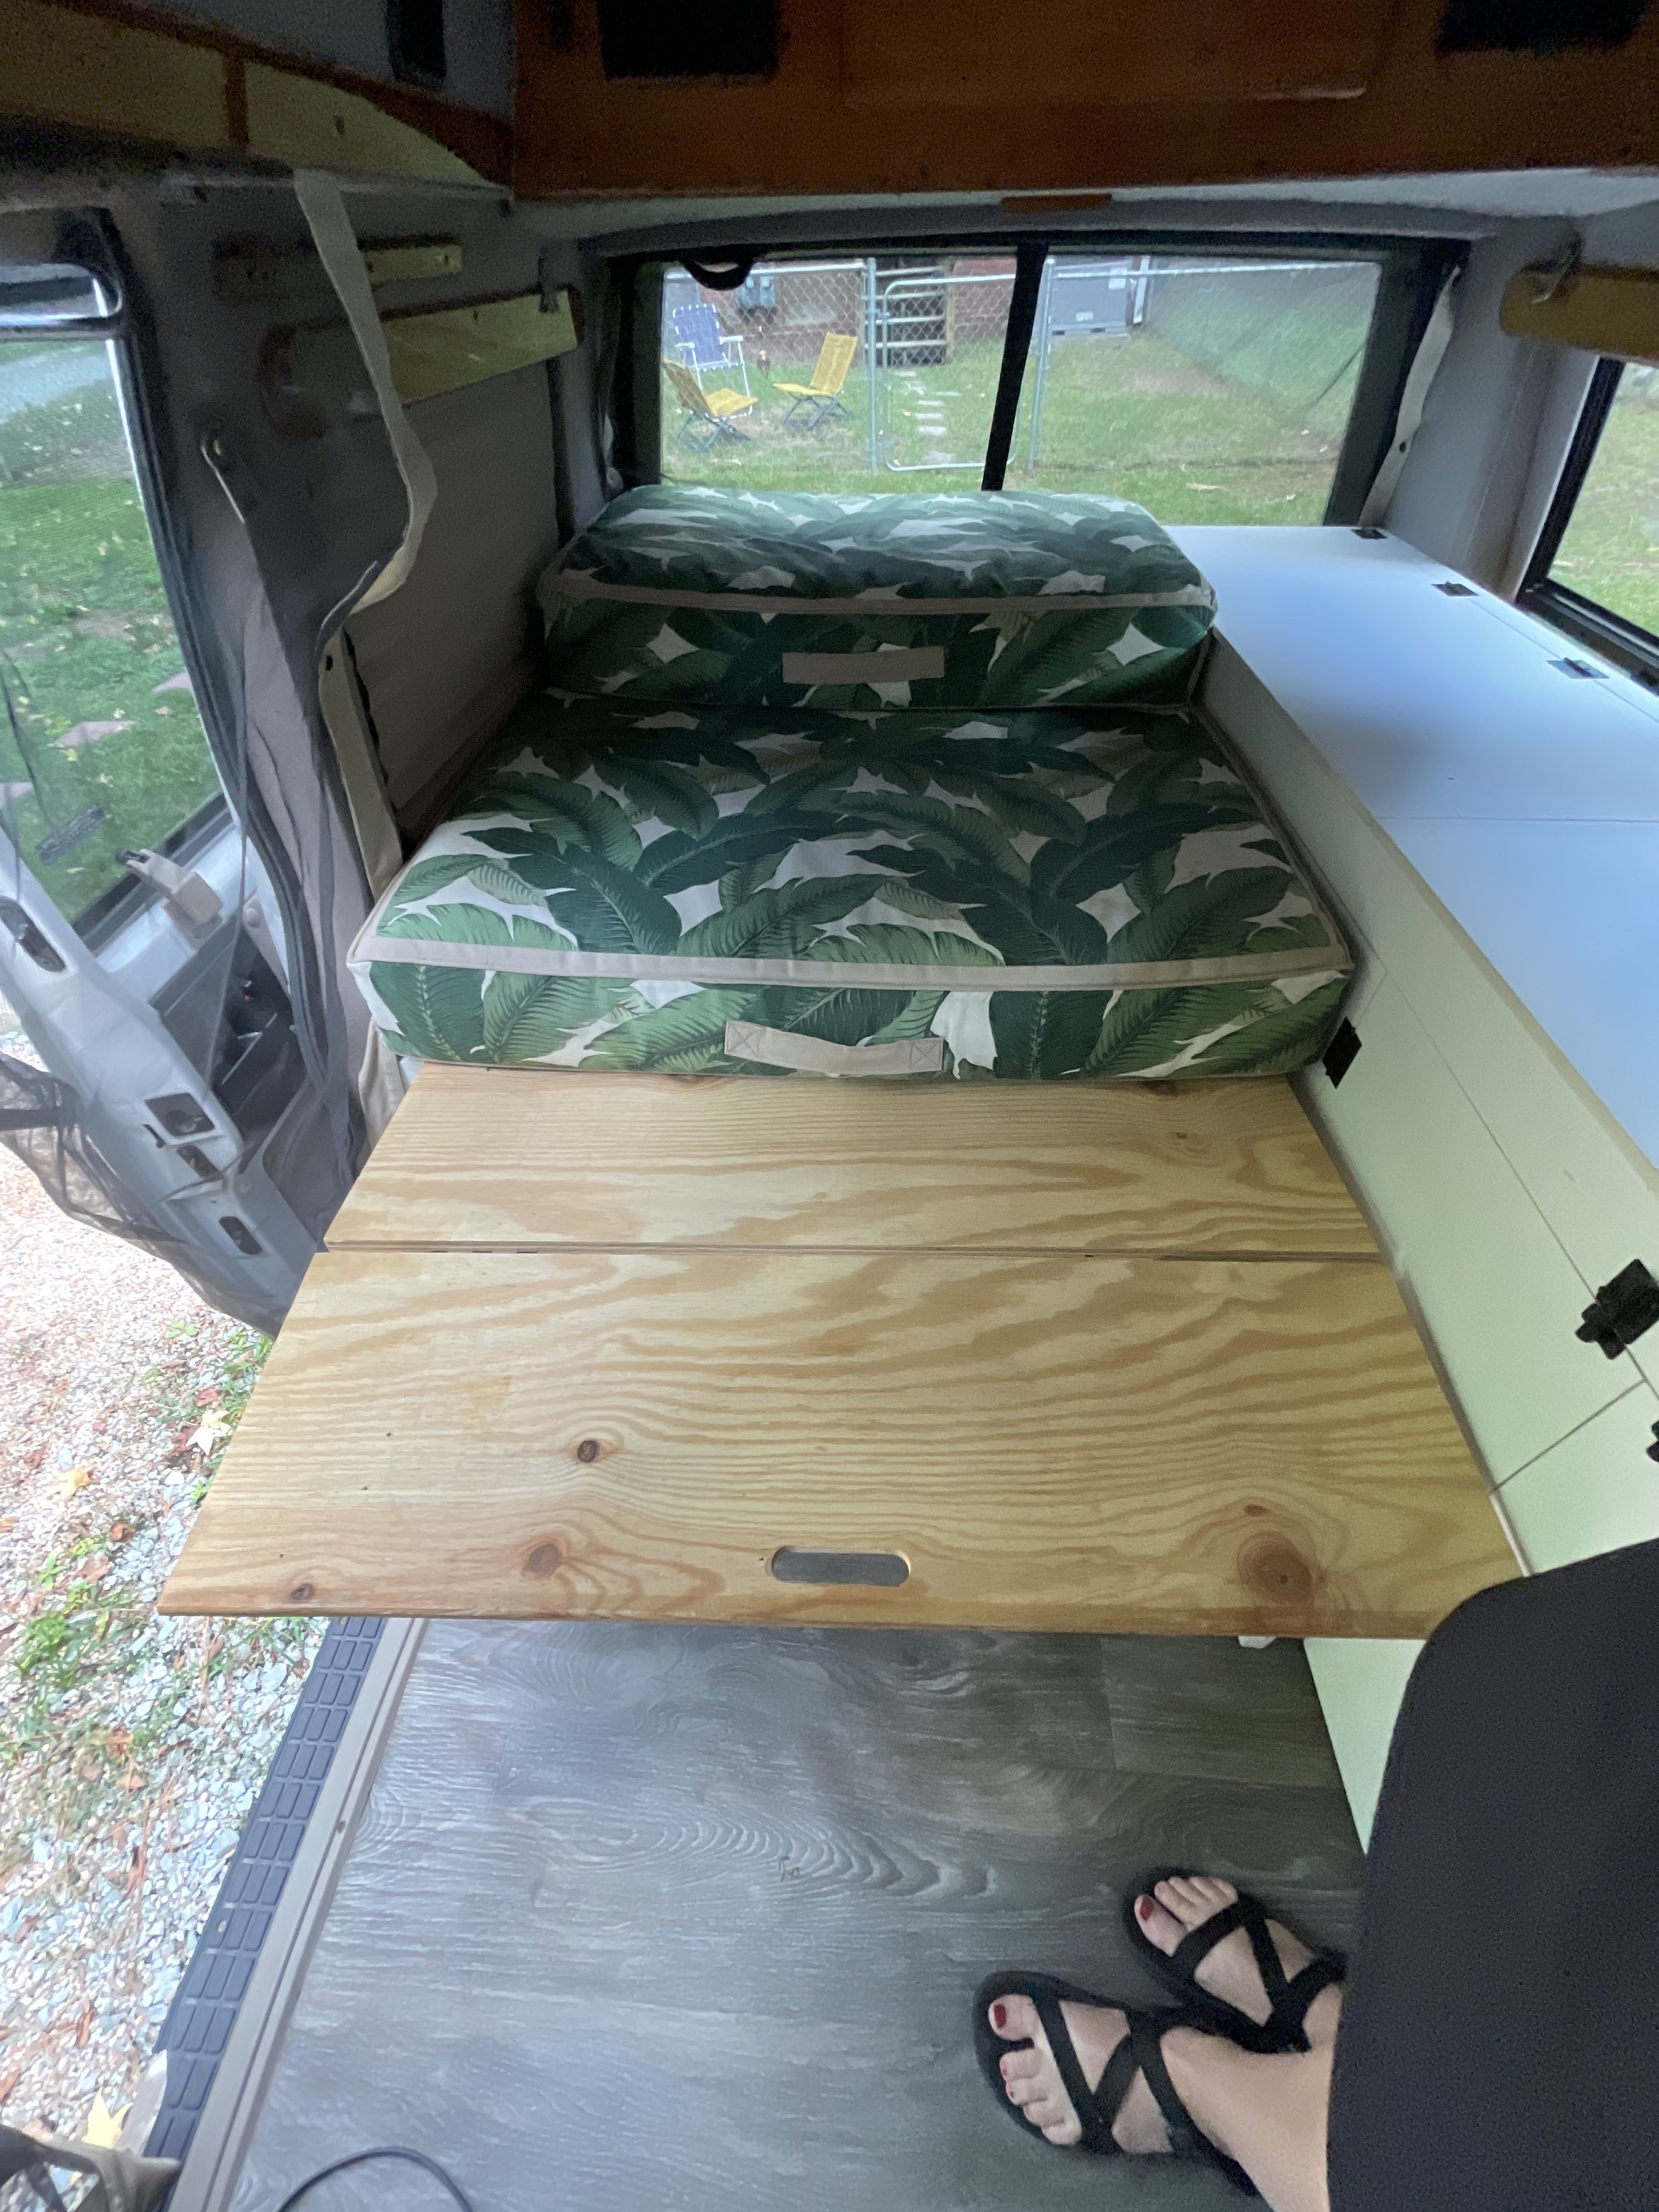
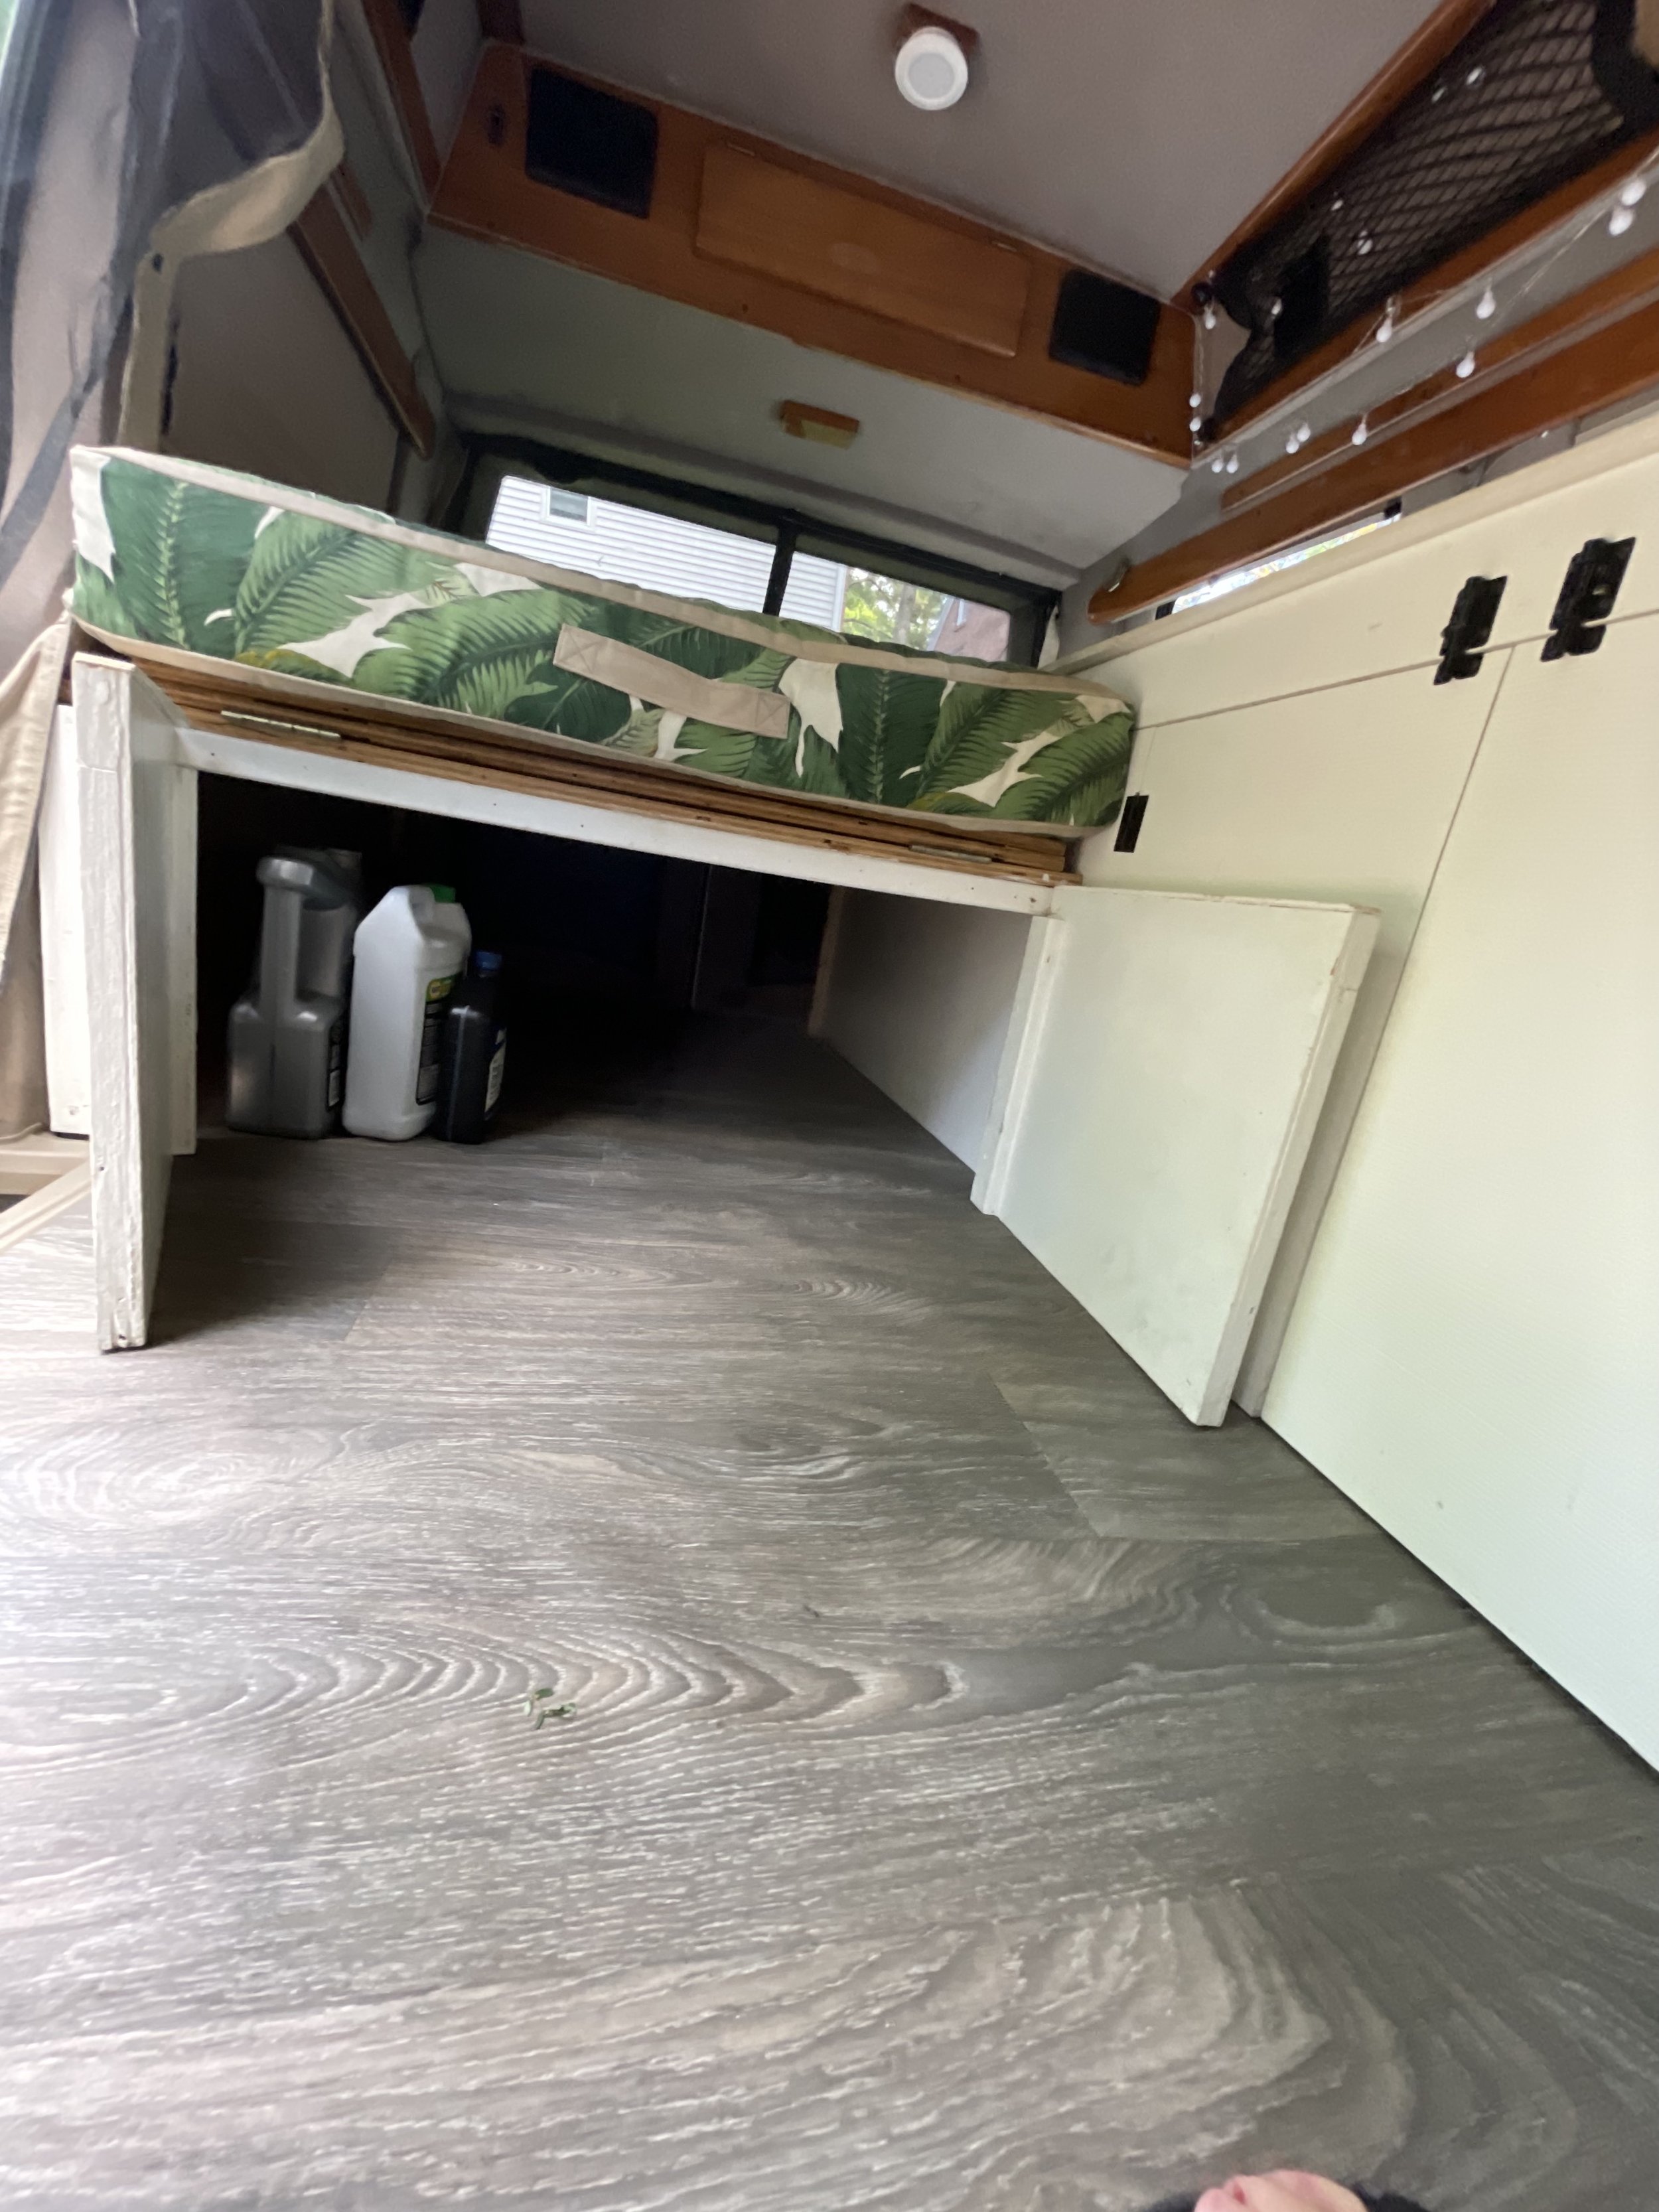
Sleep
The bed folds out to be a little bit smaller than a full, but bigger than a twin. The mattress is made of high-density marine-grade foam and batting. The cover is comprised of a rubber water-resistant liner and Sunbrella. There are handles on both mattresses for convenient manoeuvring and transportation. The mattresses stay together well when a sheet is on!

Kitchen
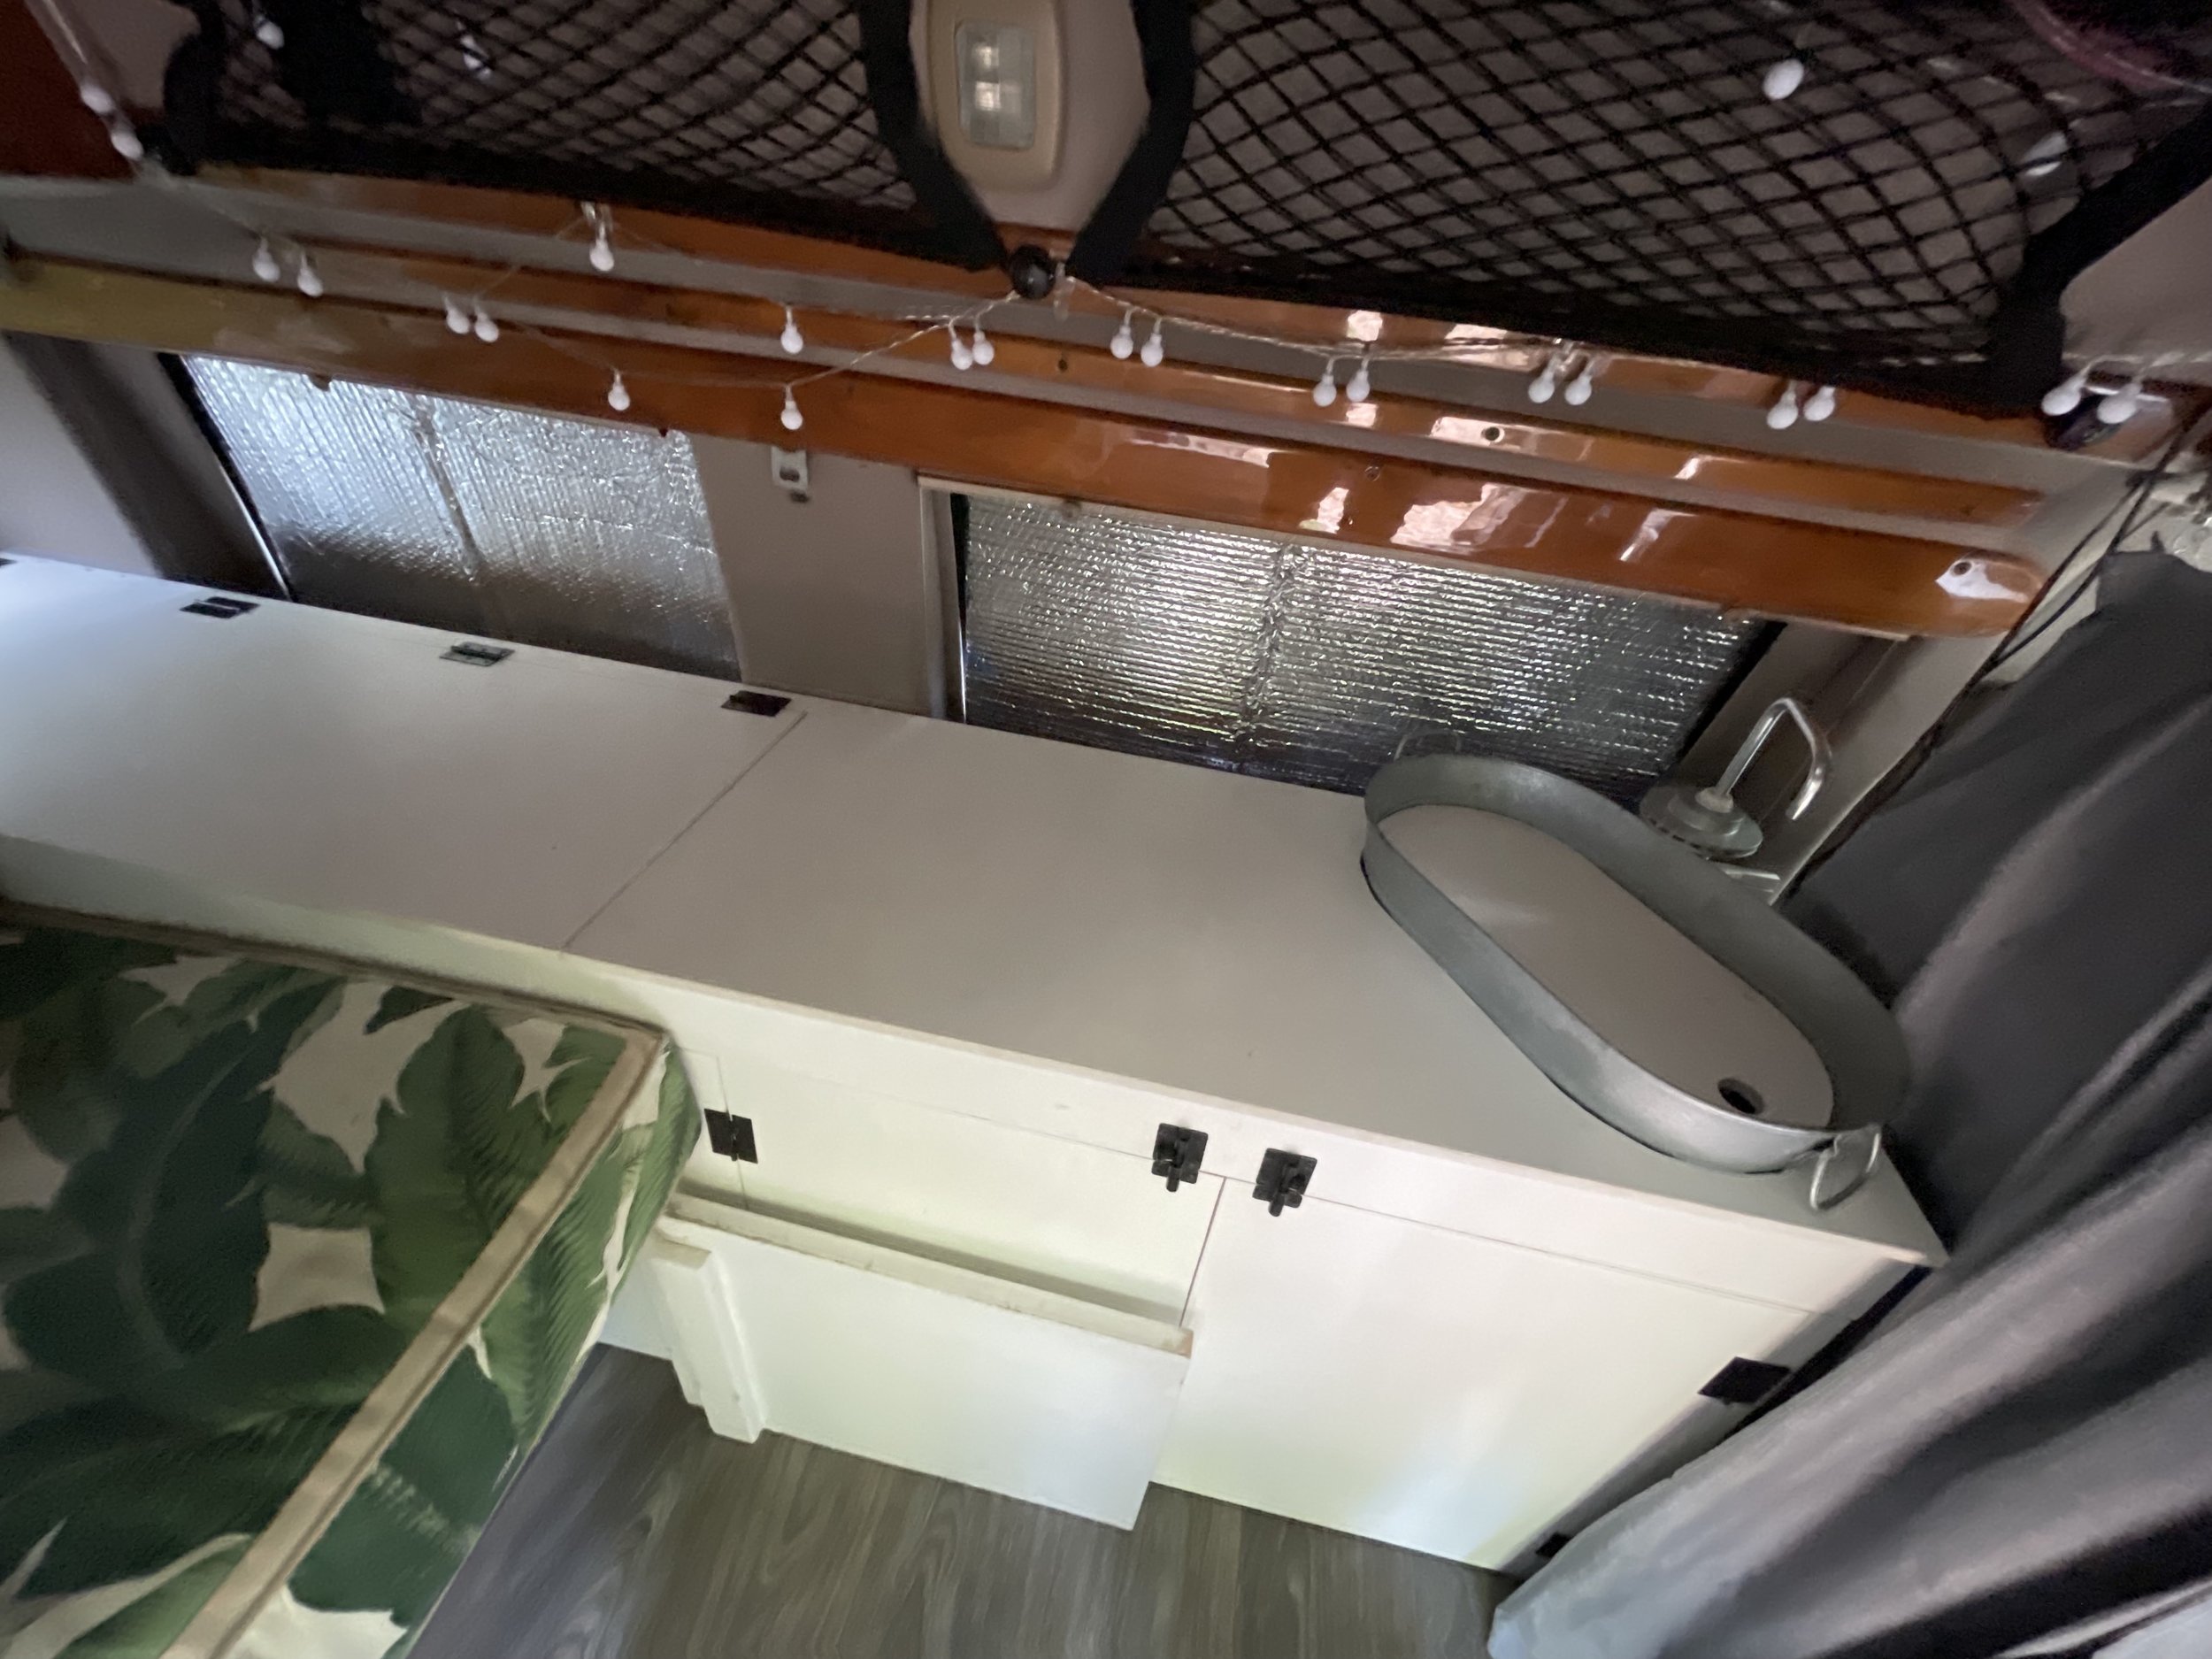
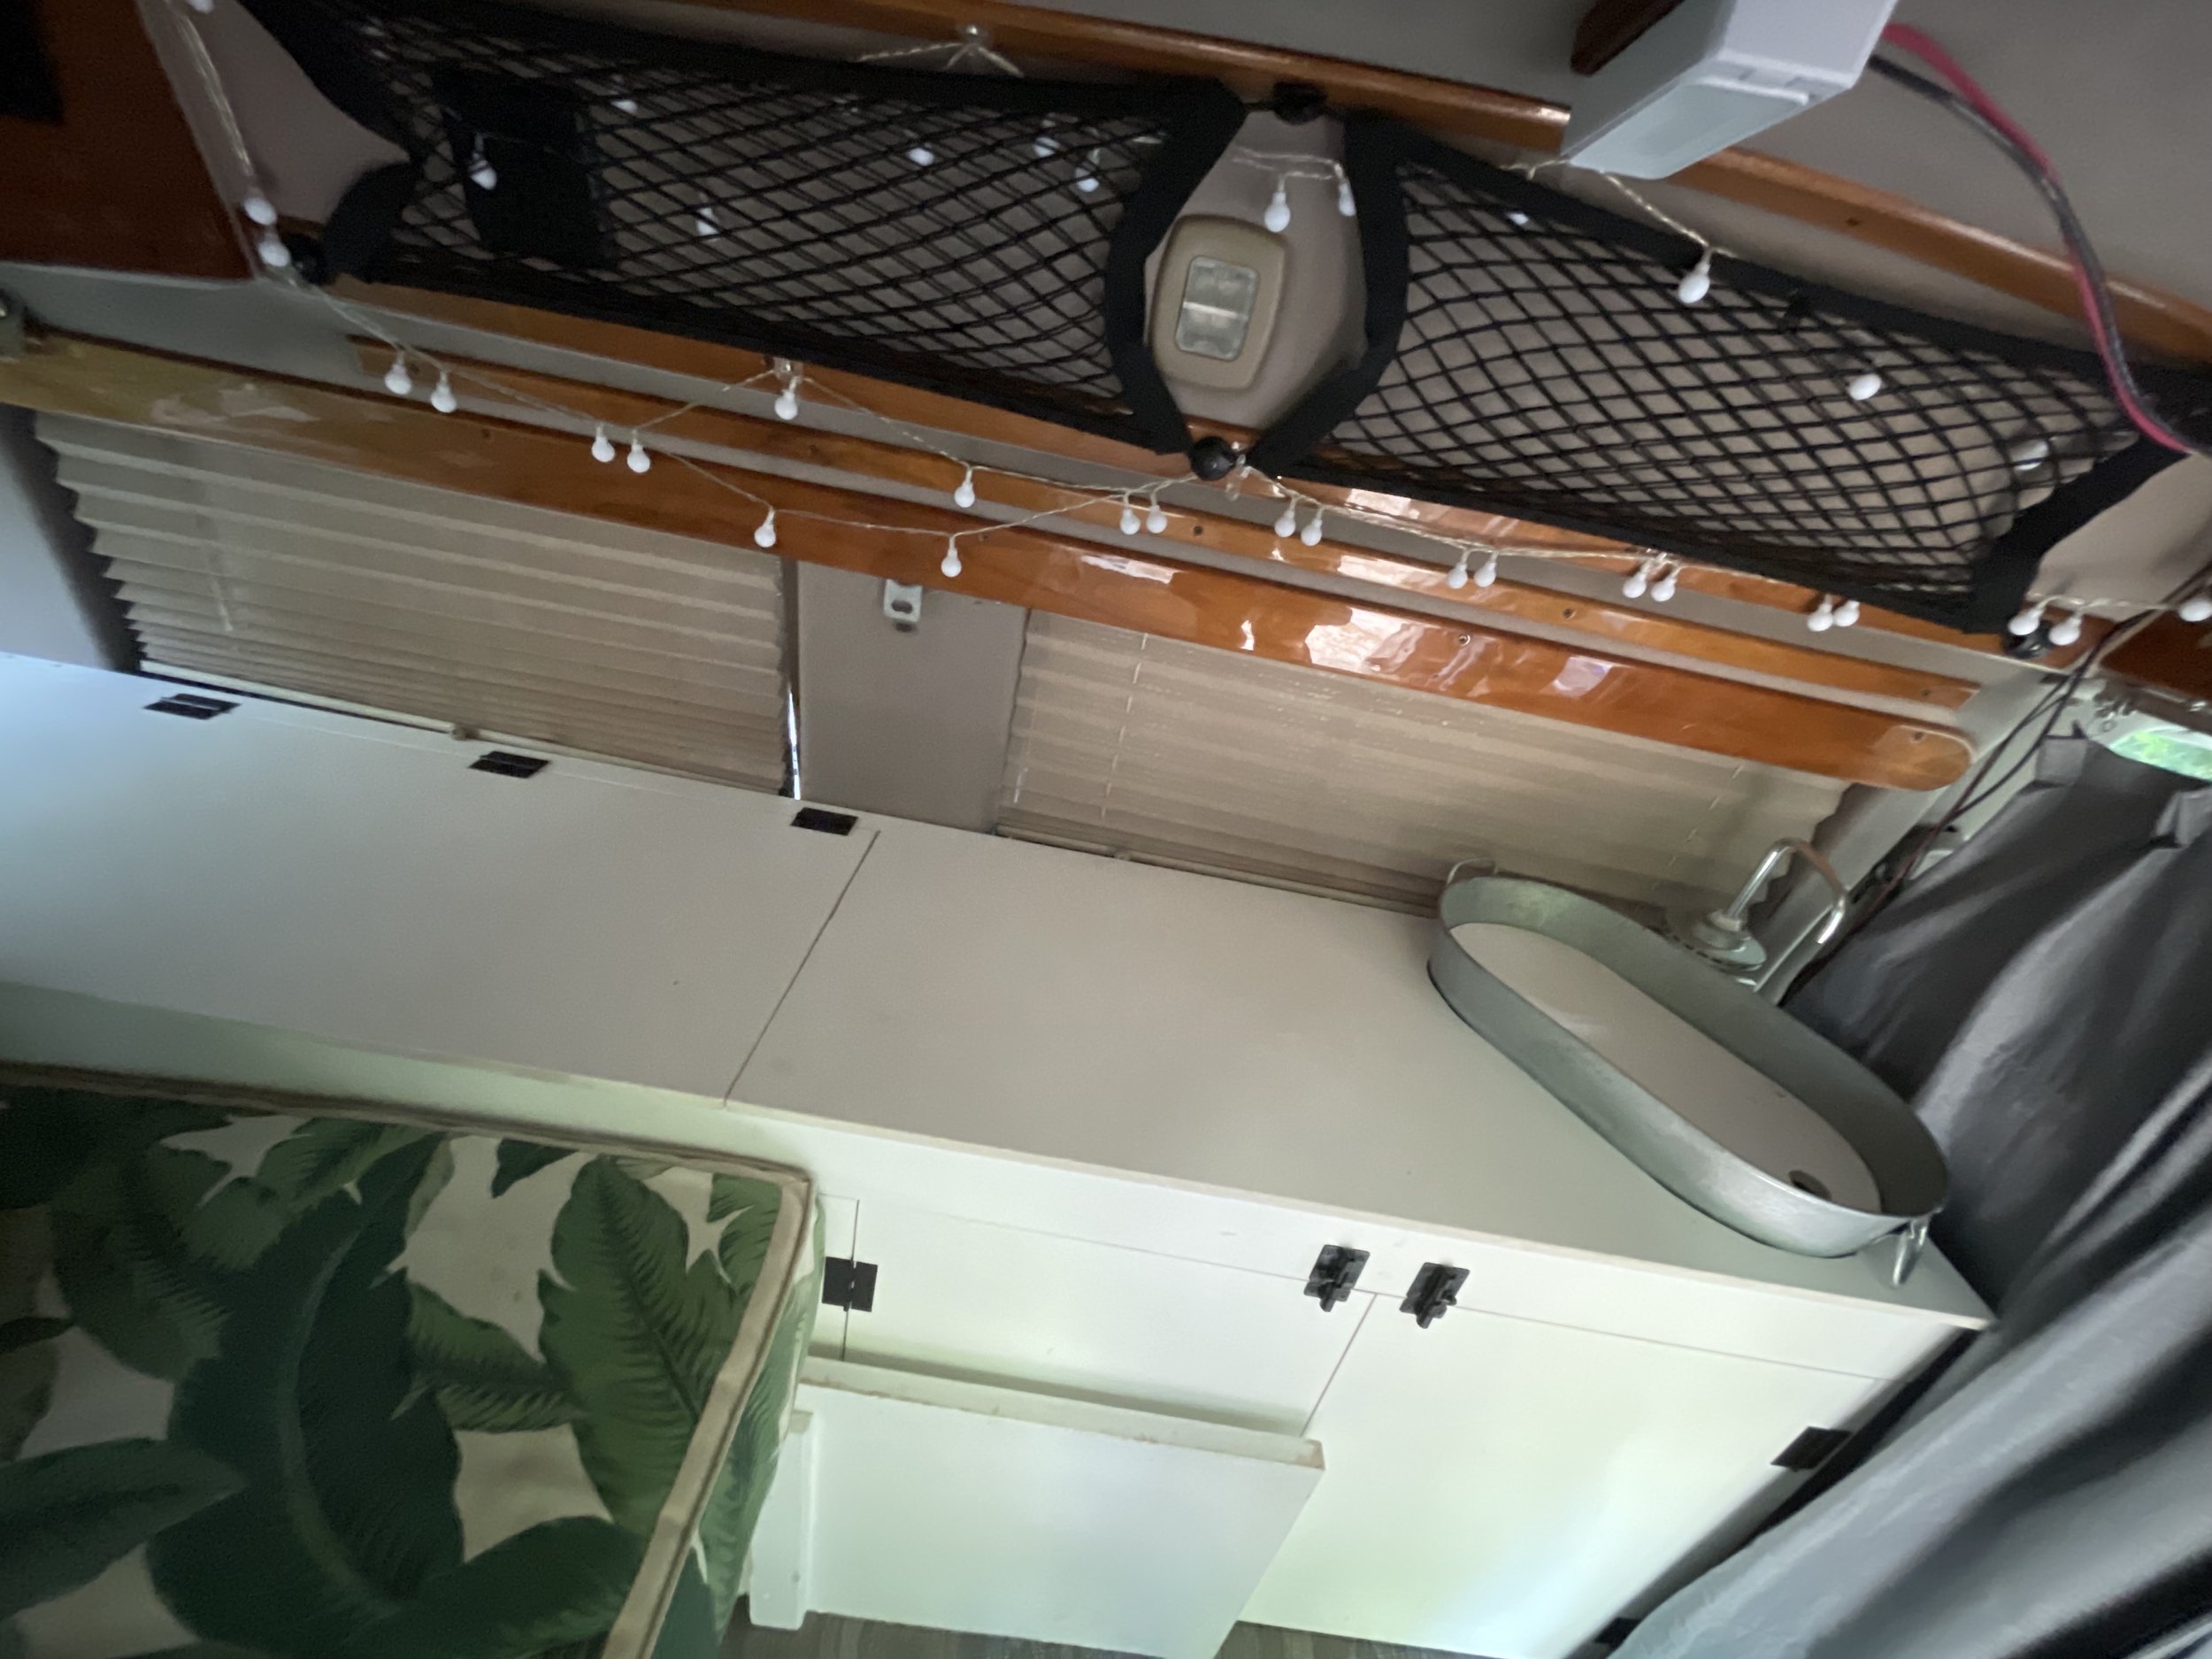
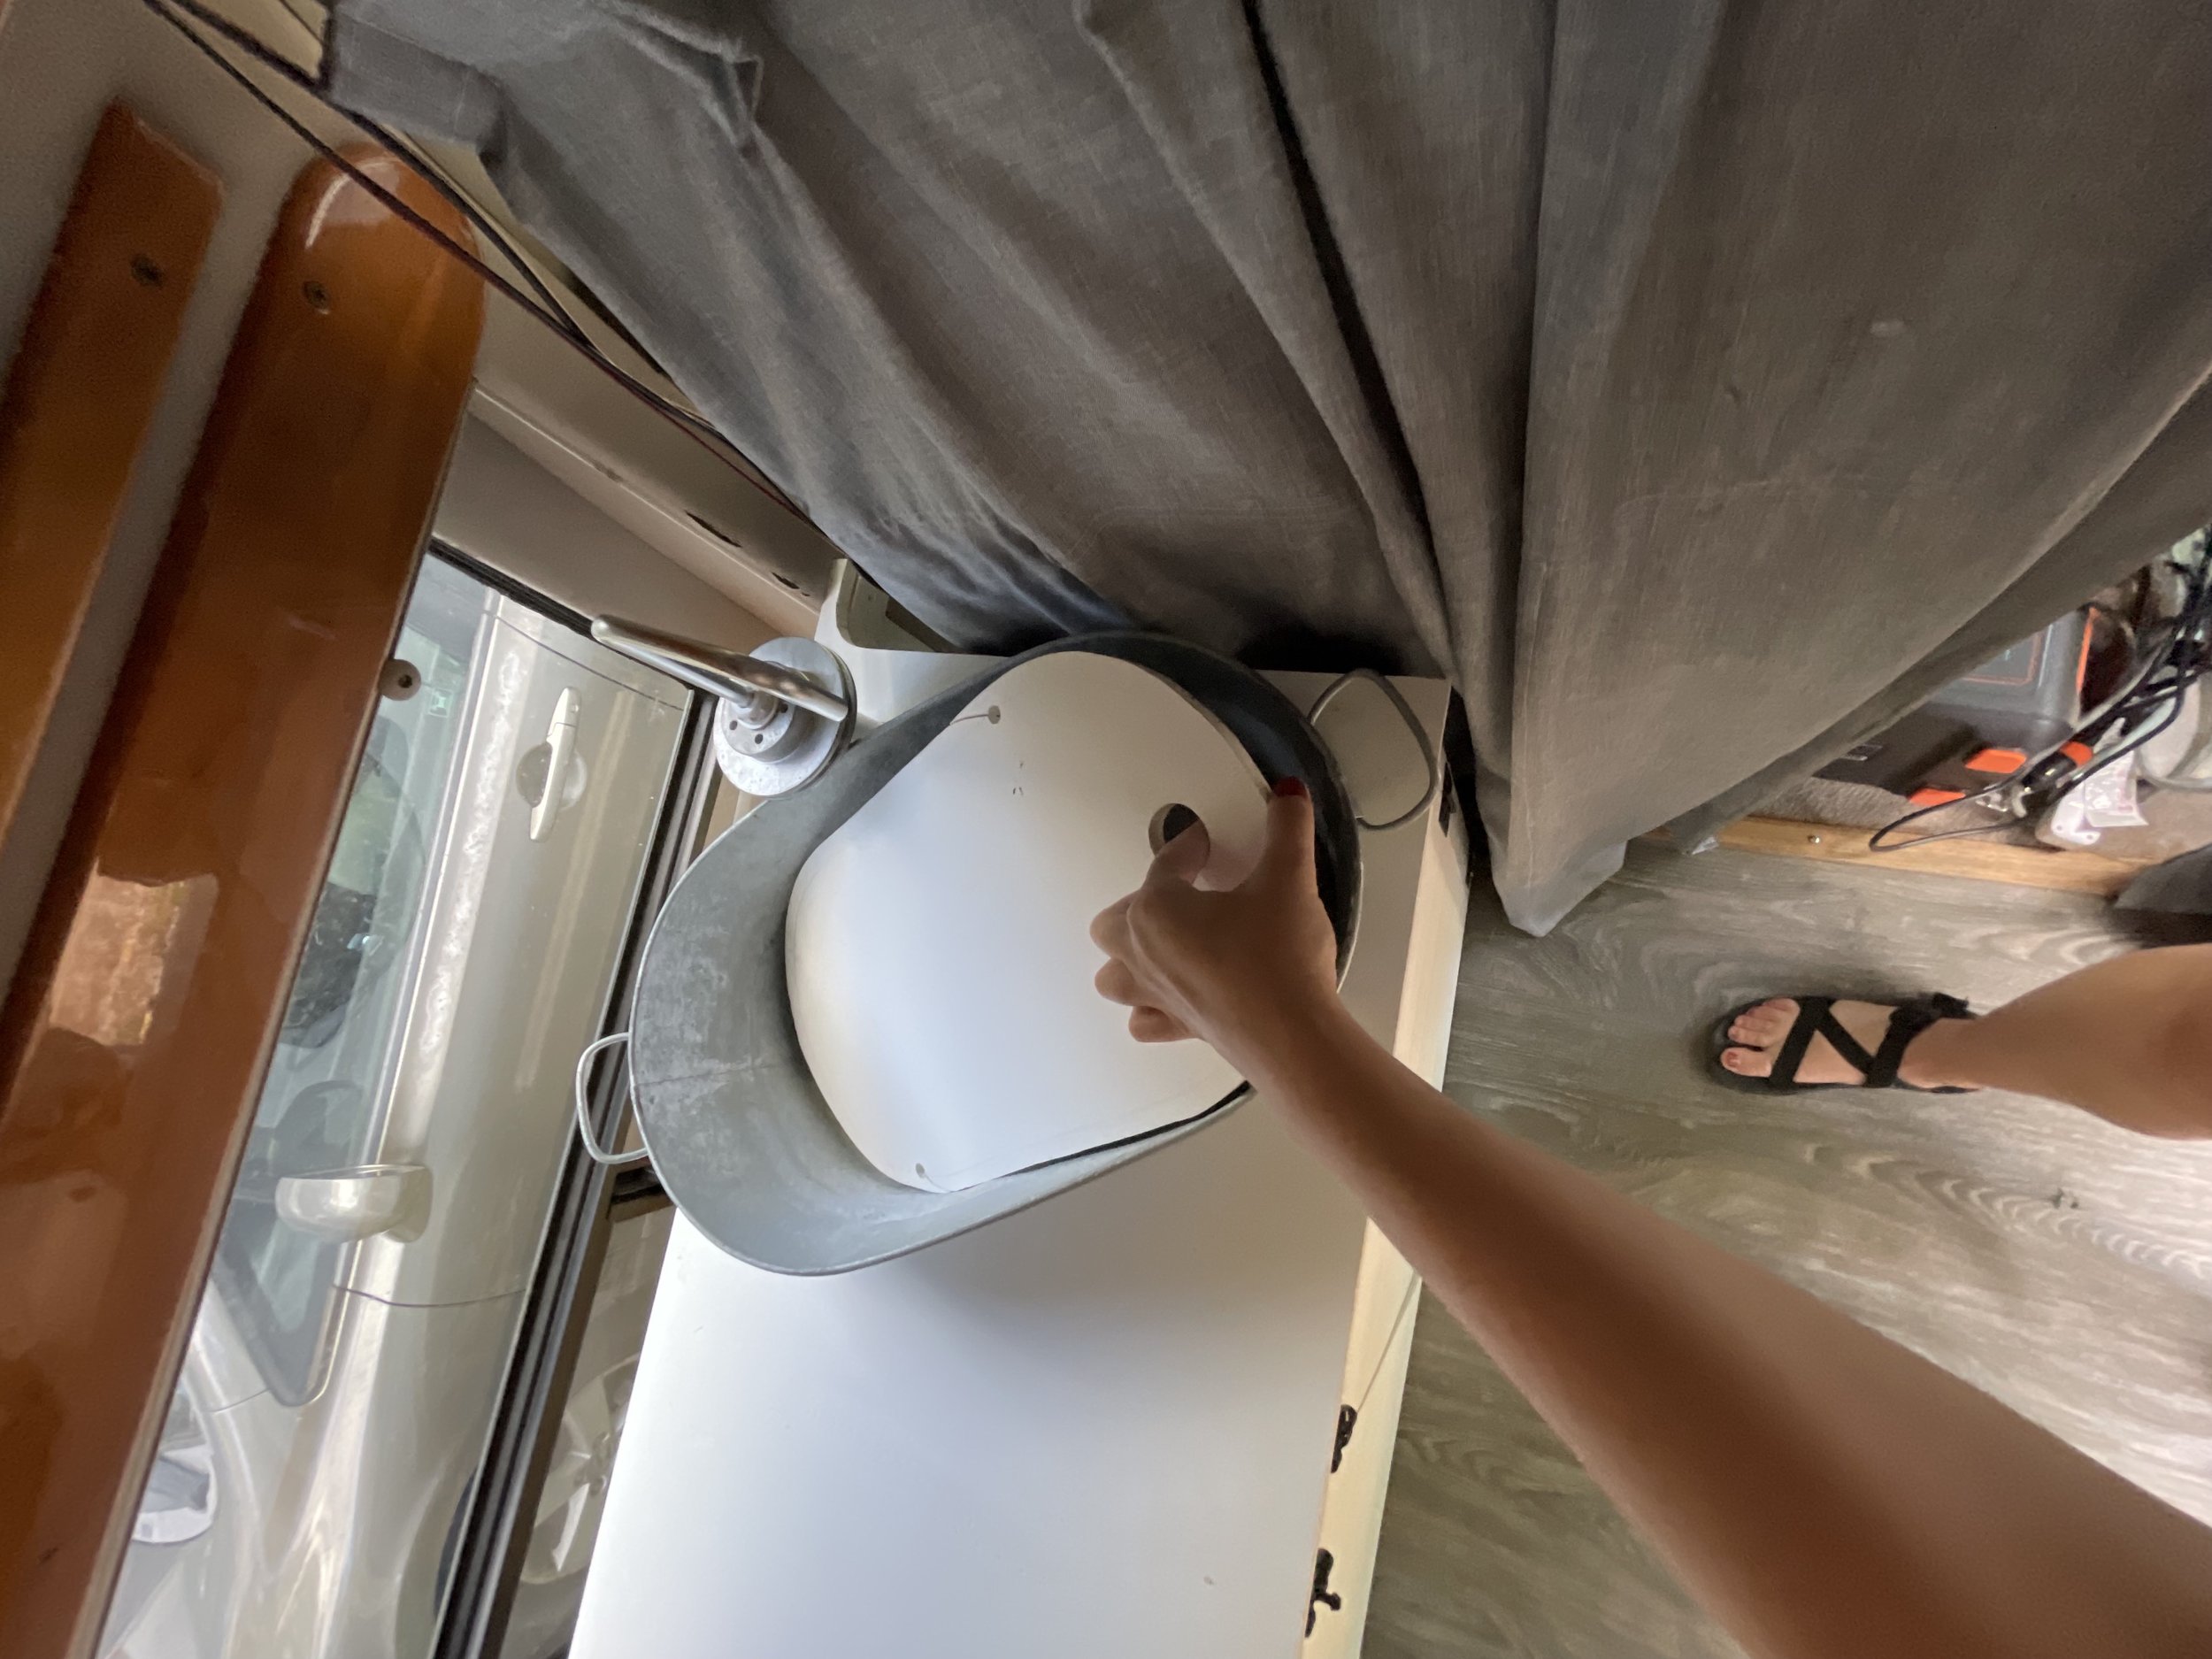
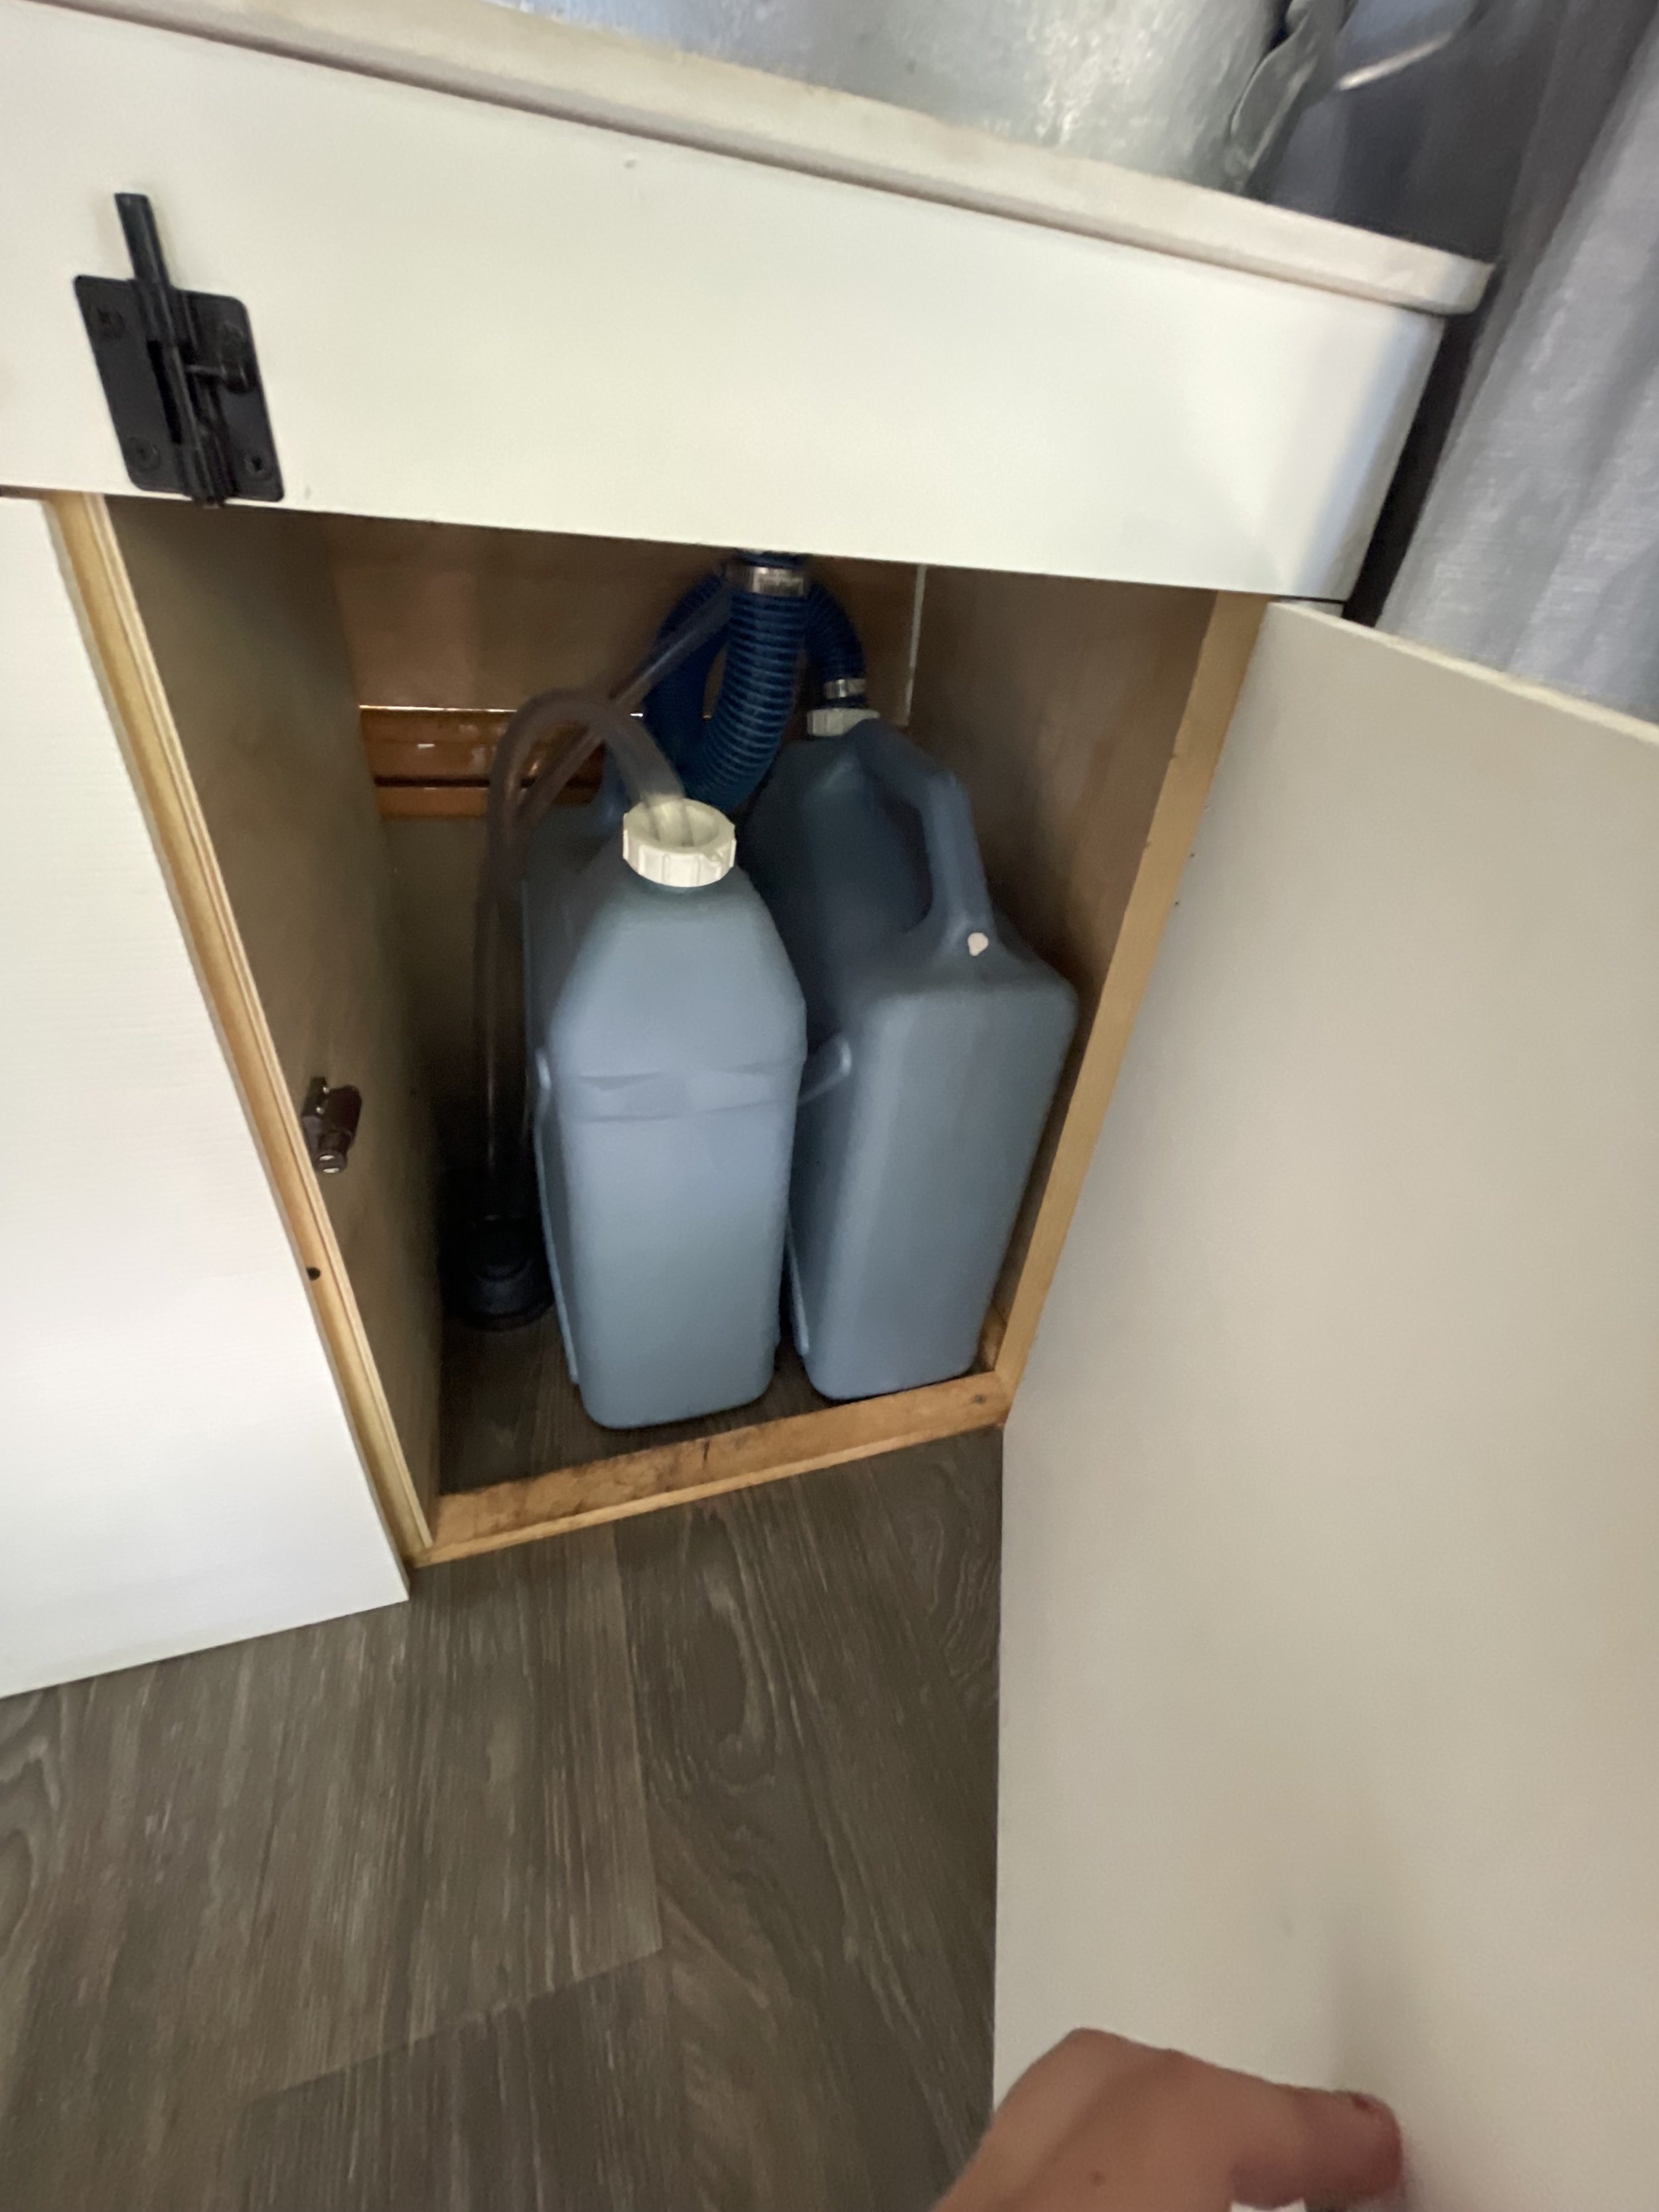
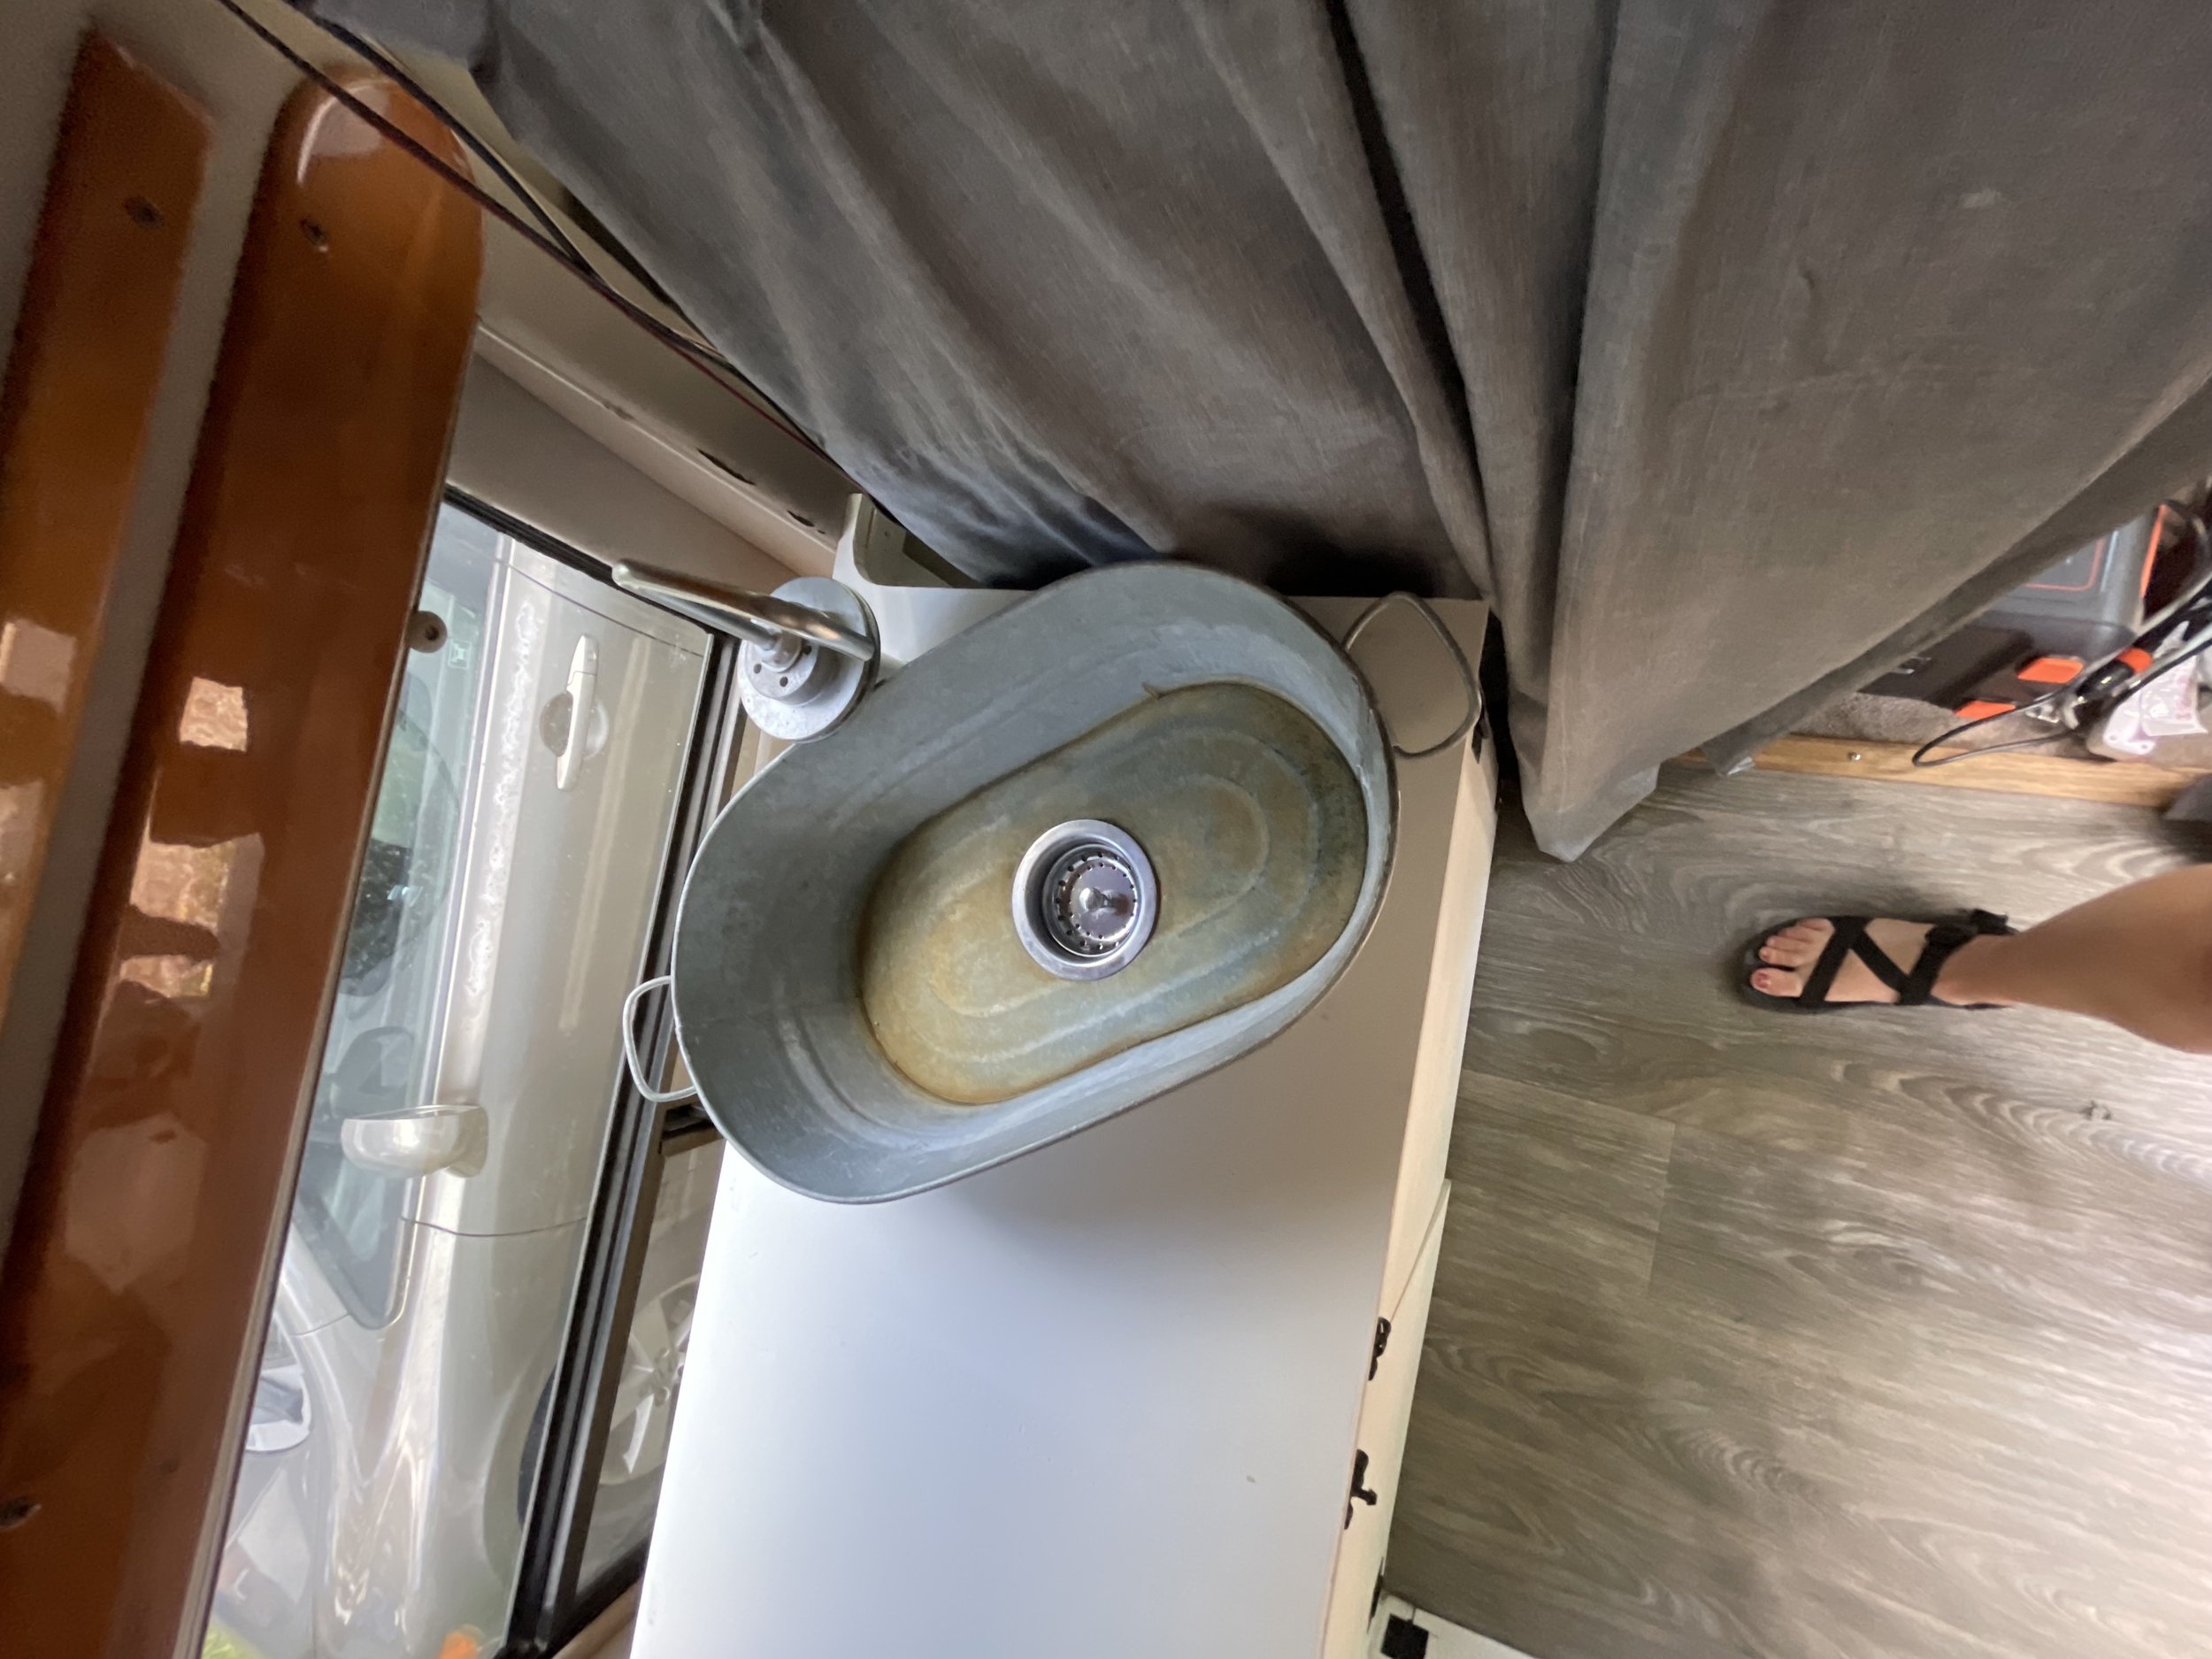
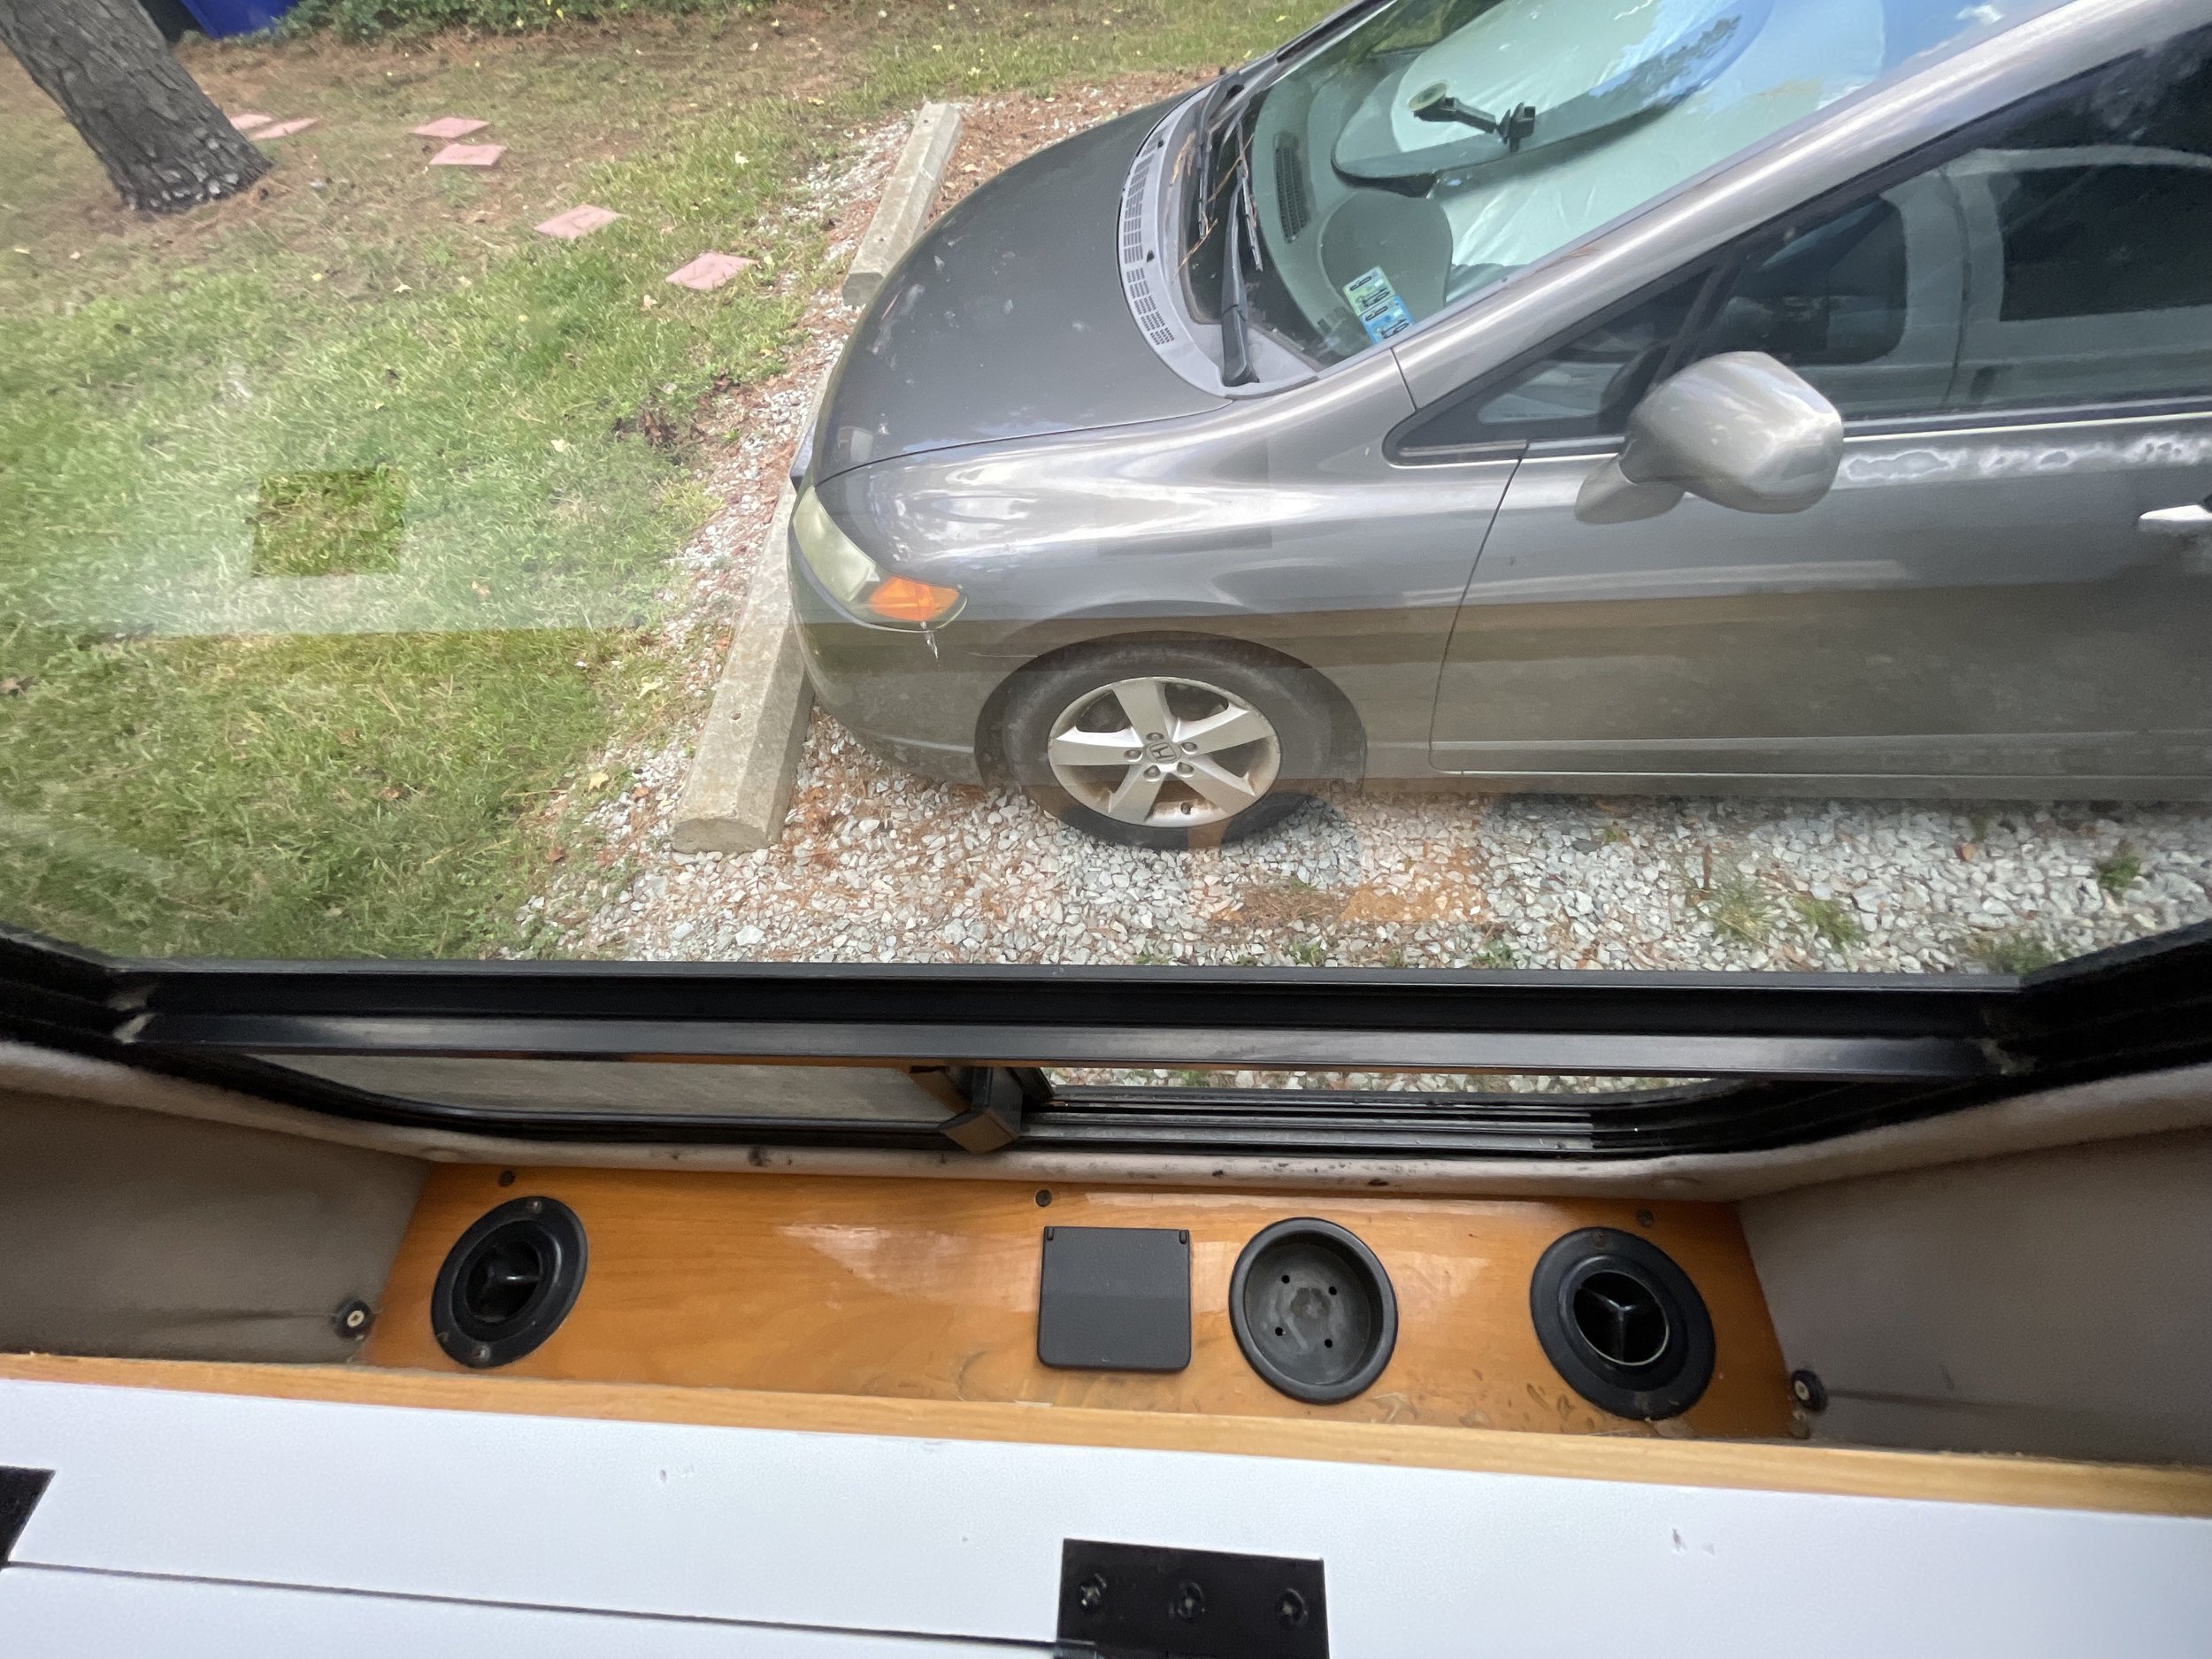
The “kitchen” is comprised of two cabinets, a sink, and a countertop. The sink is a farm feed bucket with a drain. The faucet is from Whale and so is the foot water pump. Under the sink in the cabinet on the right, clean water is stored in a 3-gallon jug and the drain leads to another 3-gallon jug.
The counter is made of PVC board and so are the cabinet doors. The left cabinet is for storage. There’s a shelf that you can remove if you want to. On the door are 3 command caddies that I used for spices and cleaning supplies.
I used to use a Coleman two-burner stove but found myself eating out more often or only making ramen. I got rid of the Coleman to save space and switched to a backpacking stove and a Hot Logic (highly recommend!). The counter is big enough for a Coleman stove and more! You can also easily set up a small folding table inside the van, even with the door closed, for easier cooking.
The fan is right above the sink and there’s a sliding screen window right behind the counter too for great ventilation when cooking. A fire extinguisher is also provided and is stored next to the fridge in the front of the van.
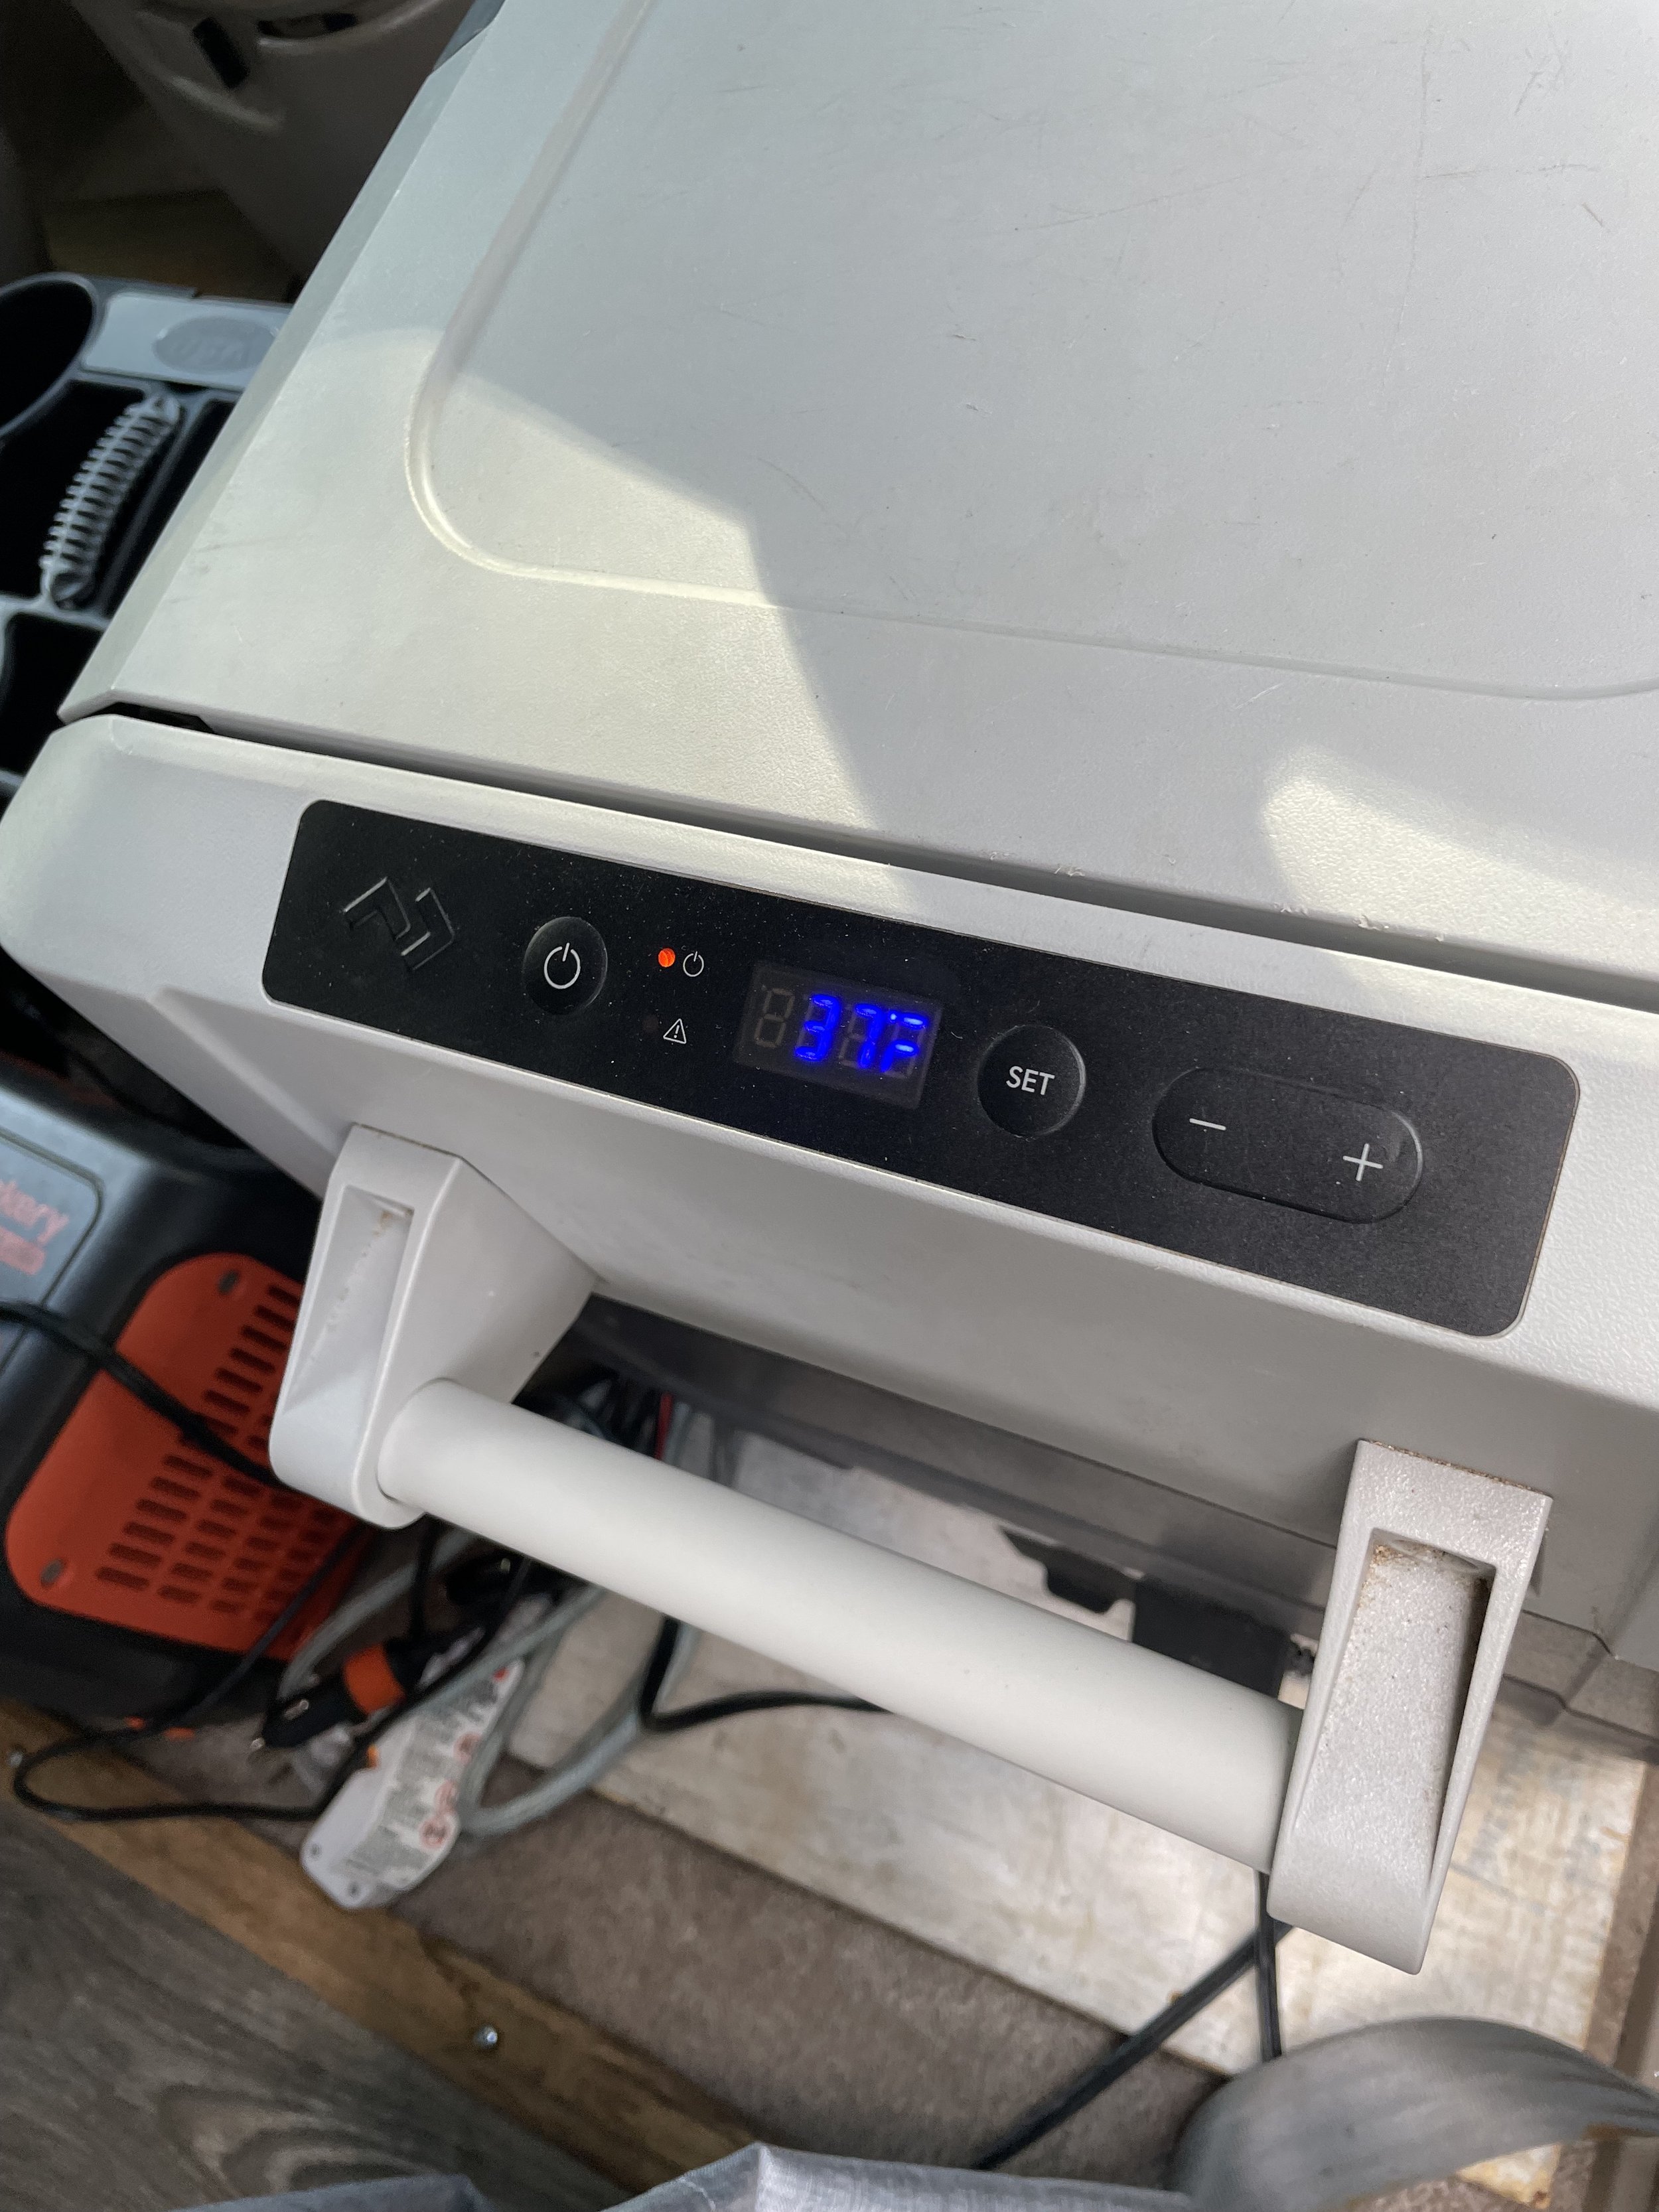
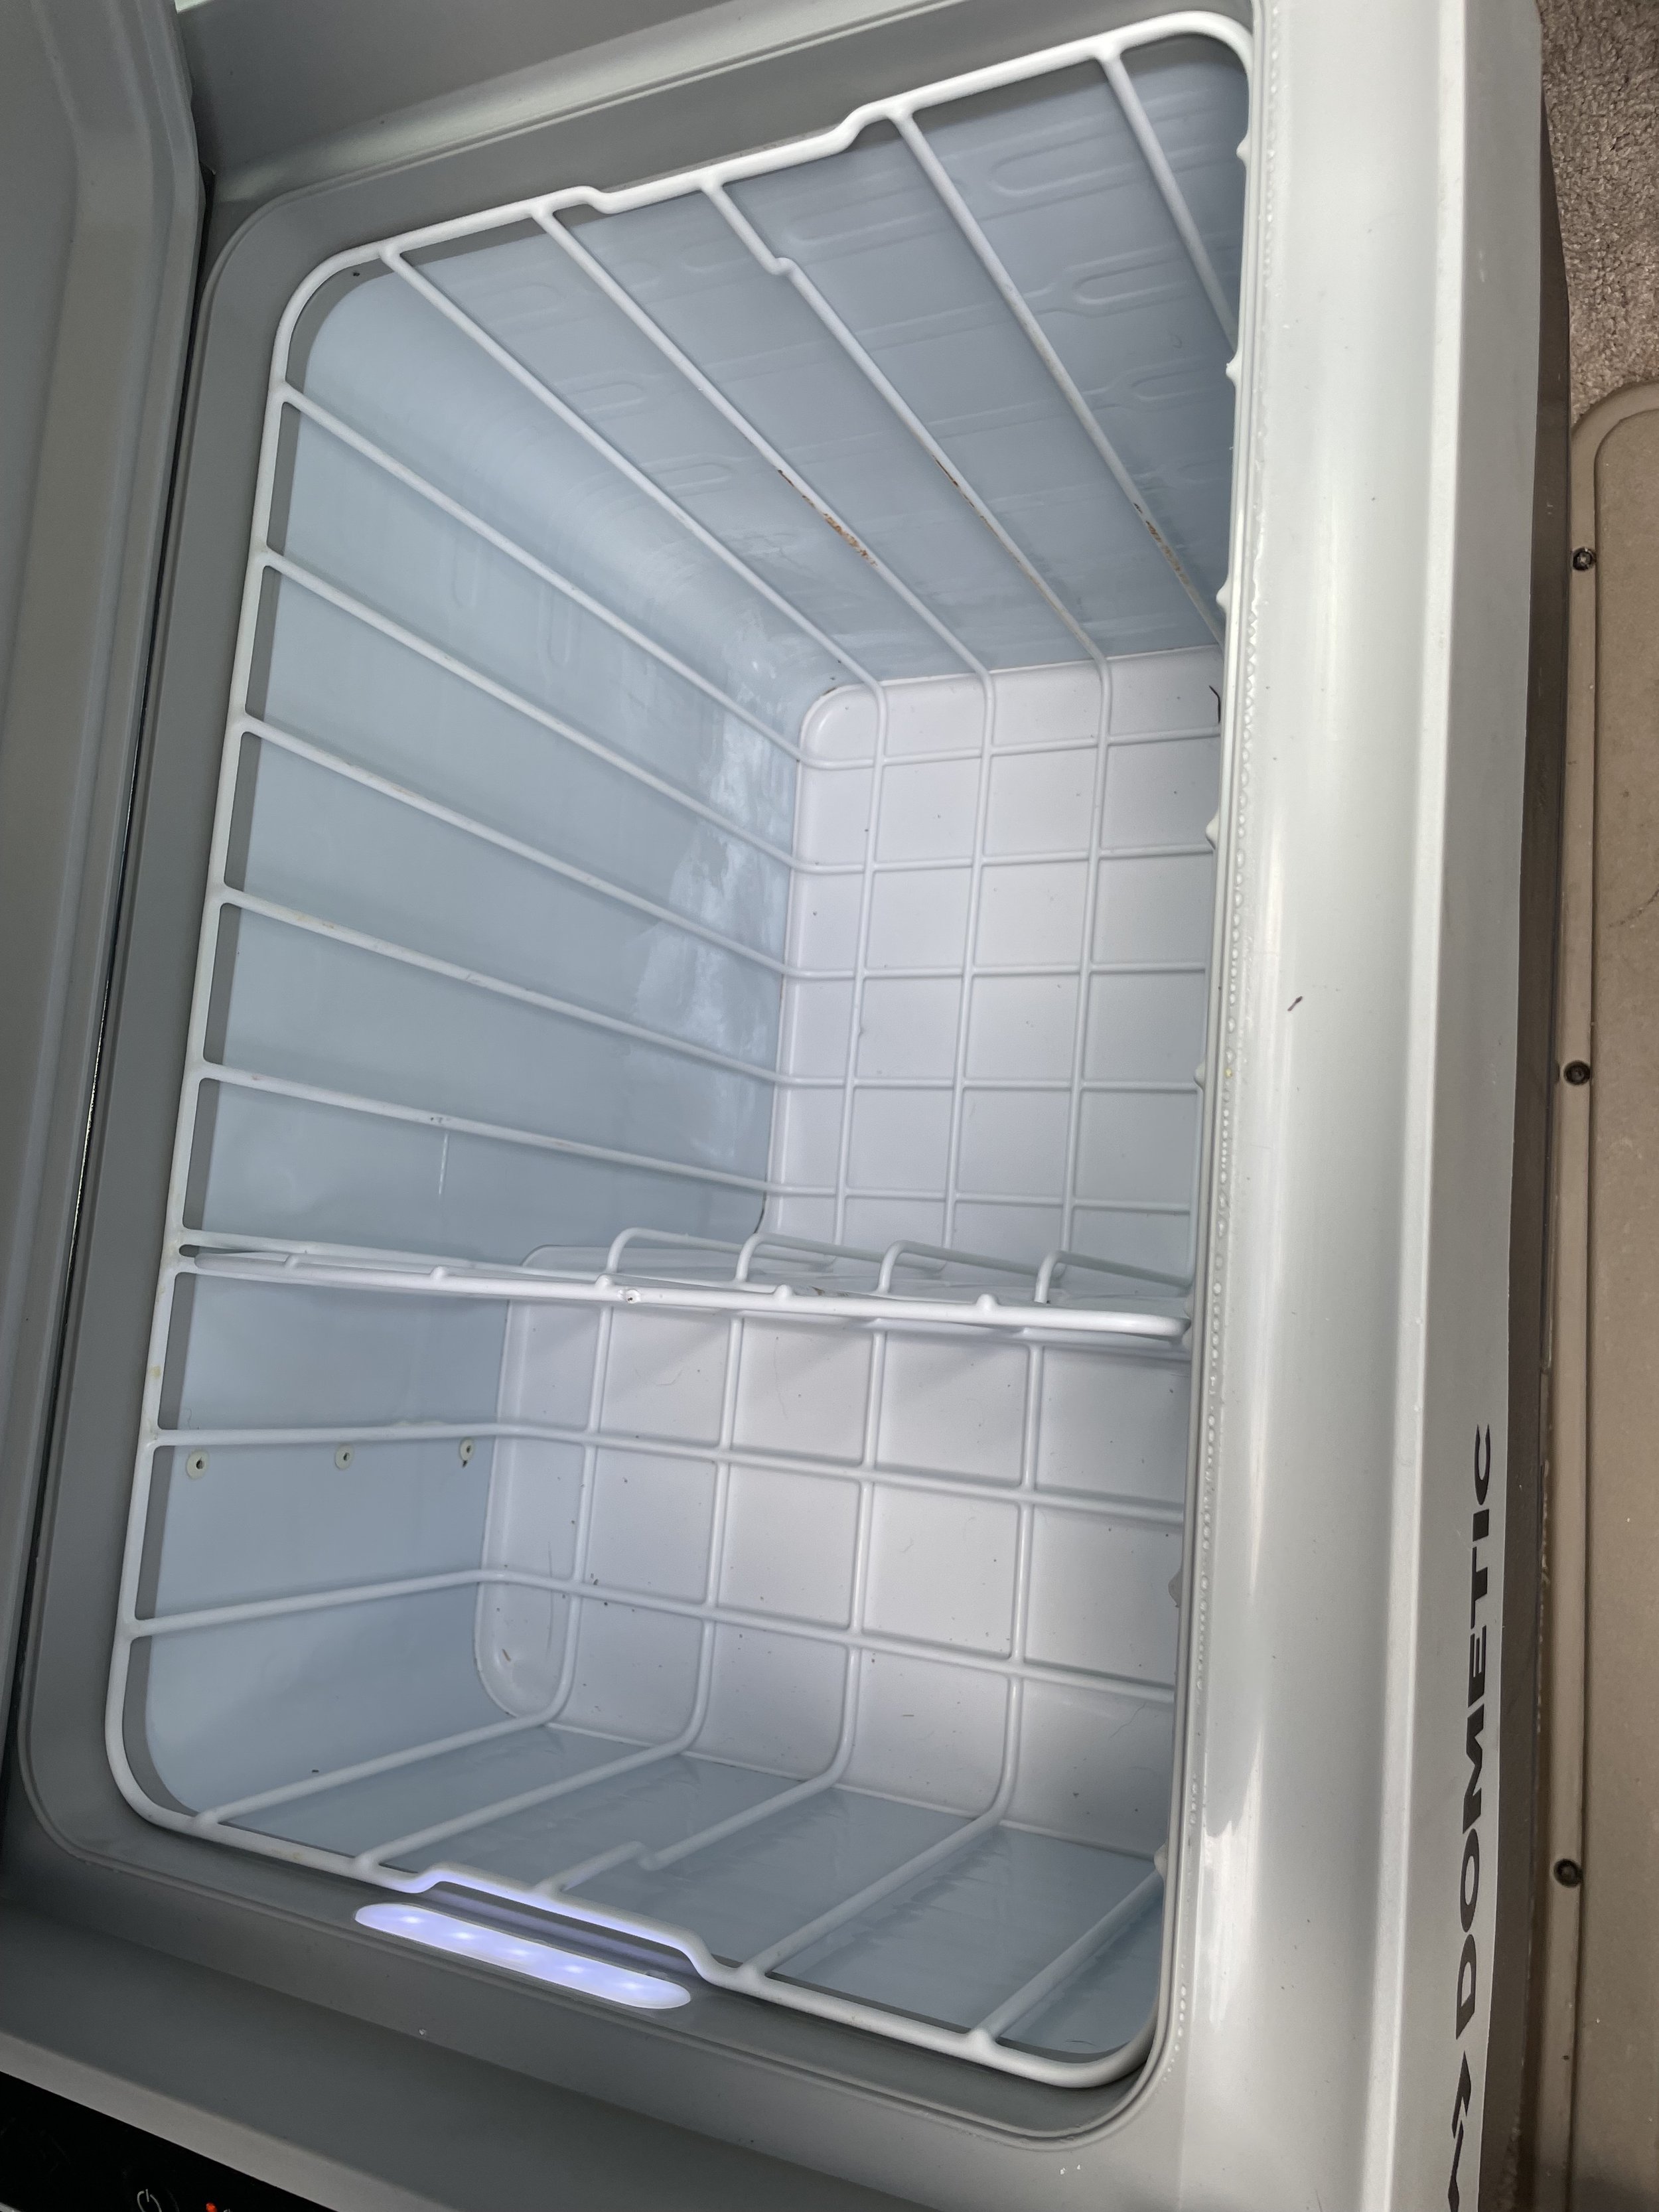
The fridge is located where the passenger seat used to be. I do still have the passenger seat (it’s in storage in Maine but can be shipped if necessary). The fridge works amazingly and can also be used as a freezer. I’ve never had any problems with it! It also doubles as a great seat. It’s a 45 qt Dometic and has tons of room.
*Fridge not included in $5,000 price but can be included for an additional cost – just ask me!


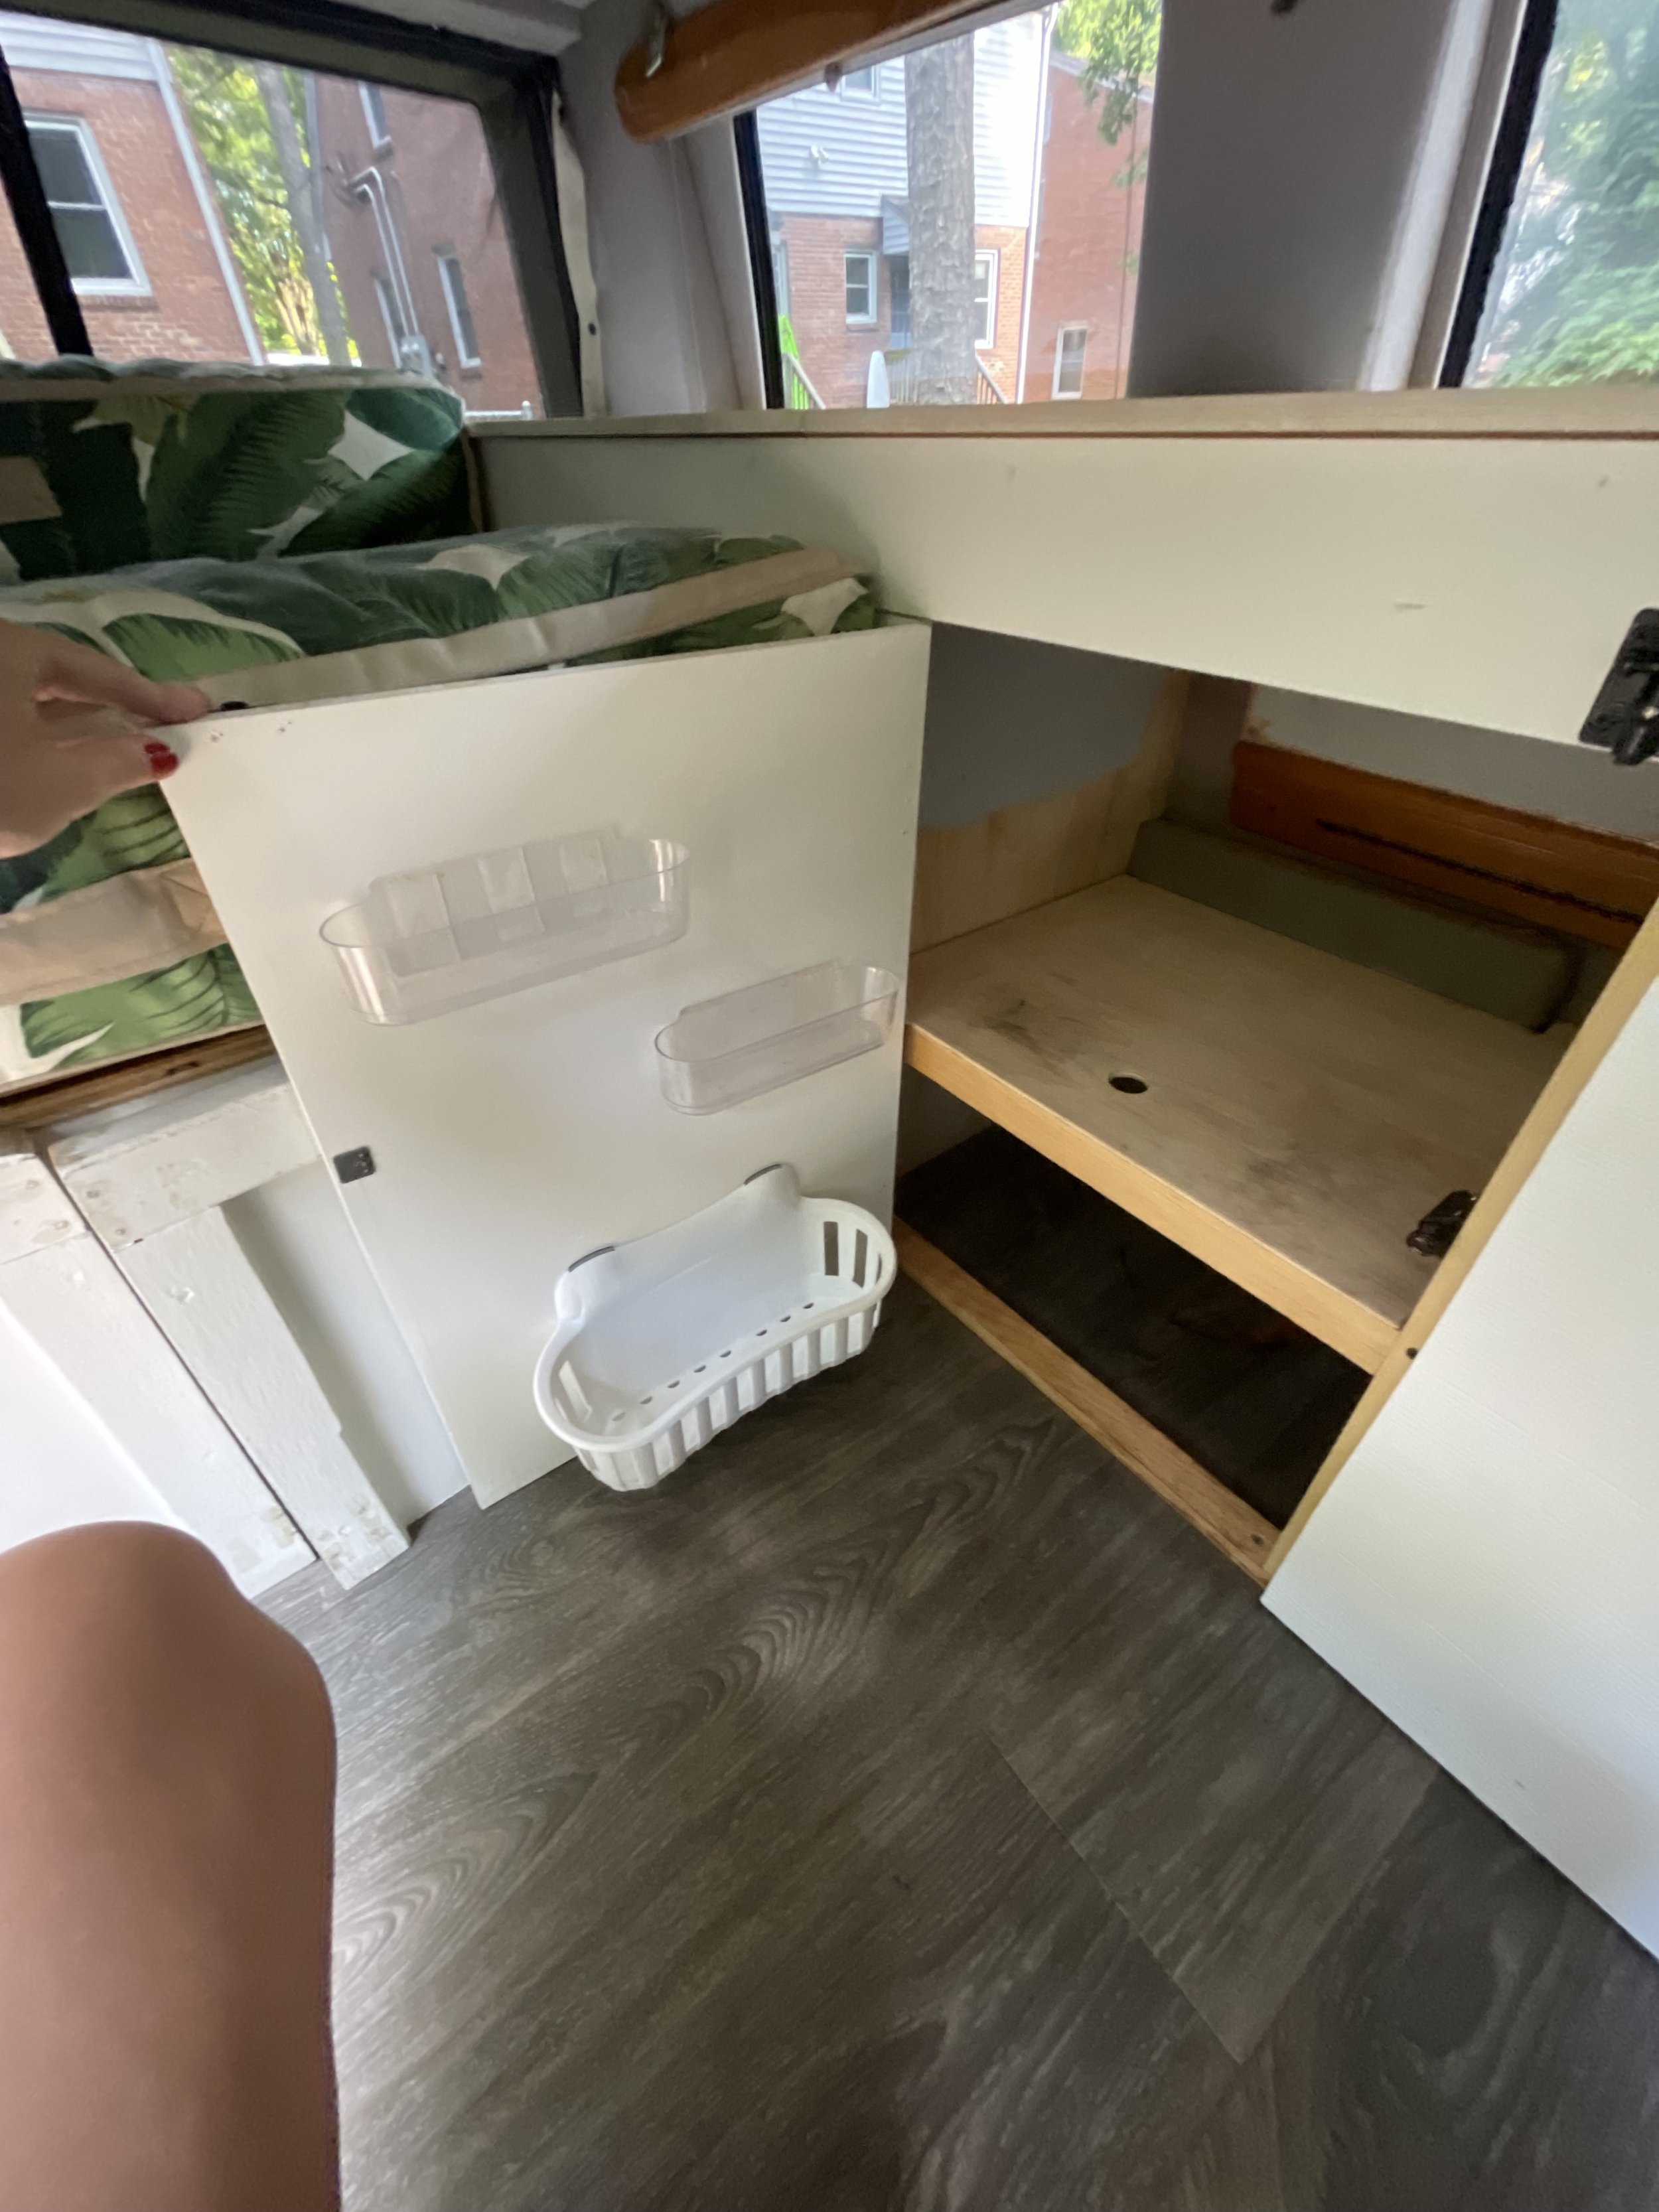

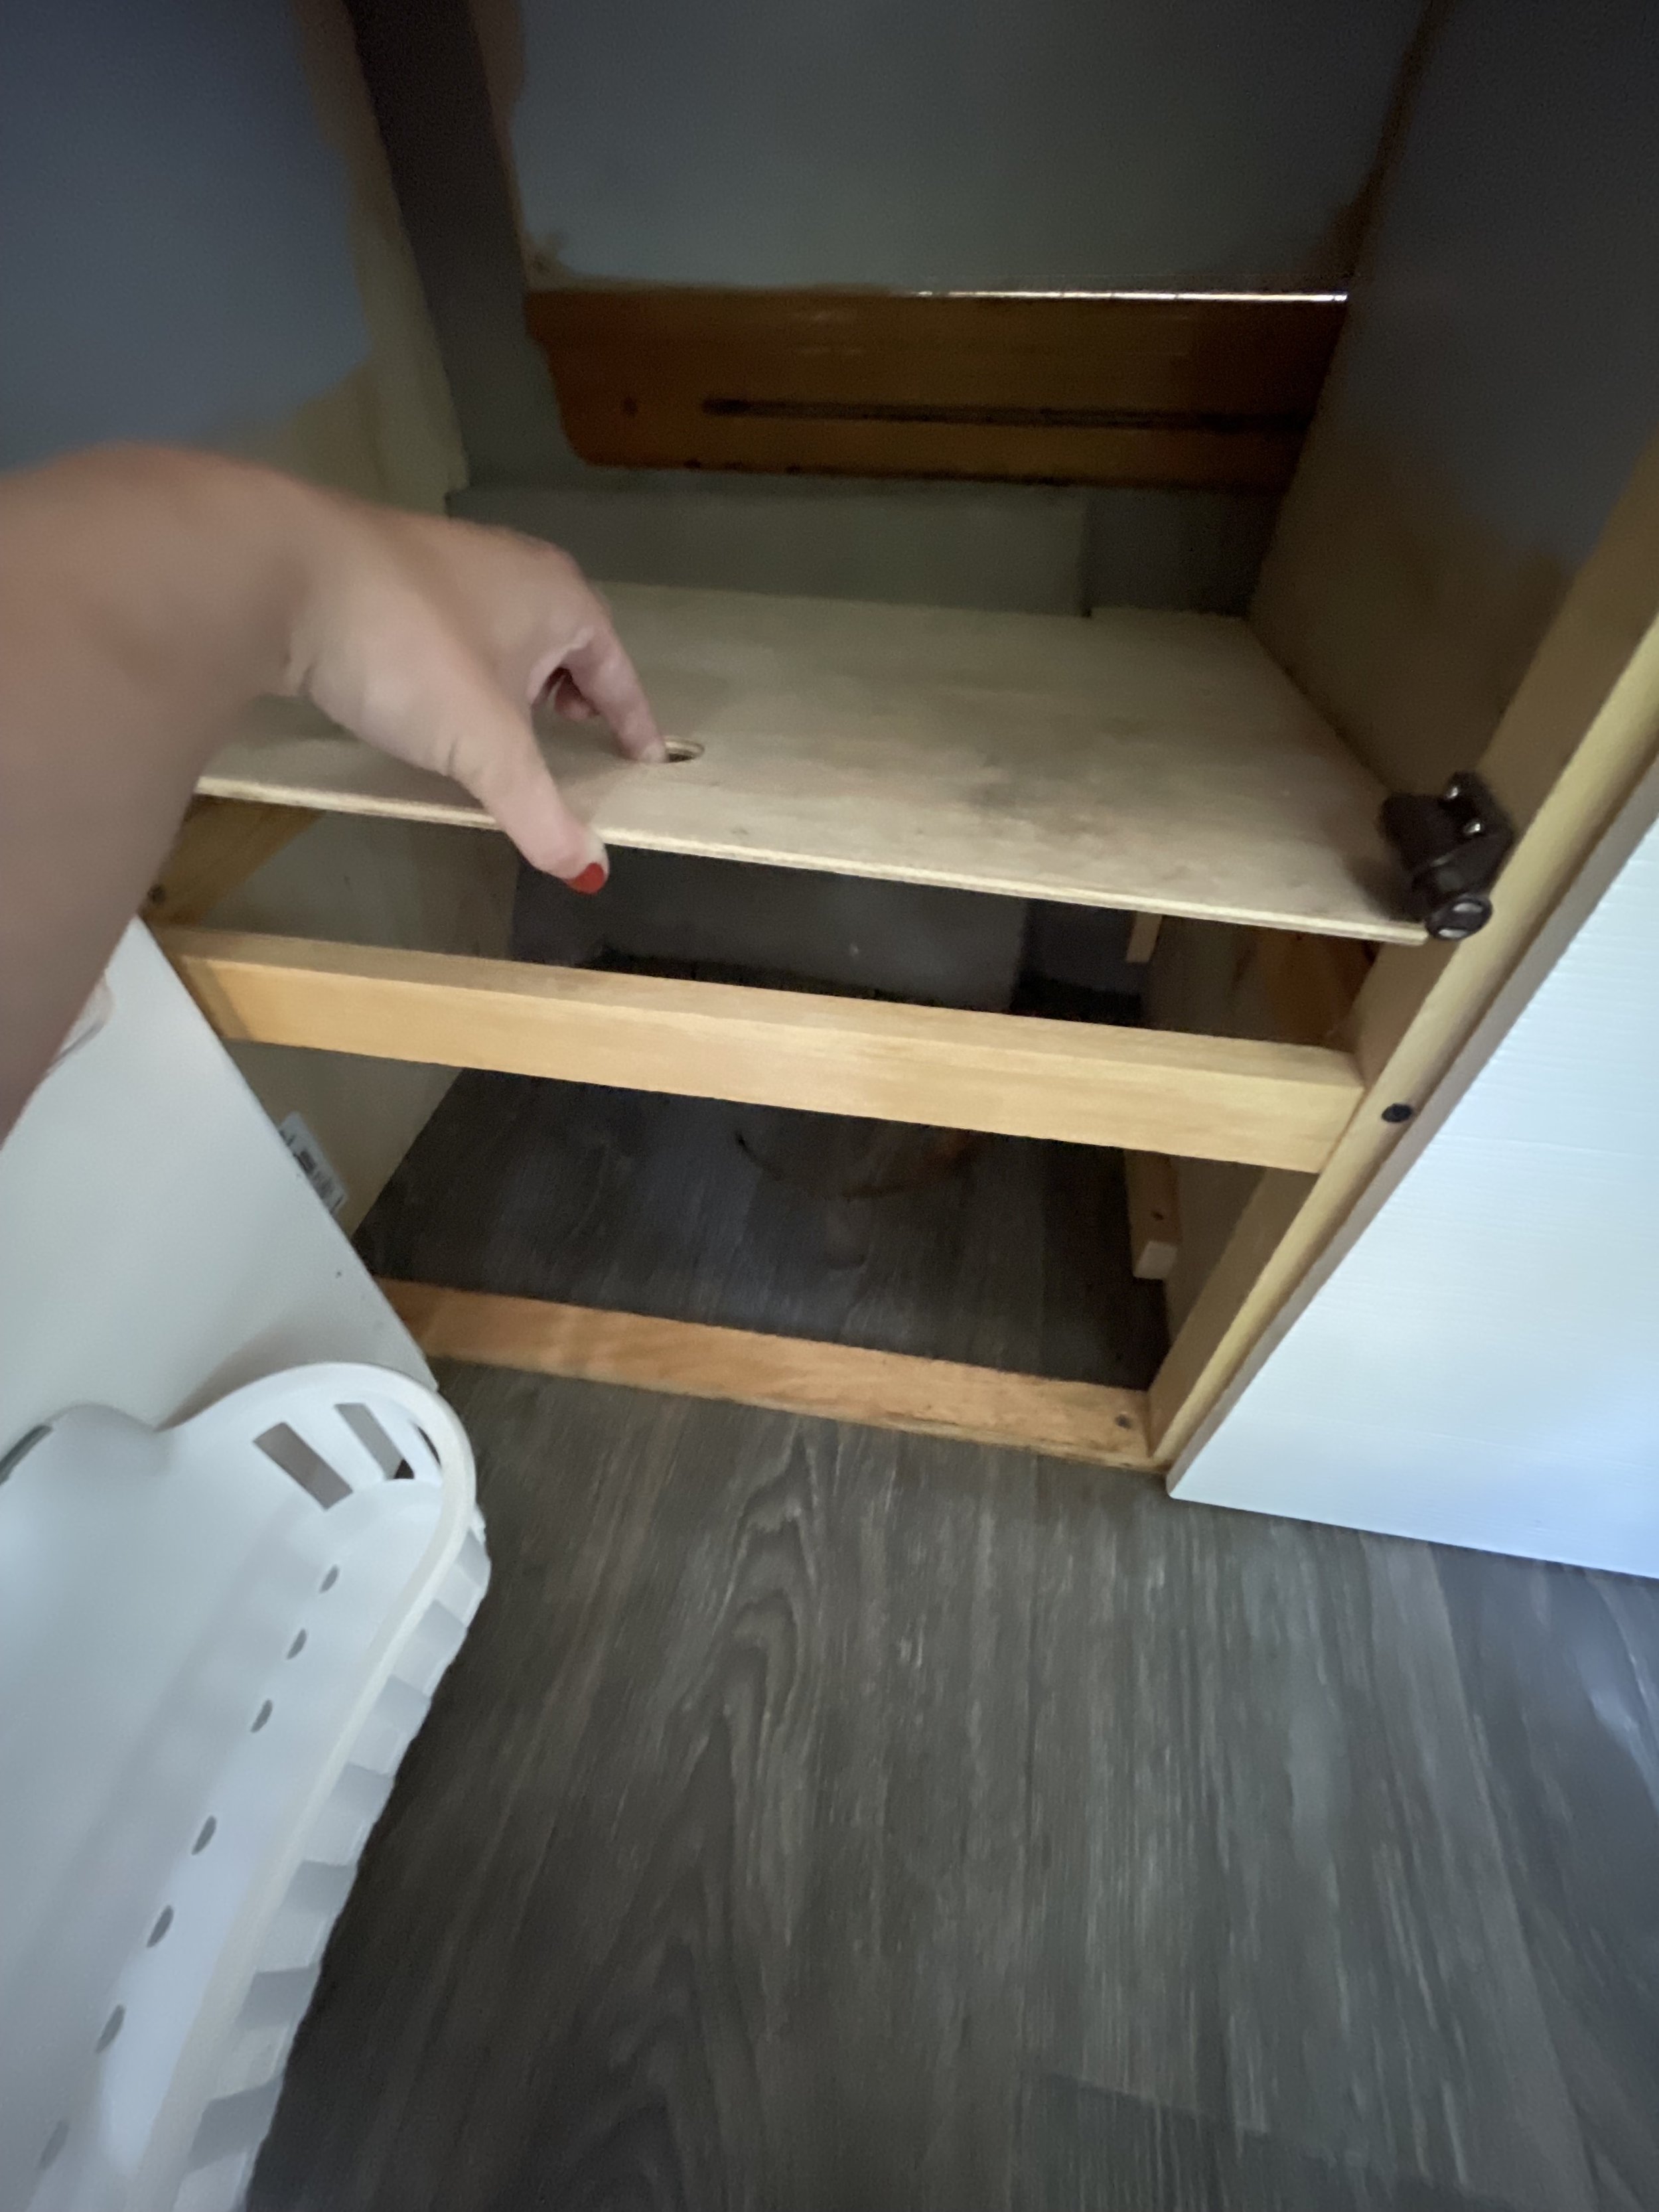
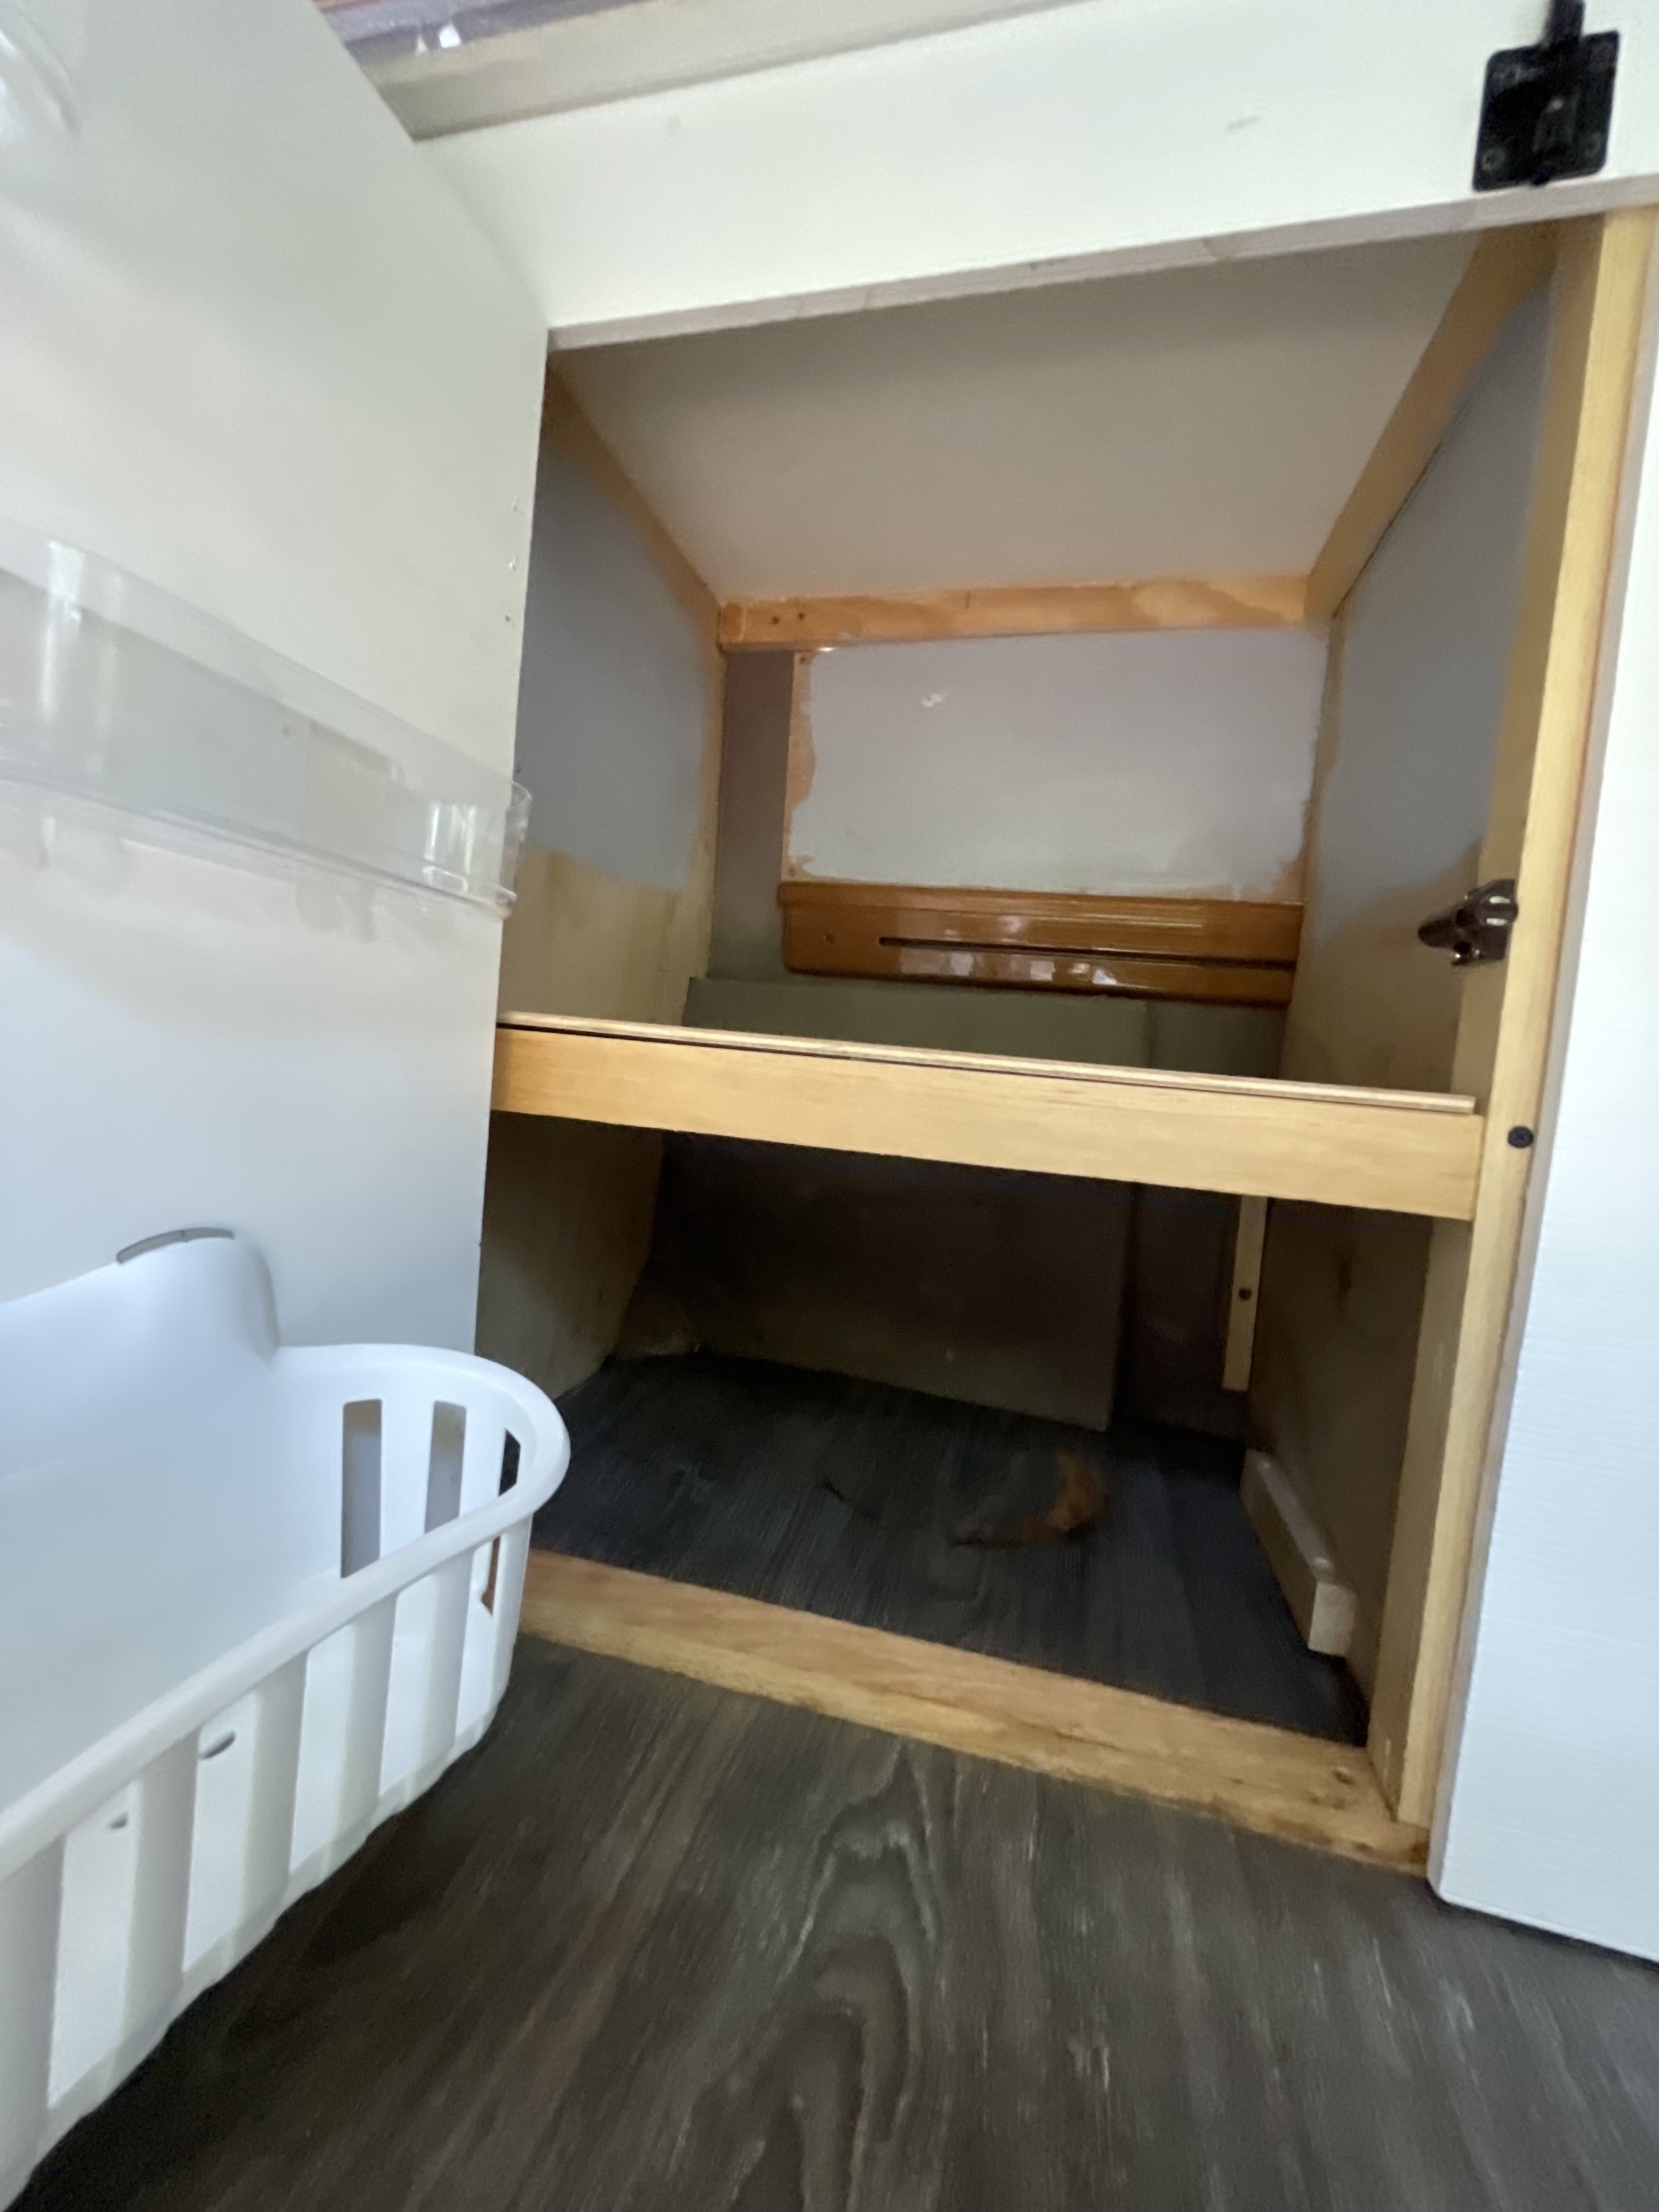
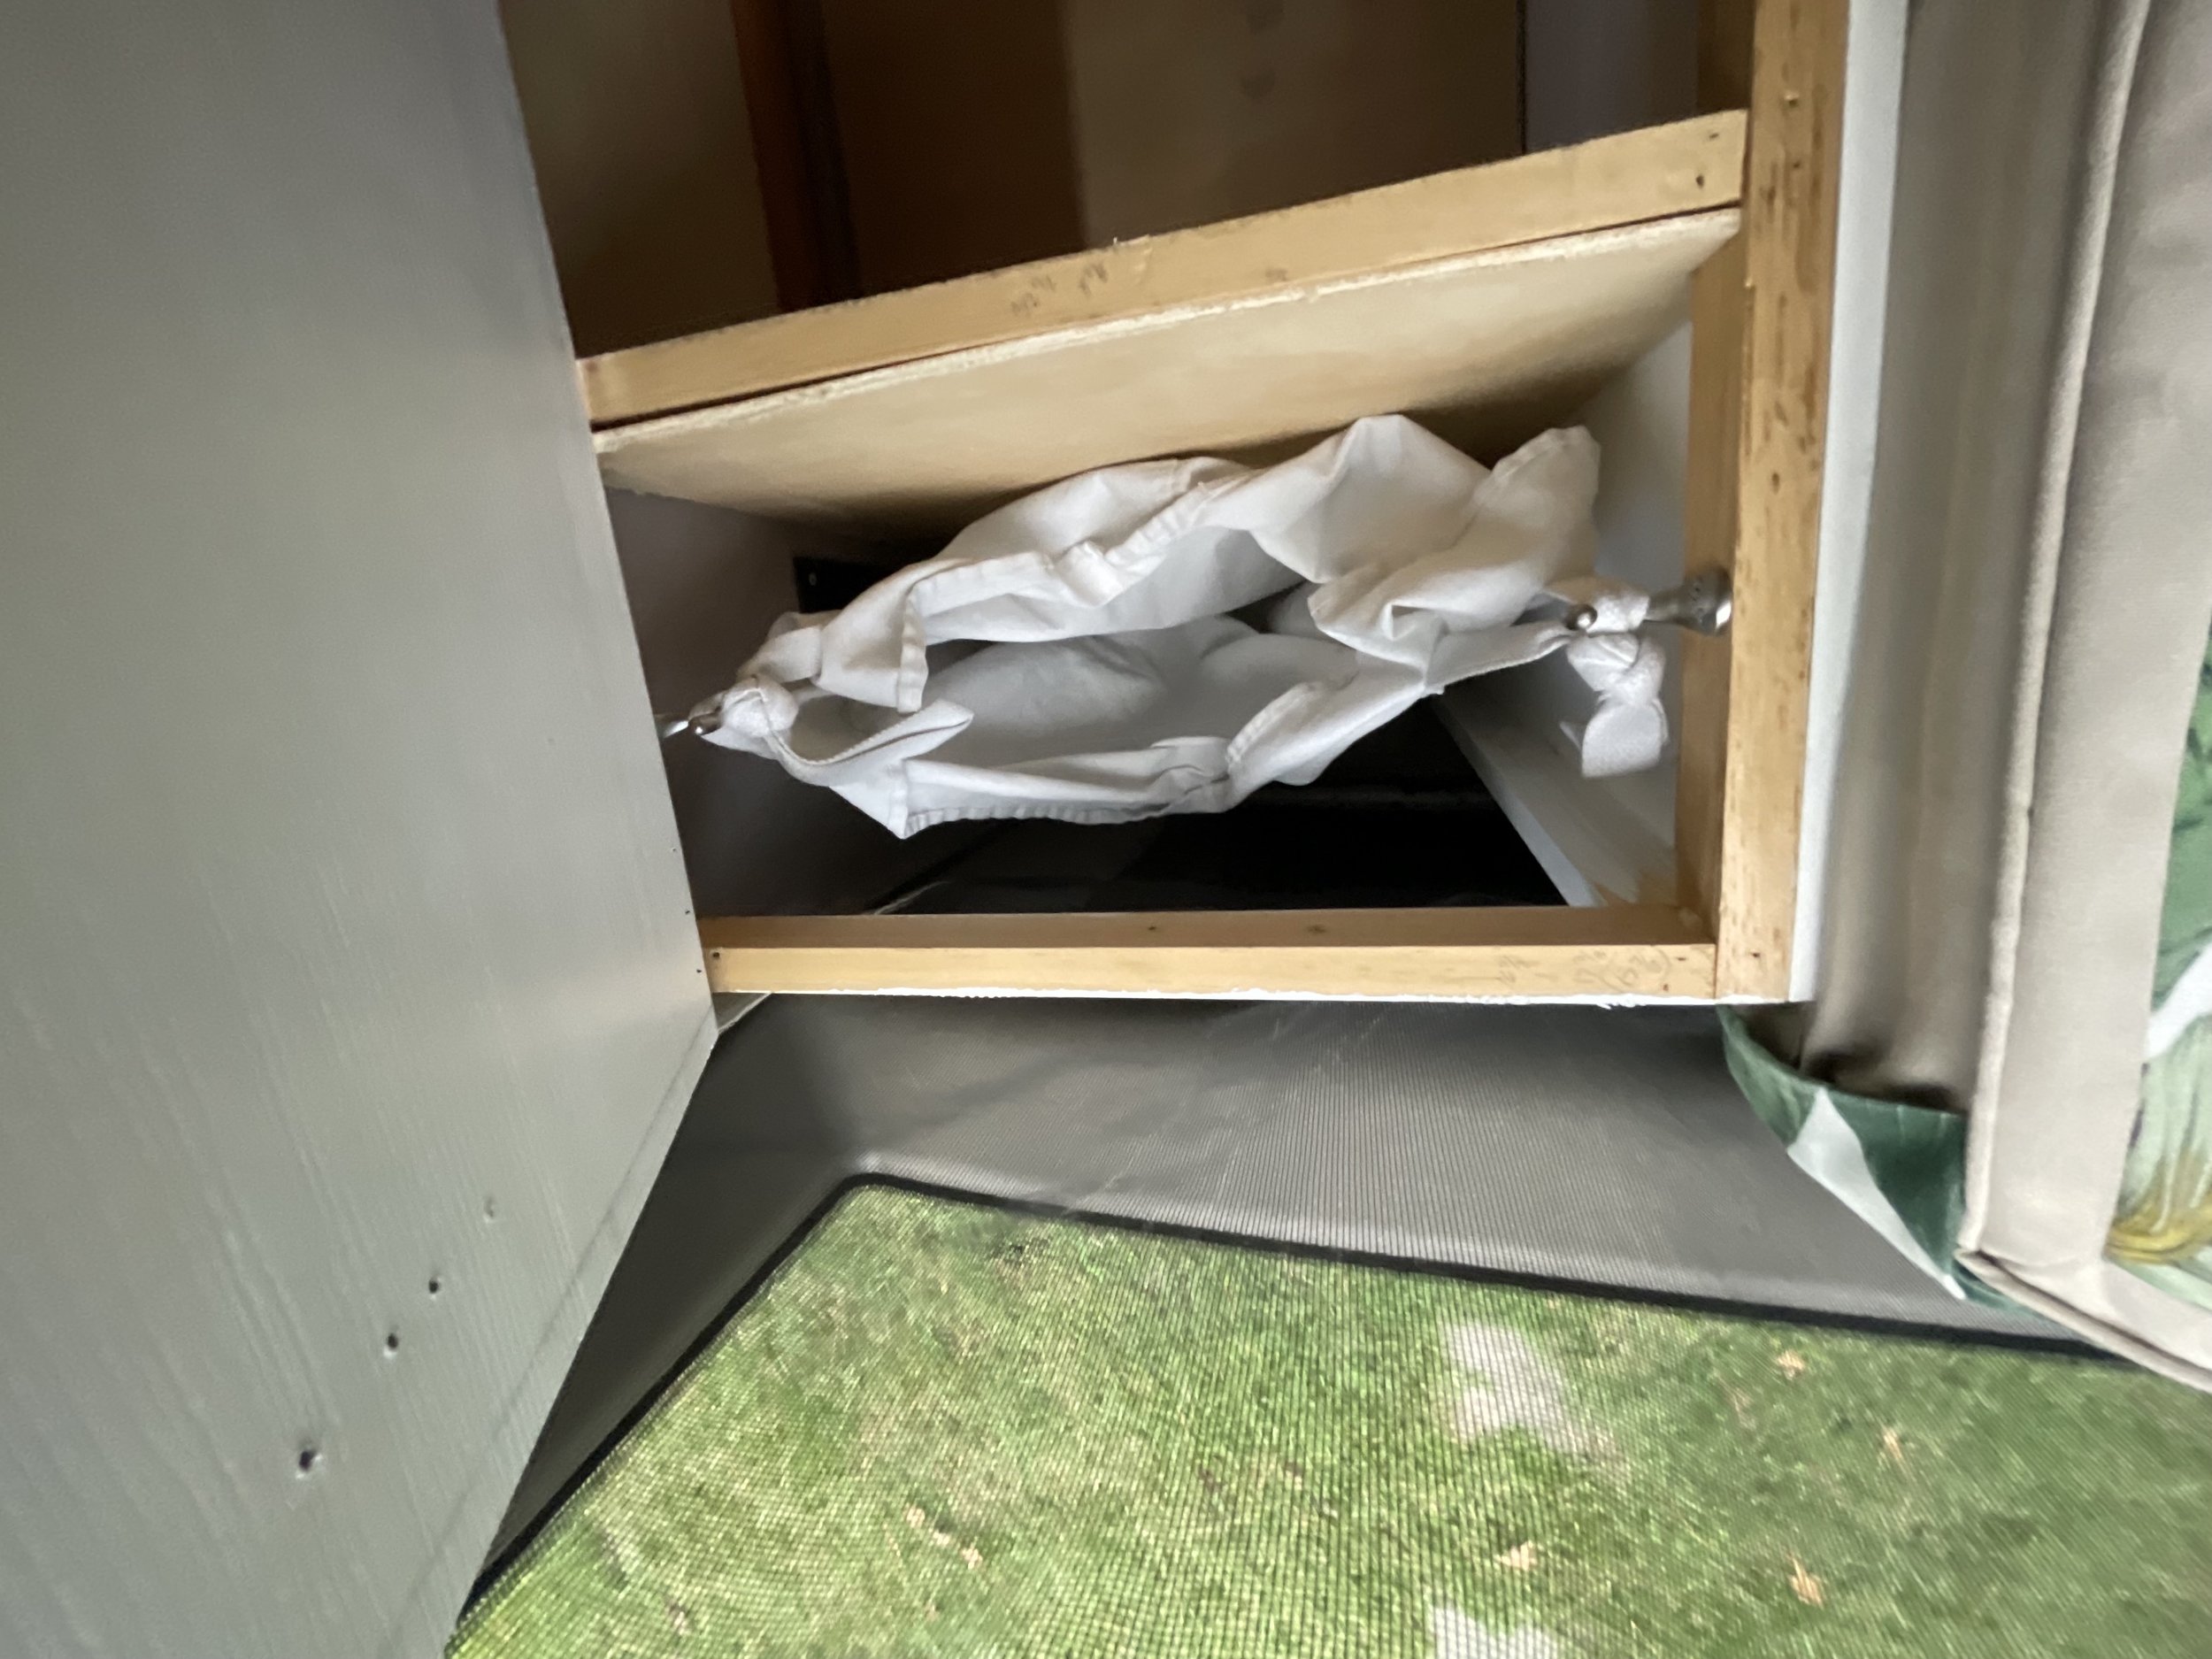
Closet
The closet opens from the top. It can also be used as counter space. It can fit about 3-4 weeks worth of clothes for one person in the top.
There’s a false bottom for extra storage. I used this for my tool bag and emergency kit (there’s a jack and tire iron down there that come with the van!). I’ve also used it to store a cold-weather sleeping bag, extra toiletries, and other stuff I don’t need accessible all the top.
Next to the main closet area is a hanging hamper. i love having it back there because it’s easy to access from the back of the van when I’m at the laundromat and It keeps my dirty (sometimes wet) clothes away from anything important.
Screens
There are custom screens on the side and rear door of the van. These were made by my mom! They have magnetic closures down the center for convenient entry and exit. The side-door screen has a reinforced bottom for longevity. It also has additional earth magnets in the bottom to keep it flush agains the step. You can prop it open by magnetizing it to the exterior of the van when the door is open! They both snap on, the one on the sliding door is also screwed in at the top. They can both be removed easily.
Curtains
There are two blackout curtains between the front seat and the rear of the van – also made by Mom! They have built-in pockets for more storage. They work as a thermal barrier on hot or cold days too if you plan to be out of the van for more than a few hours I highly recommend closing them!


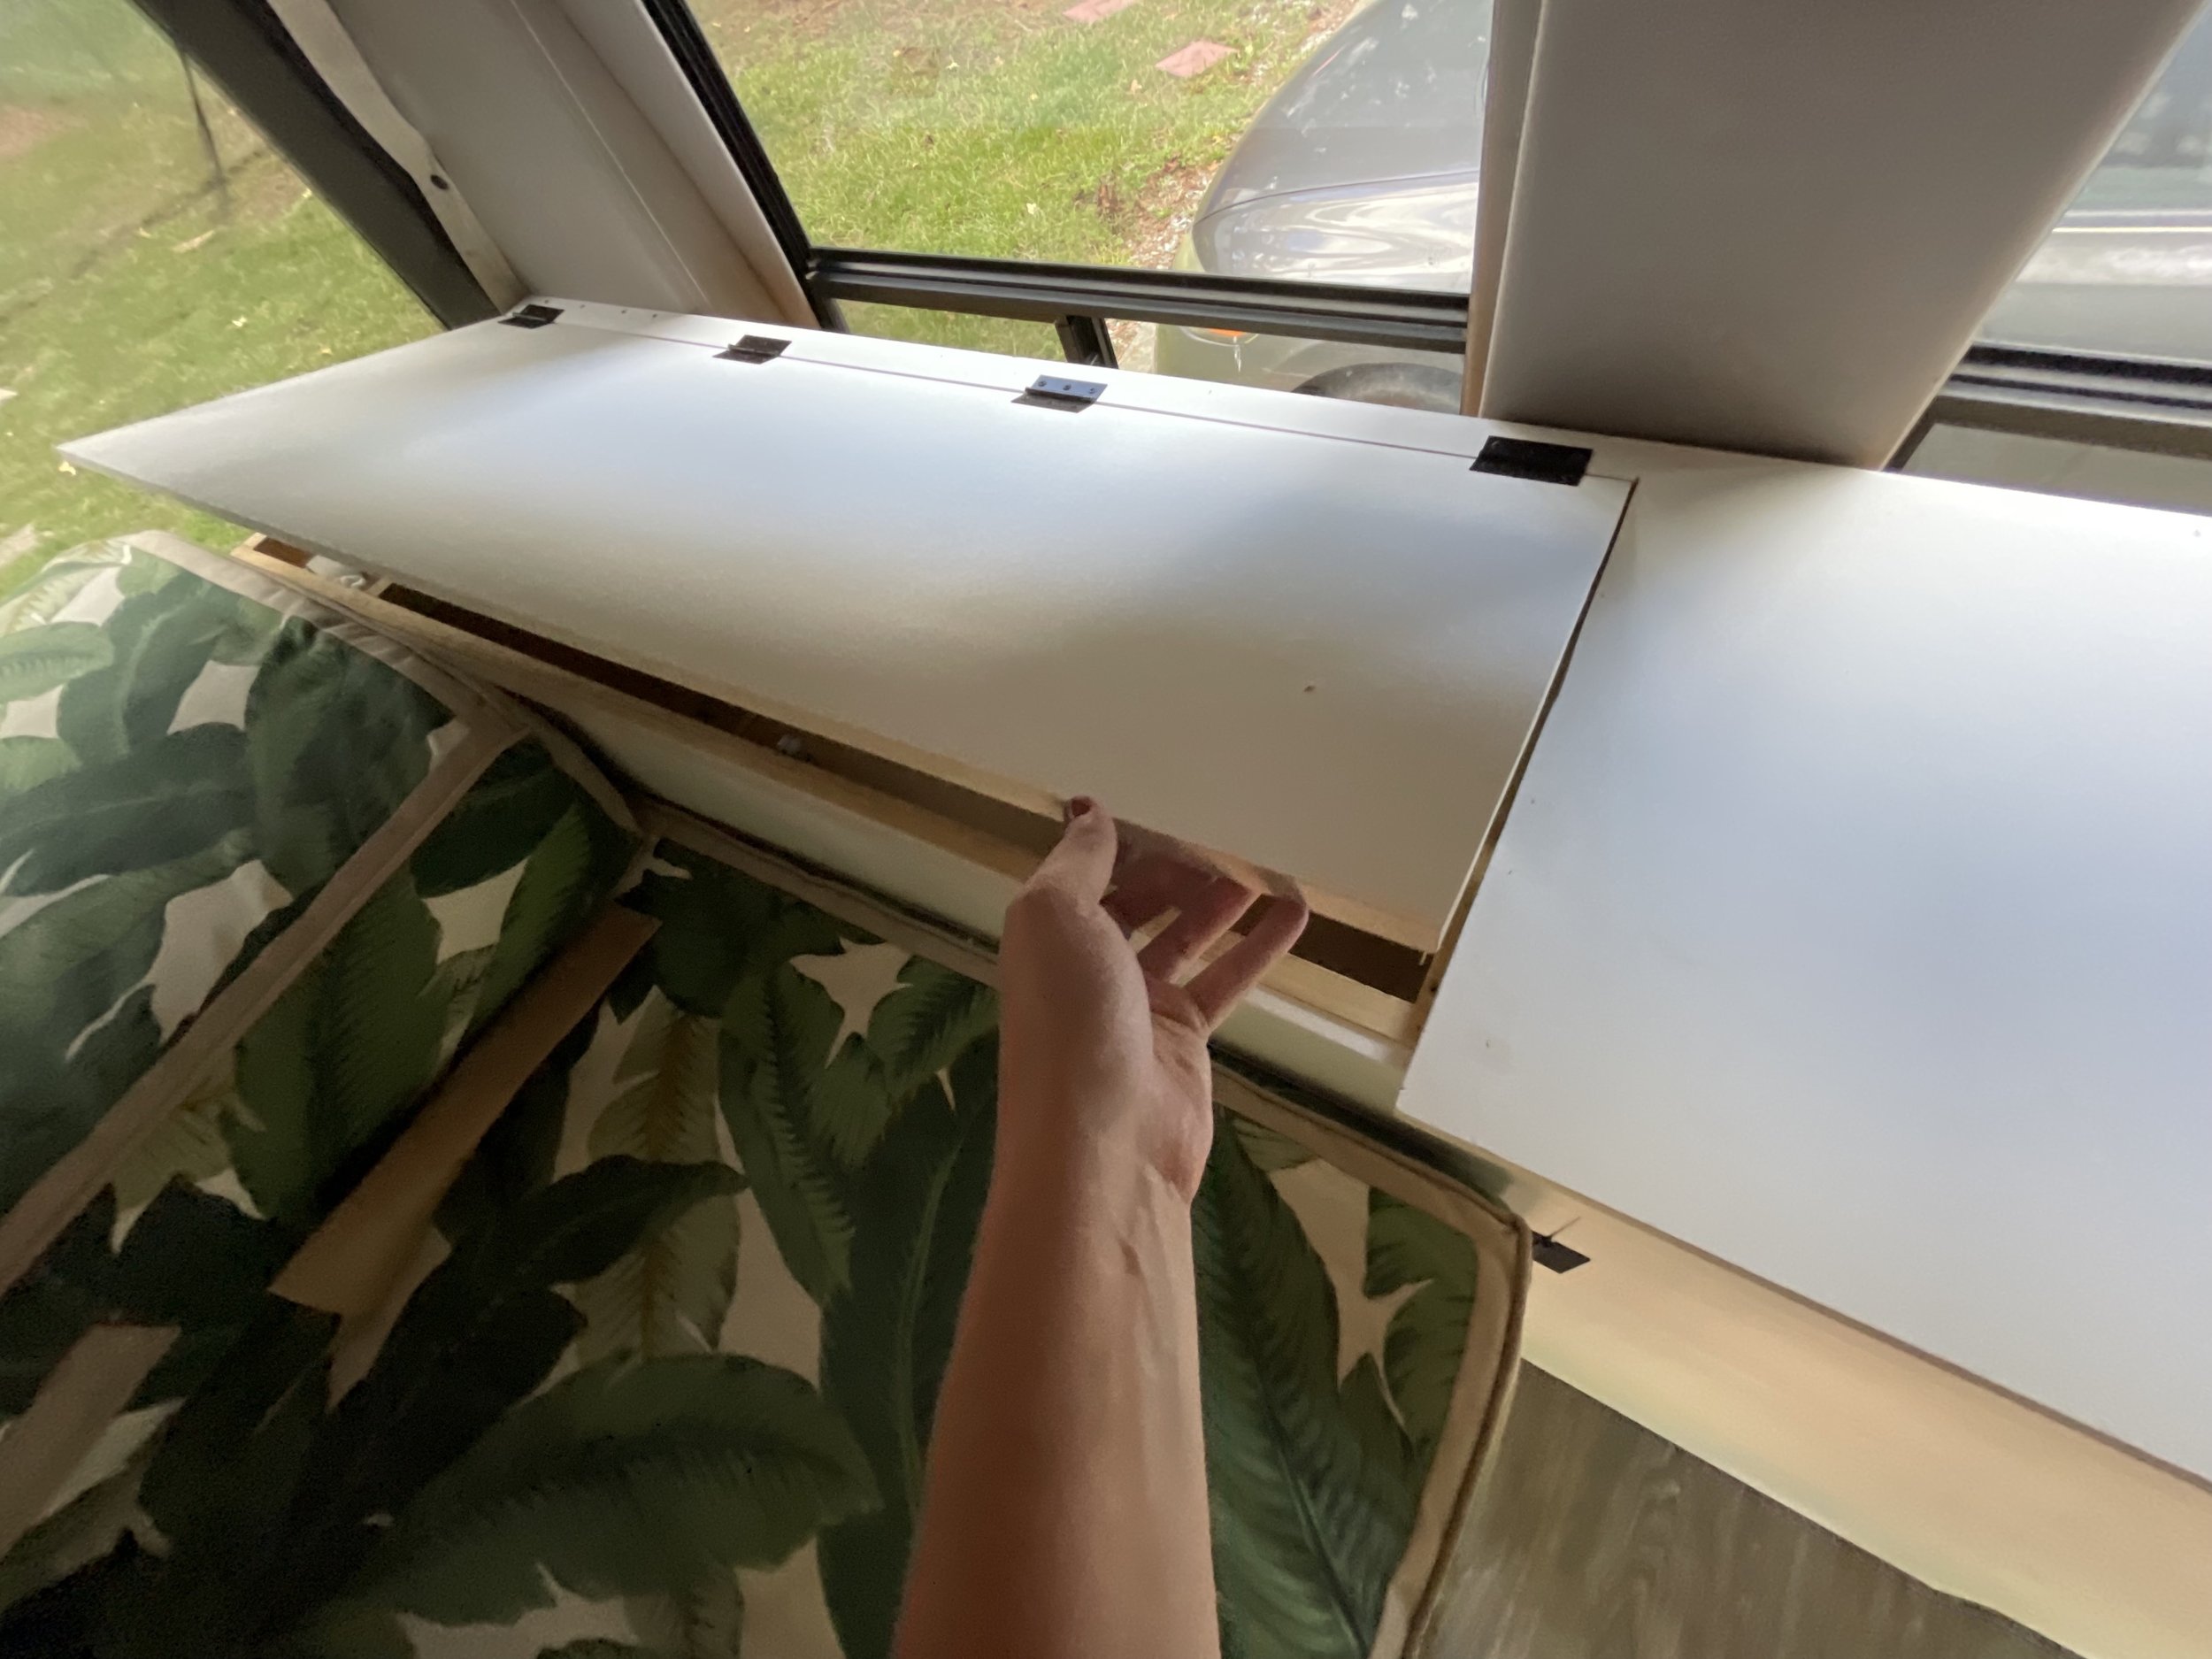
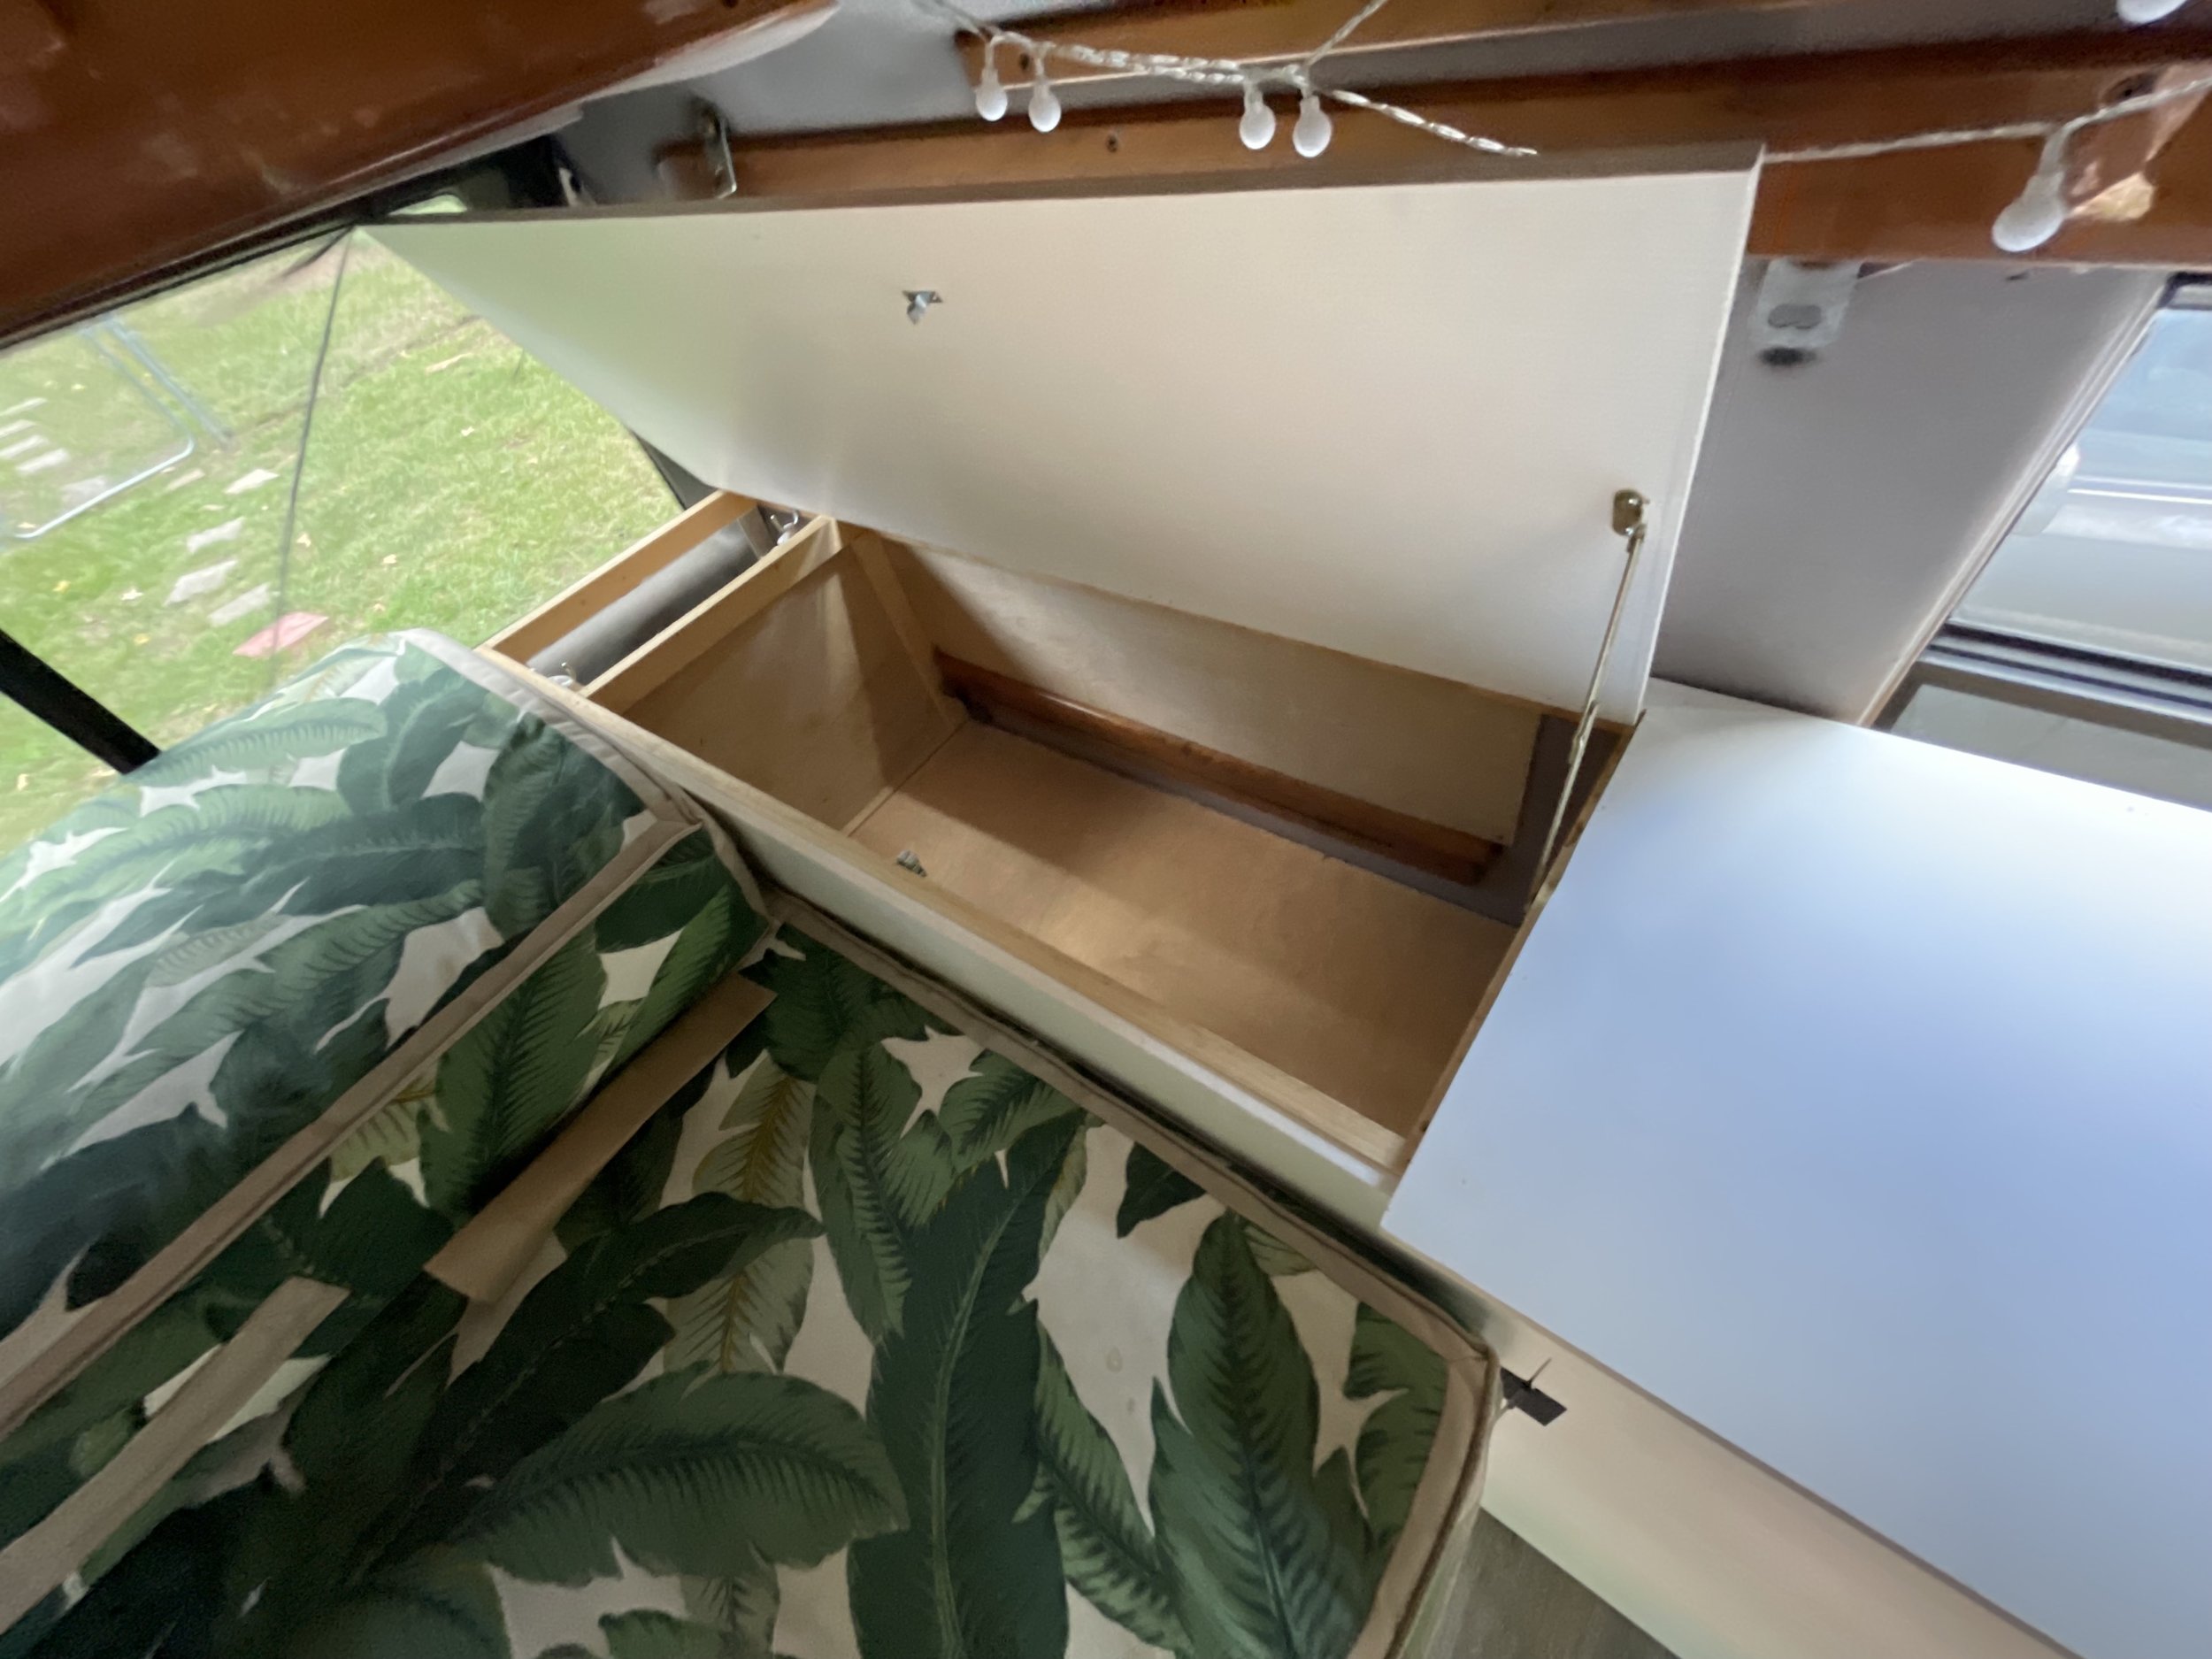
Additional Storage
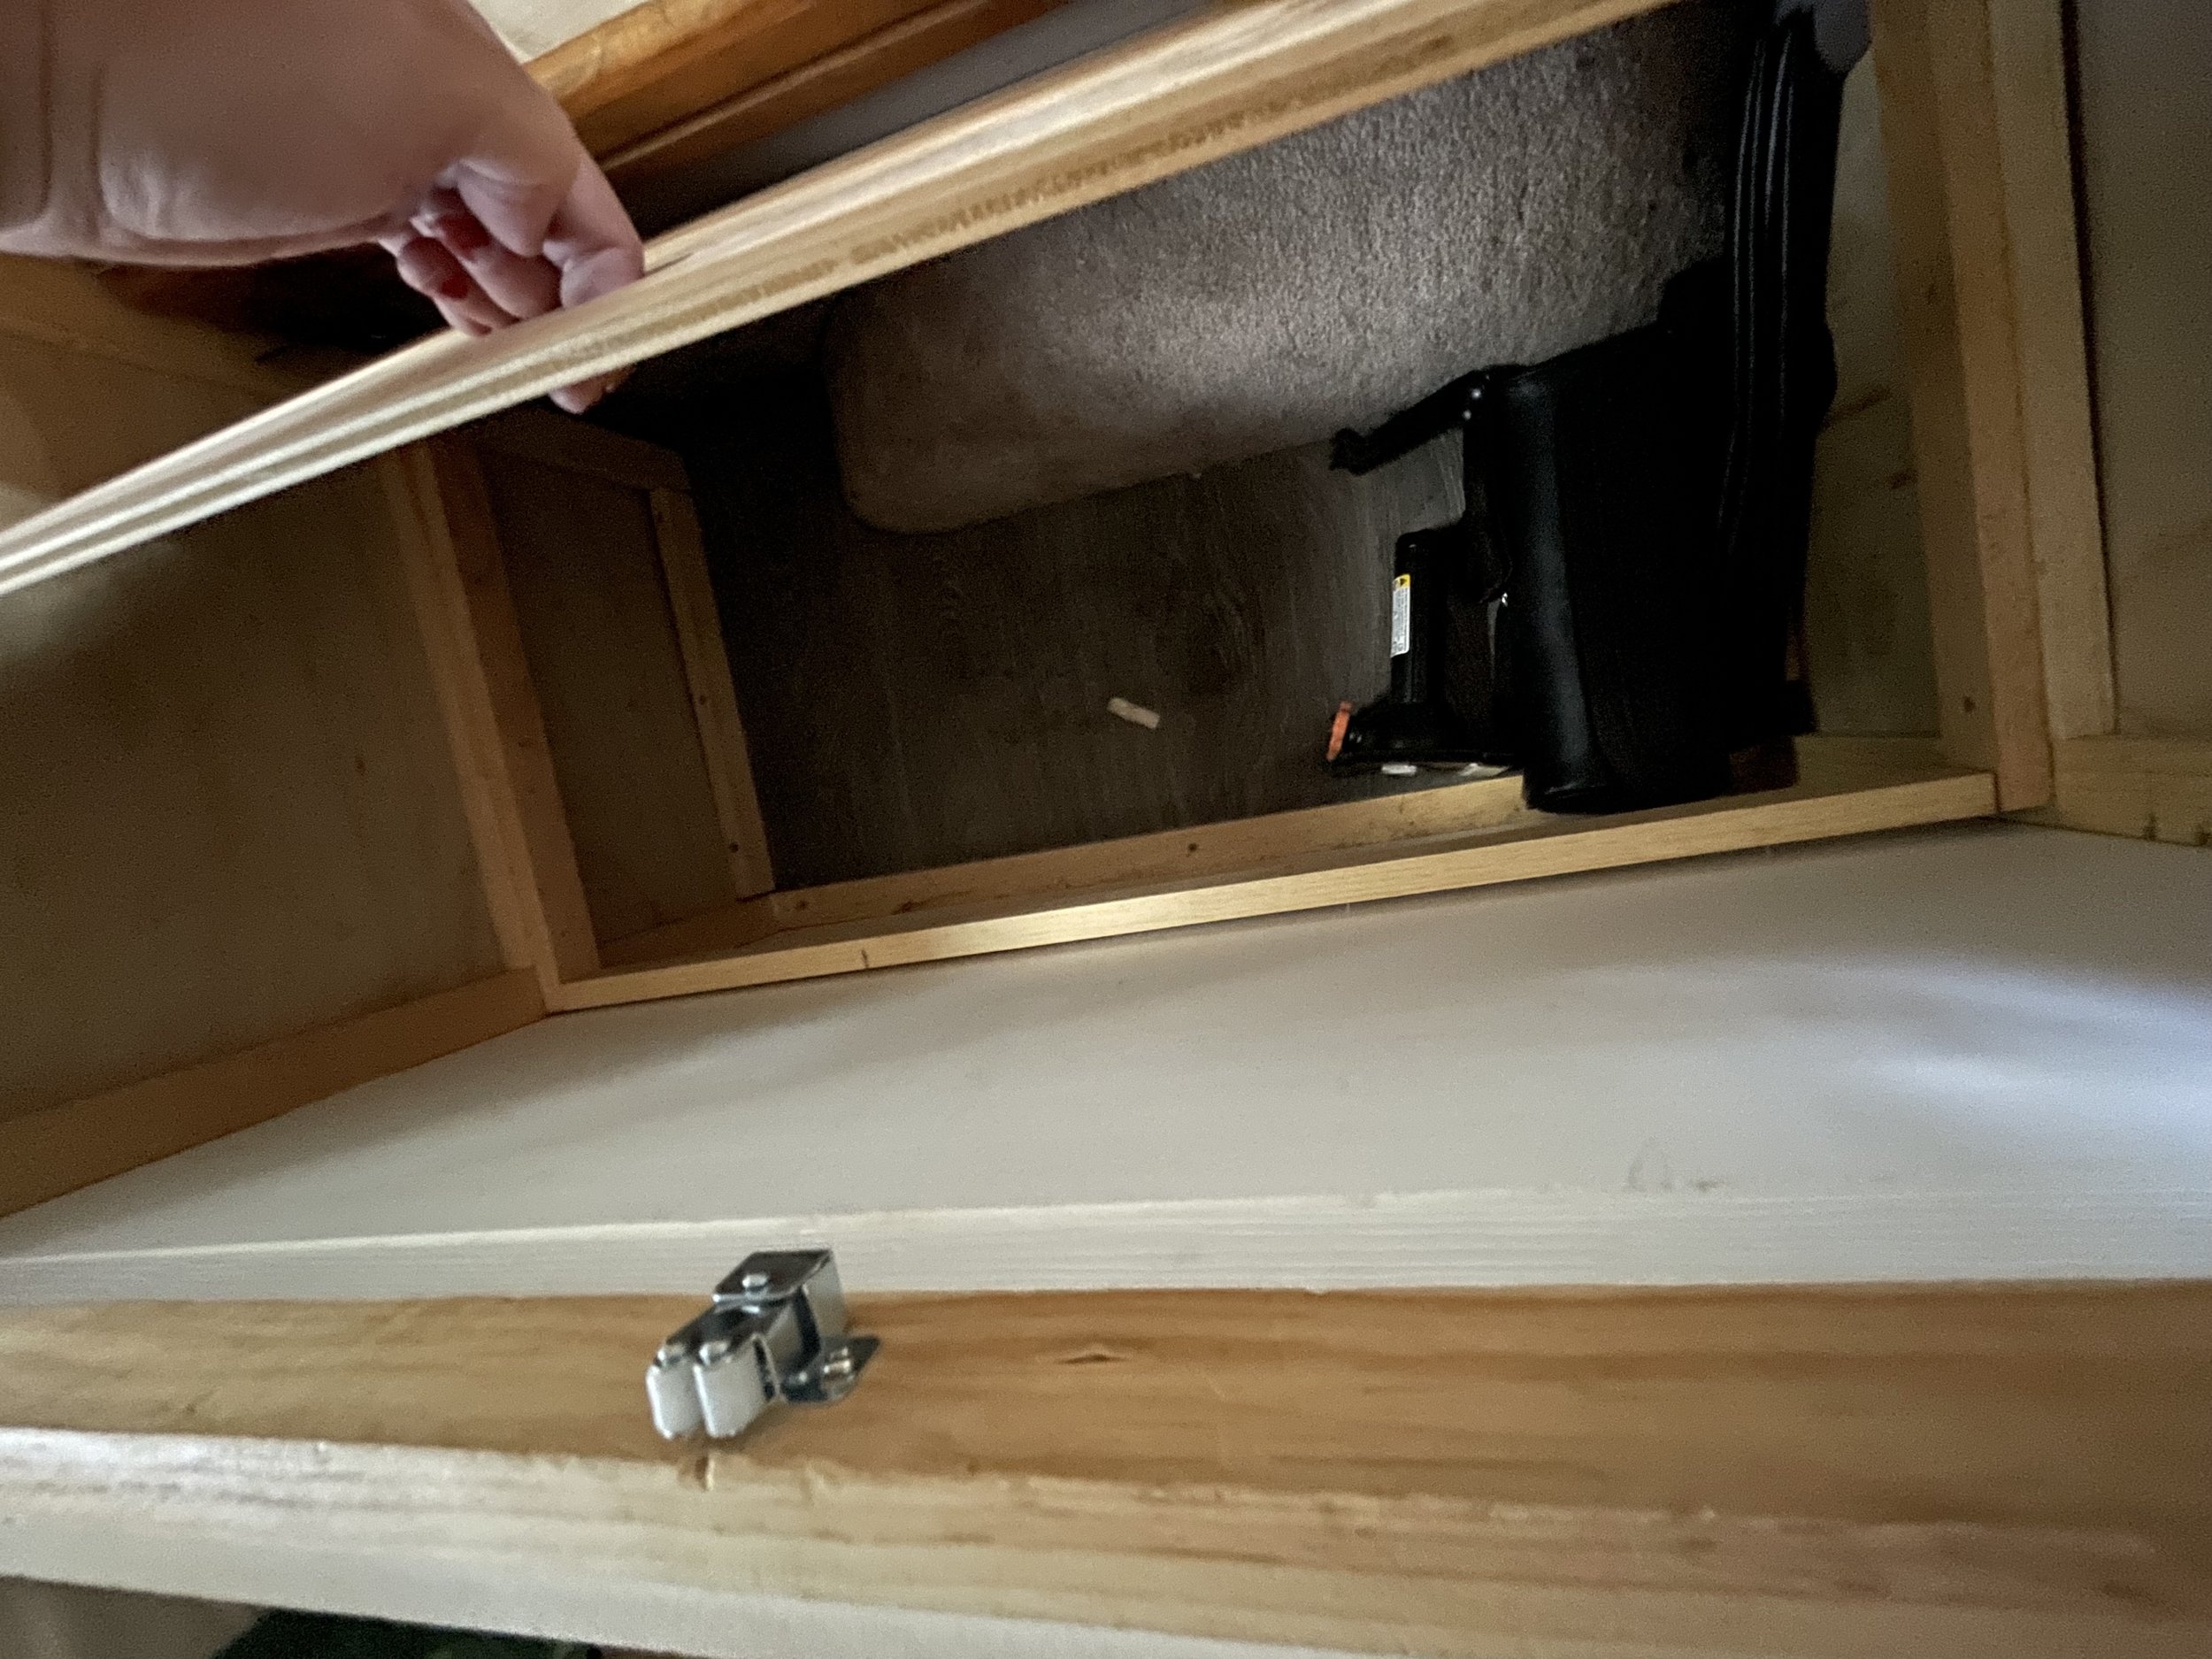
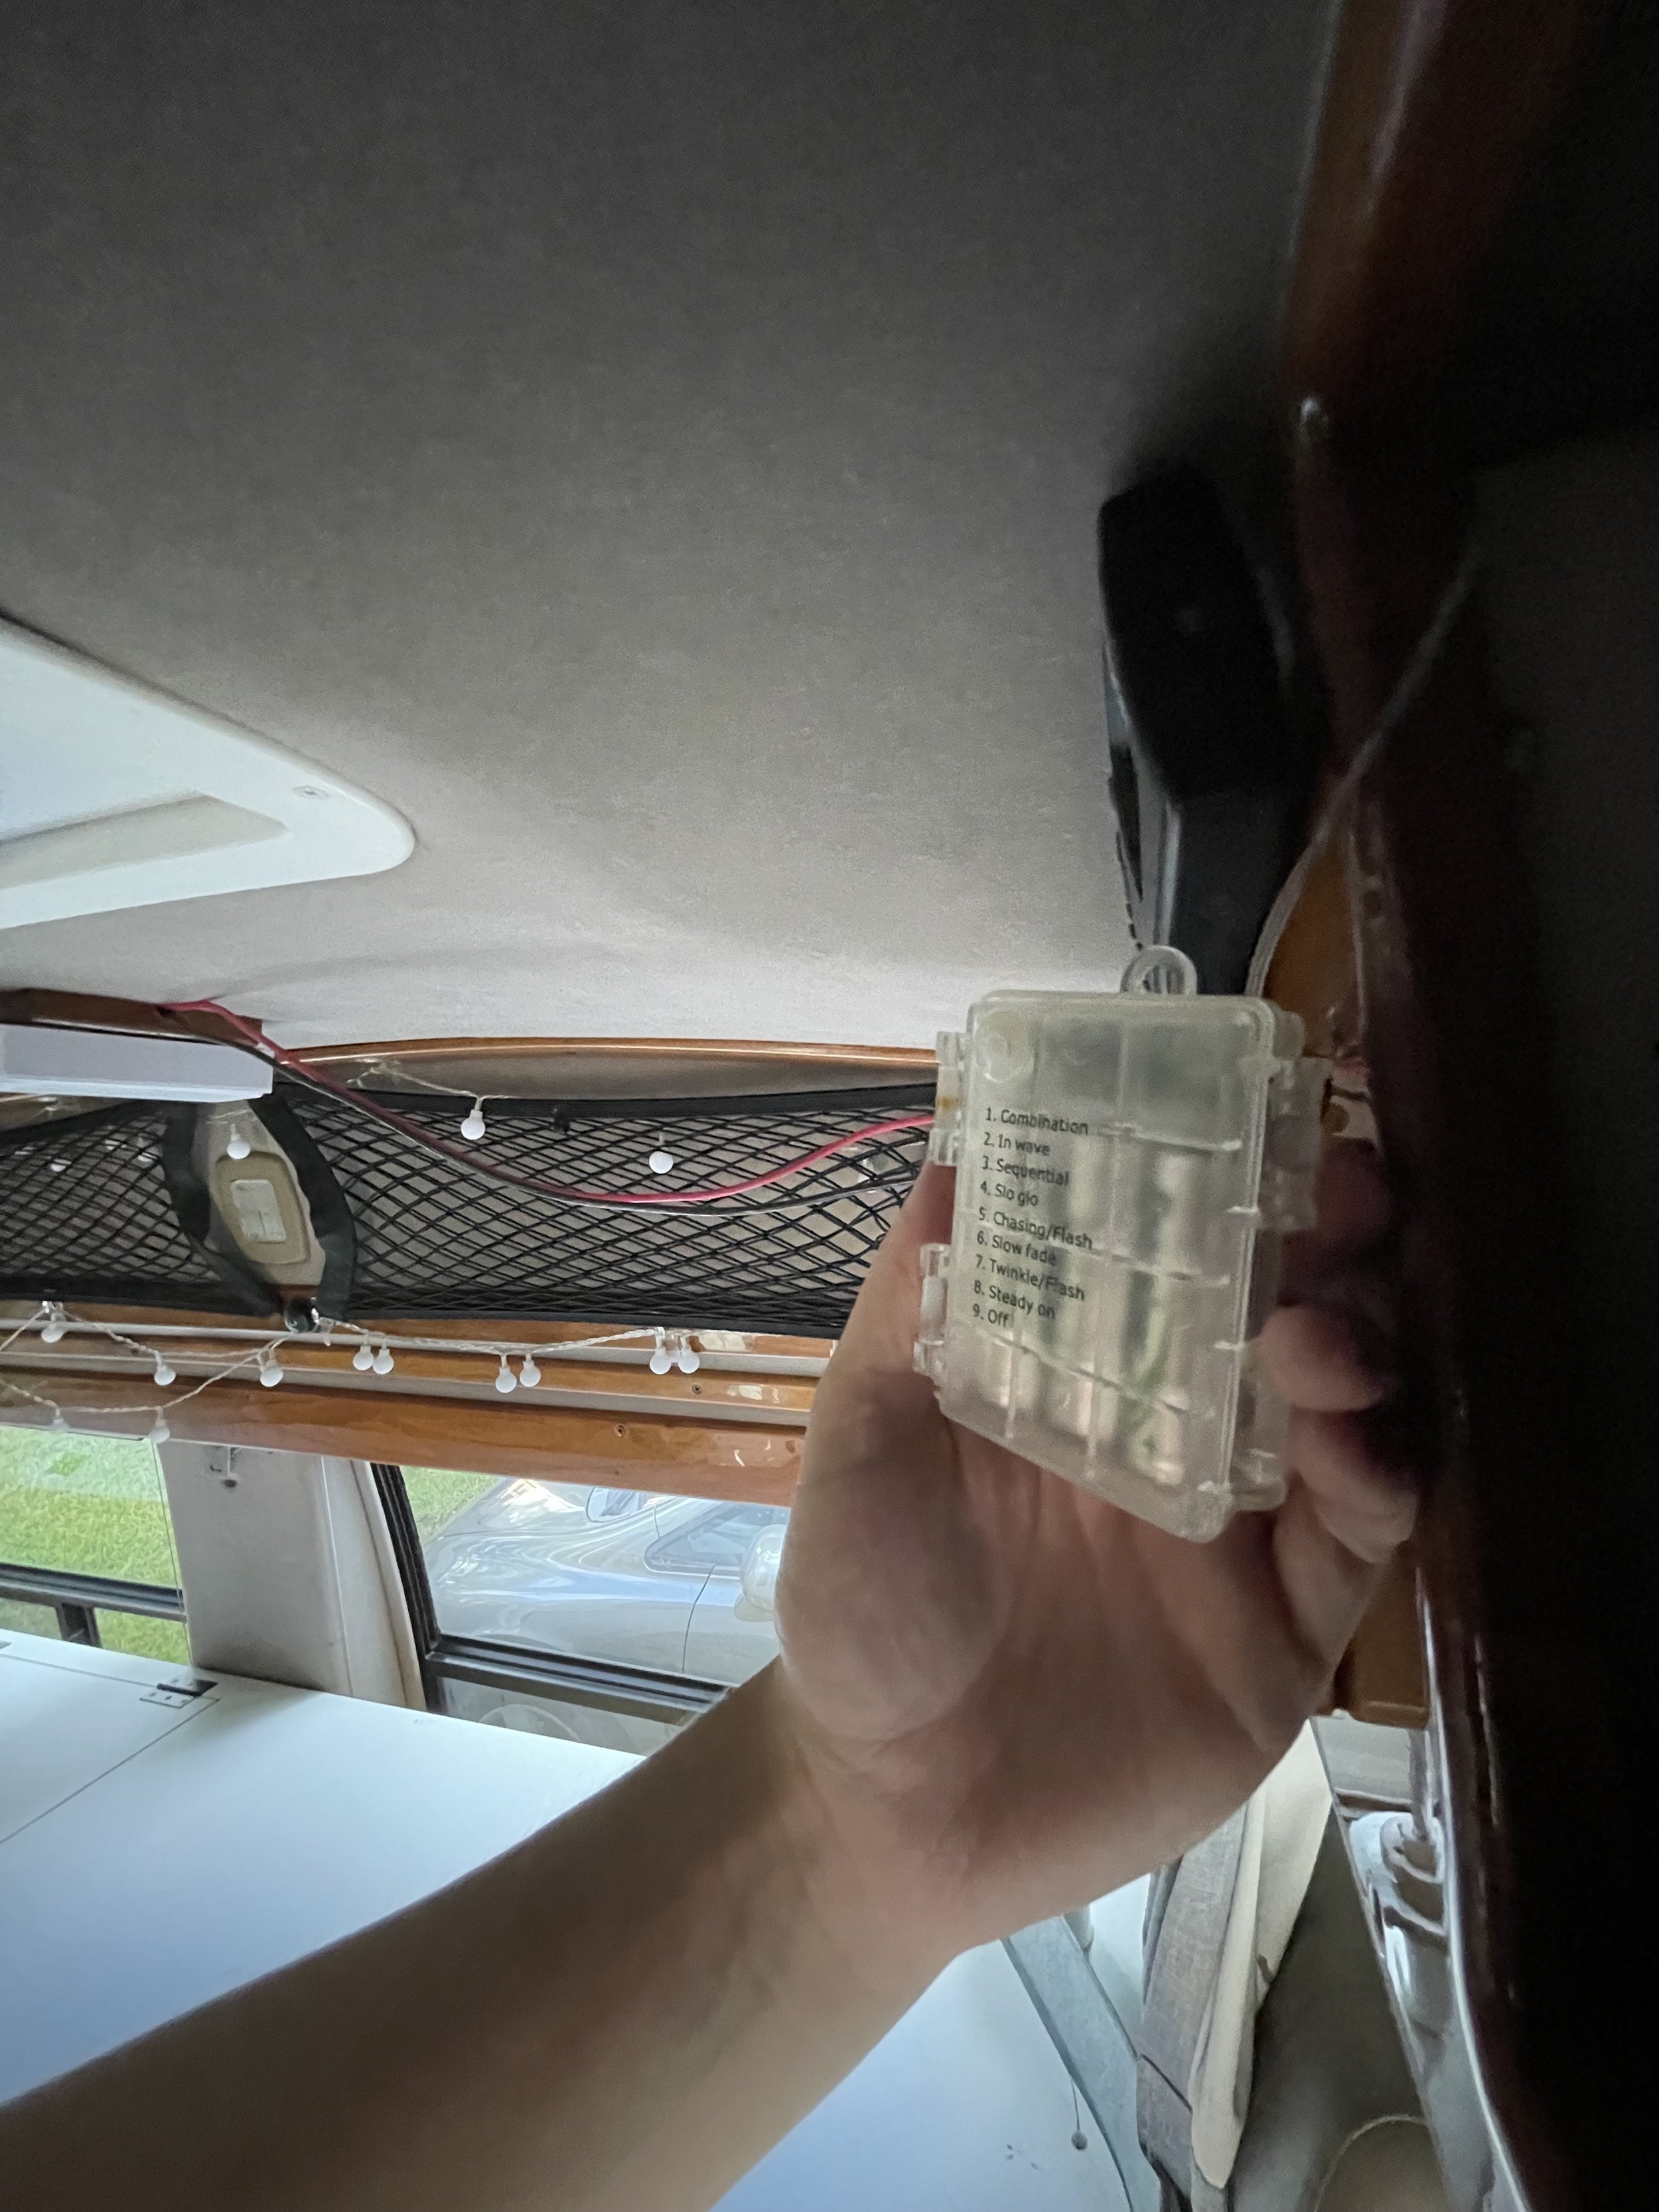
There’s additional storage above the driver seat, above the bed, under the bed, and behind the cabinet against the windows. I’ve also installed 2 cargo nets above the kitchen area. These are great for drying dishes if you need to head of camp early in the morning!


Other
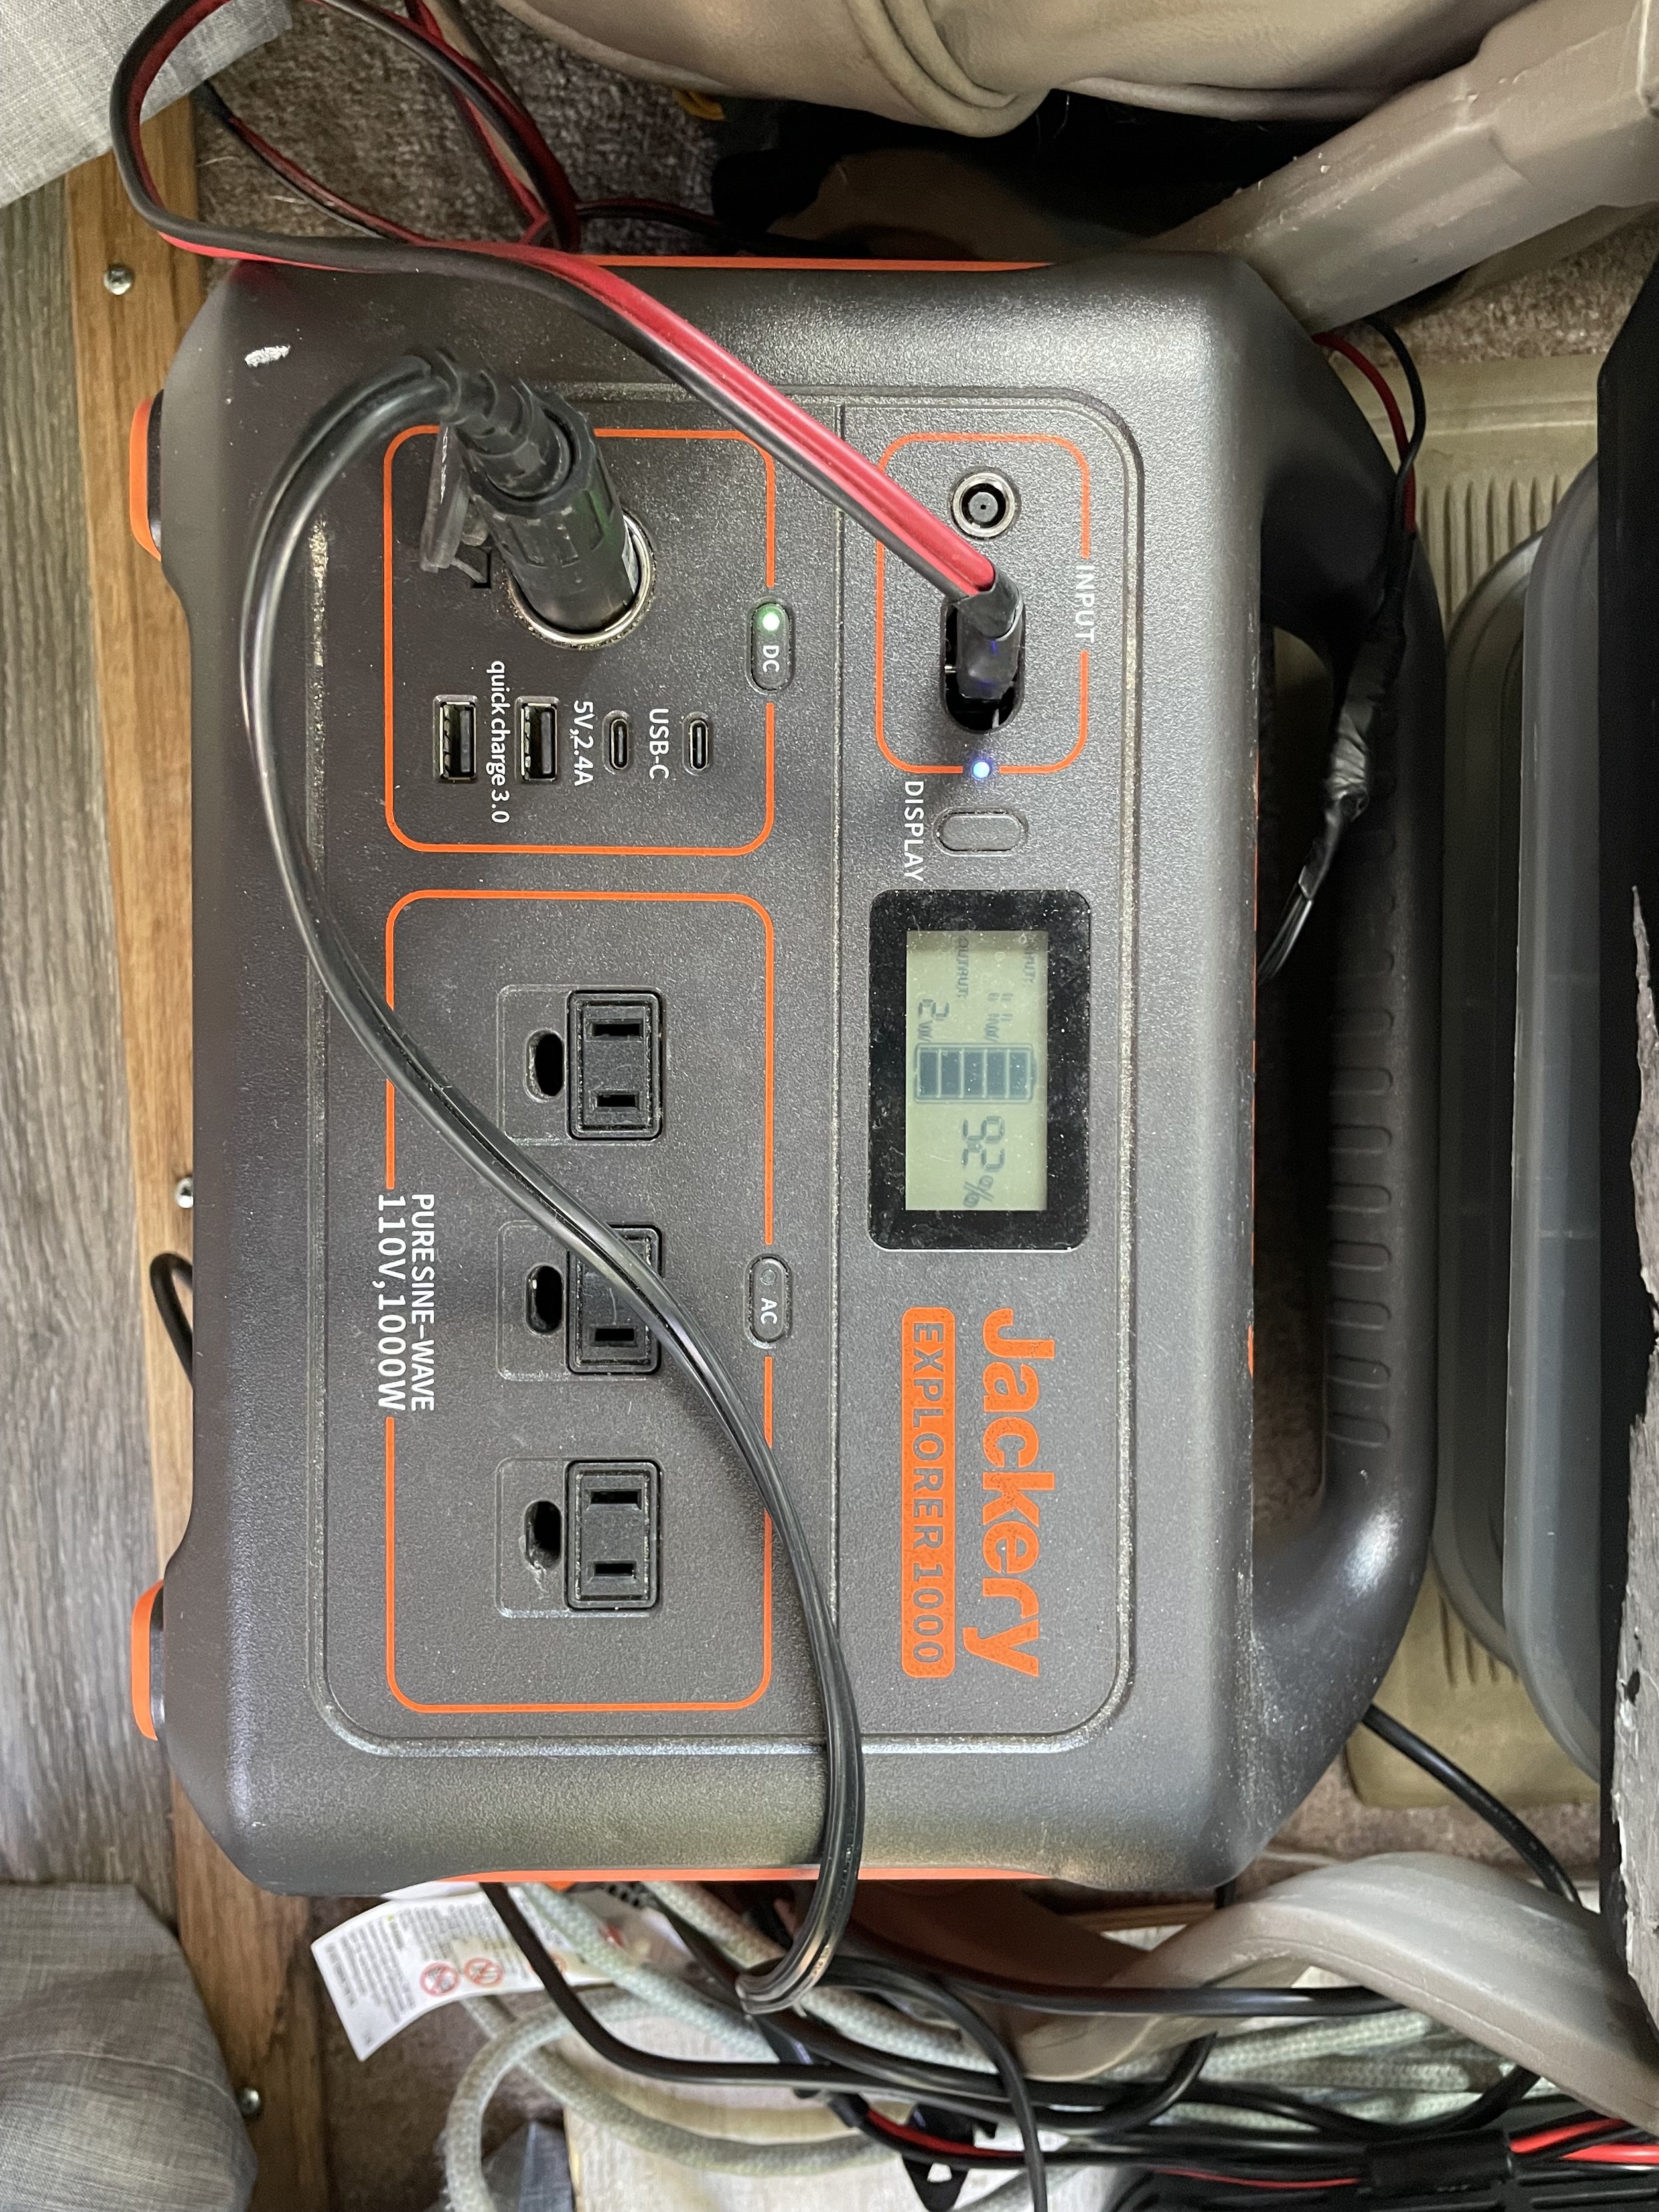
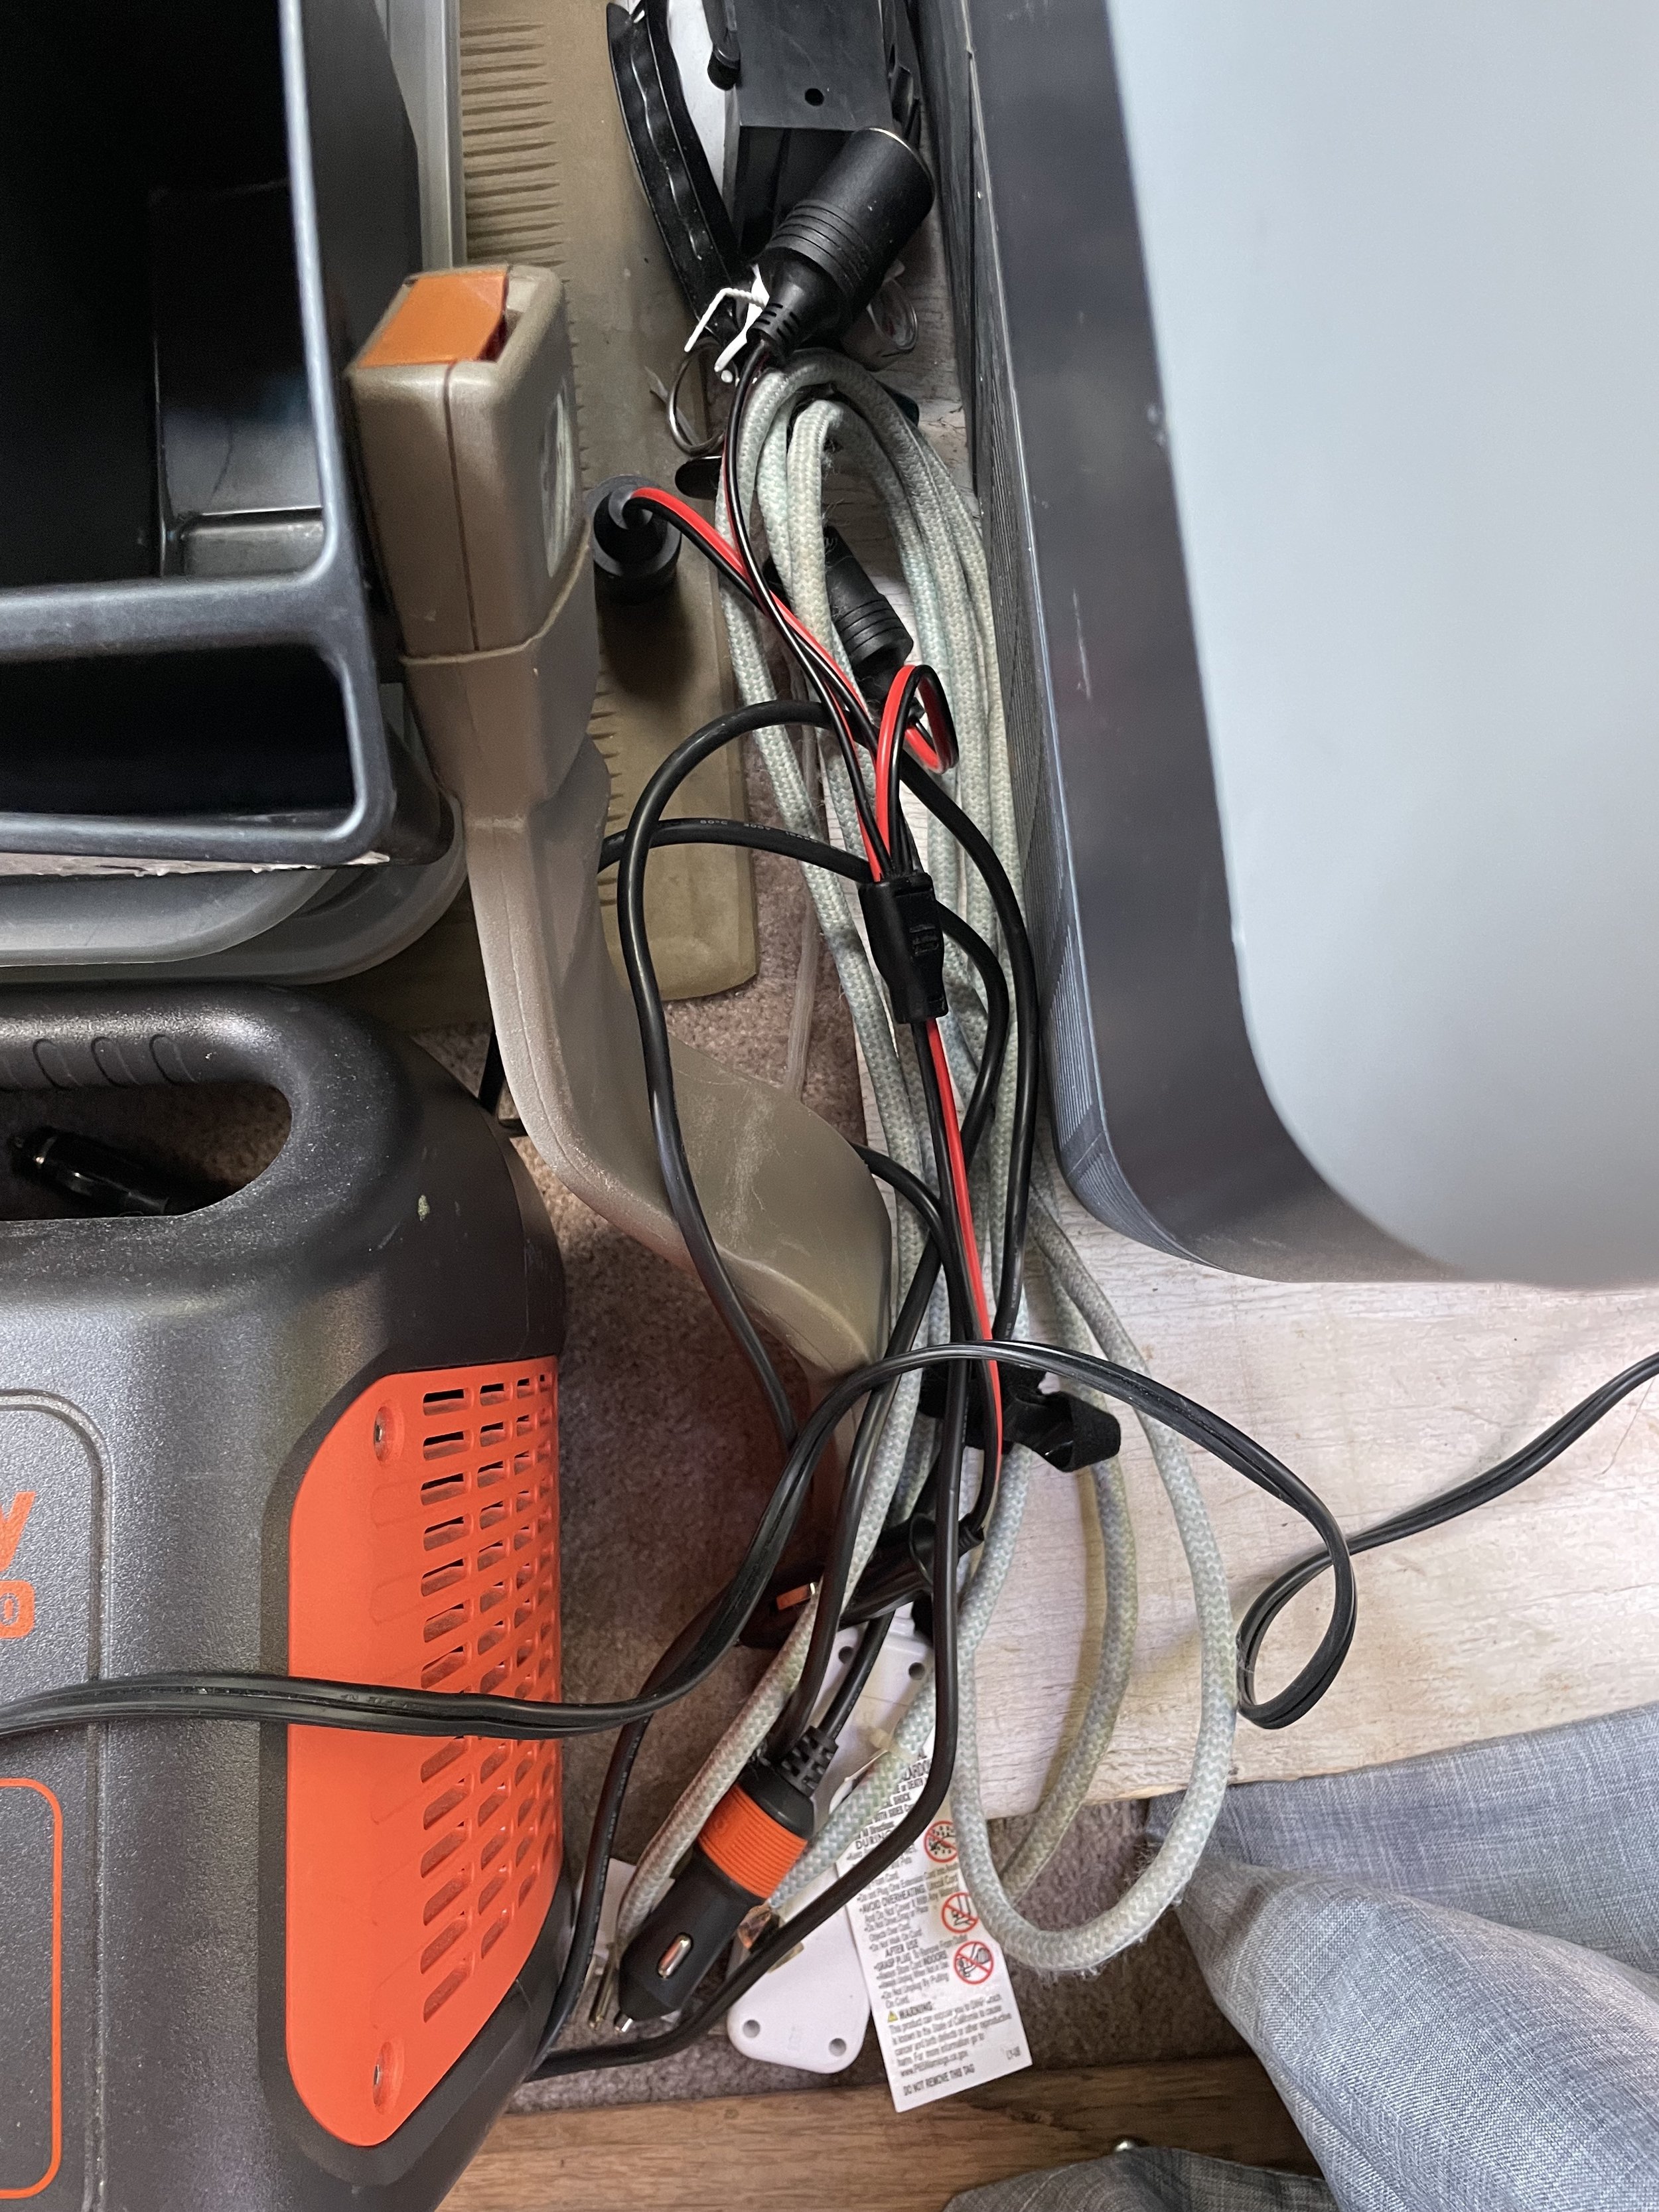
Power System – Jackery and Accessories
The 2 100-watt Renogy solar panels on the roof plug right into the Anderson power port on the portable Jackery Explorer 1000. This is enough power to run the fridge and the fan all day (no matter the weather). The fridge and fan are both on 12-volt plugs. If I want to run them at the same time, I use a 12-volt outlet splitter. I’m also including the power strip I like to use for the A/C outlets. It’s the perfect length to use in the back of the van.
The Jackery can run a small blender (I’ve used an immersion blender on it) and even a low voltage electric blanket! The capacity was enough for me to run the fridge and fan all day, charge my phone at least once, and charge my laptop. I’ve only run it down to 0% once when I used an electric blanket for an entire day and it was also cloudy.
The Jackery can also be charged via the 12V plug in the dashboard while driving or via a traditional outlet in a house.
*Jackery not included in $5,000 price but can be included for an additional cost – just ask me!


Lighting
There are string lights against one side of the van’s ceiling. There are also two puck lights (one up front and one above the bed) and a touch light (above the sink) that swivels out. They all work but may need new batteries. The original interior lights for the van were disabled by a previous owner to reduce the risk of accidentally draining the van’s battery. There’s a remote for the string lights.


Windows
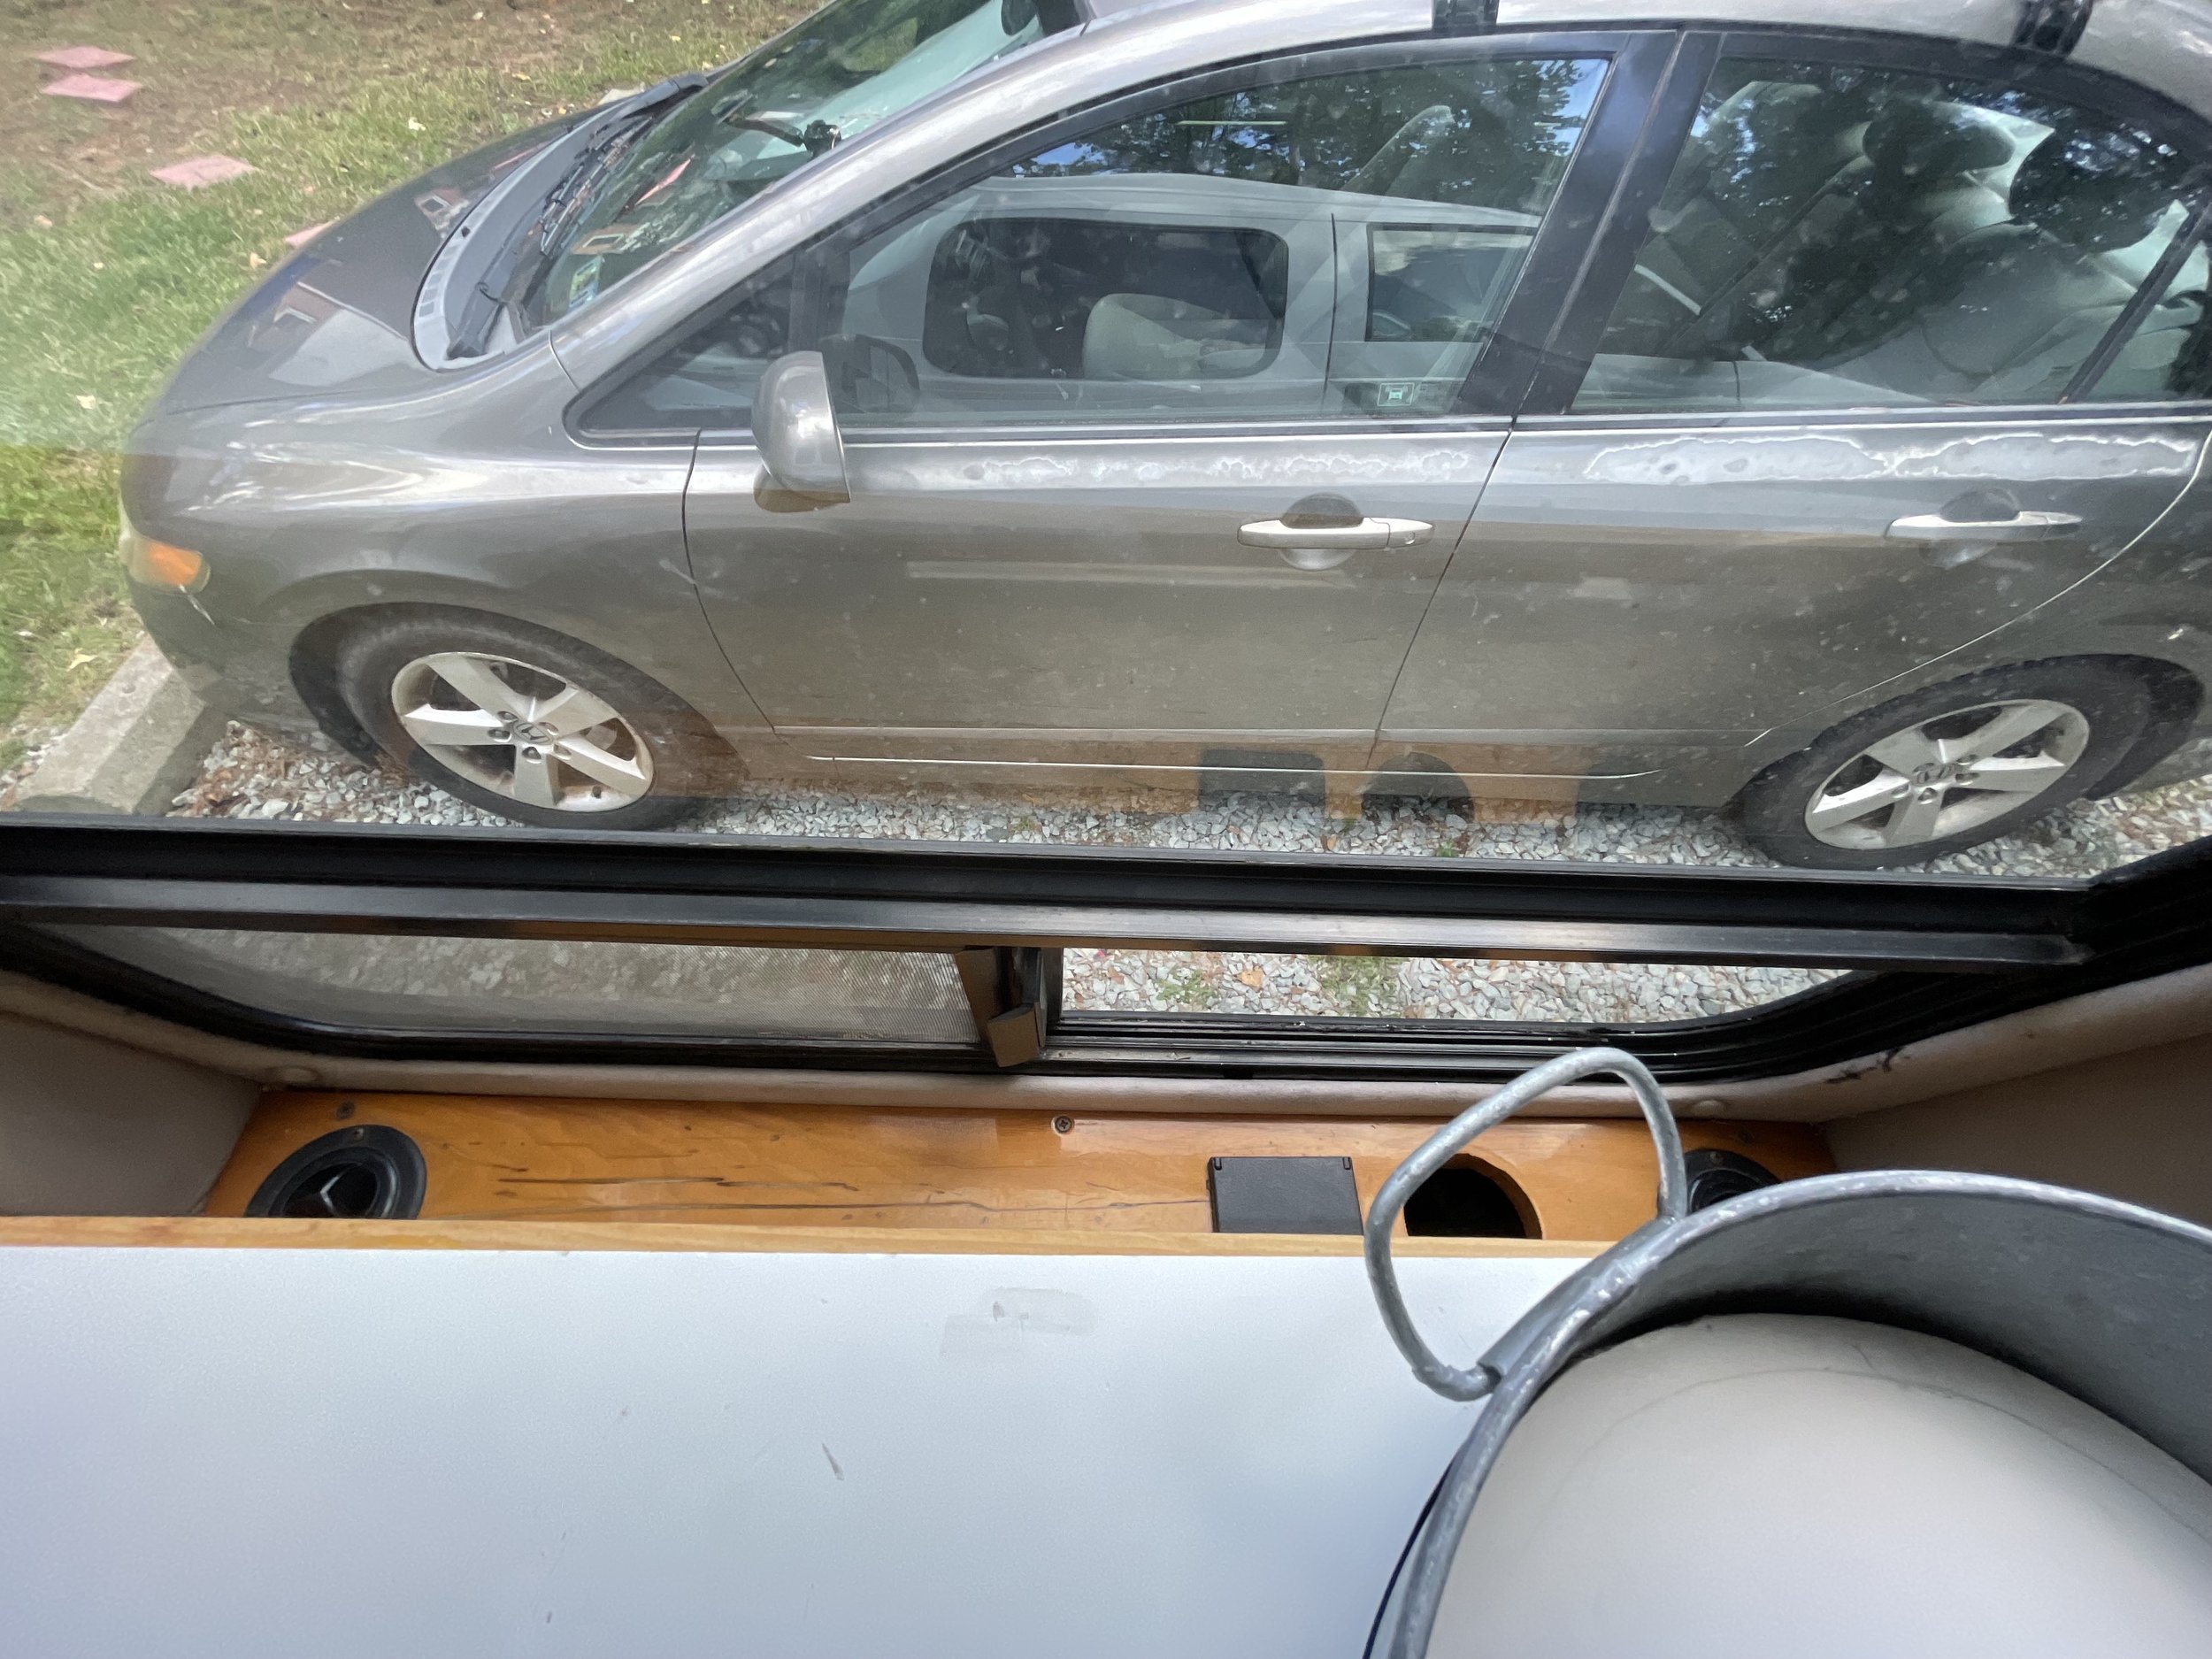
There are 3 windows with a sliding screen section and blinds. There’s 1 window that pops out that does not have a screen (but the custom screen for the sliding door works as a screen for it). The rear windows are limo tinted and provide awesome privacy.
I’m including custom cut Reflectix for each of the rear windows too.